Are you looking to maximize your bathroom storage while adding a touch of style? Installing floating shelves for bathroom storage can be the perfect solution! These shelves not only save space but also enhance the aesthetic of your bathroom. In this detailed guide, I will walk you through the process of installing floating shelves for bathroom storage—step-by-step. Whether you're a seasoned DIYer or a beginner, you'll find this guide easy to follow and packed with valuable insights.
Floating shelves are versatile and can be used for various purposes, from holding toiletries to displaying decorative items. They create an illusion of space, making your bathroom feel larger and more organized. I’ll share my personal experiences, tips, and tricks to help you achieve a stunning and functional bathroom.
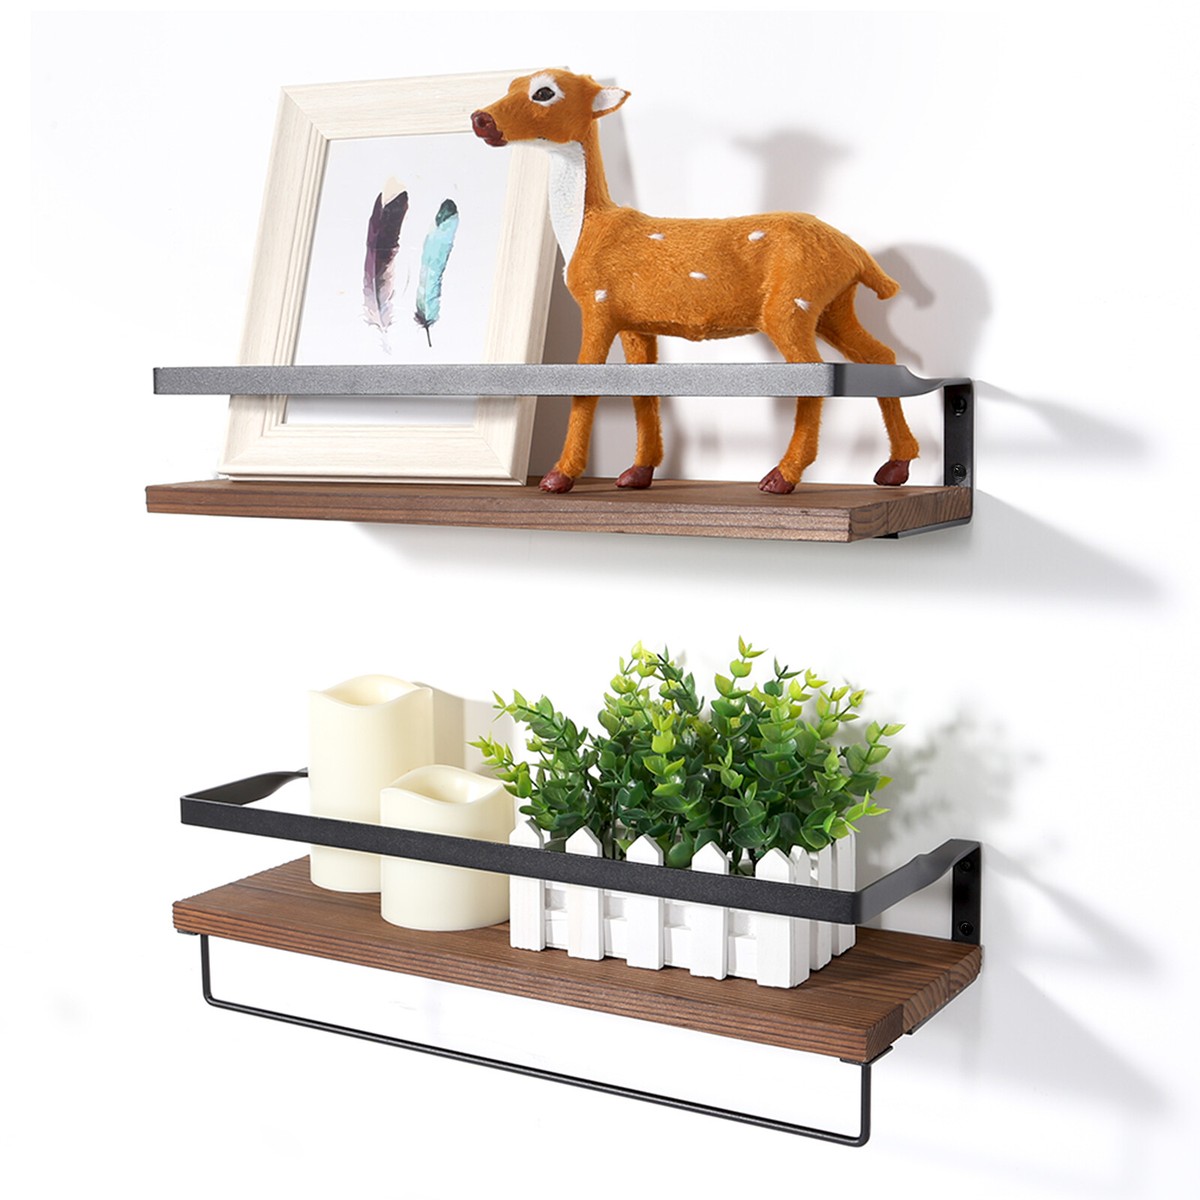
Source: www.ebay.com
Table of Contents
Why Choose Floating Shelves for Your Bathroom?
Floating shelves offer a unique blend of functionality and style. Here are some compelling reasons to consider them for your bathroom:
- Space-Saving: Floating shelves take up minimal space, making them ideal for smaller bathrooms.
- Aesthetic Appeal: They provide a modern look and can be customized to fit your decor.
- Versatility: Use them for storage, display, or both. They can hold anything from towels to decorative plants.
- Easy Installation: With the right tools and guidance, you can install floating shelves yourself.
Tools and Materials Needed
Before we jump into the installation process, let’s gather the necessary tools and materials. Here’s what you’ll need:
Tools:
- Drill: For making holes in the wall.
- Level: To ensure your shelves are straight.
- Stud Finder: To locate wall studs for secure mounting.
- Screwdriver: For tightening screws.
- Measuring Tape: To measure shelf placement.
- Pencil: For marking positions.
Materials:
- Floating Shelves: Choose the size and material that fits your bathroom style.
- Wall Brackets: Ensure they are sturdy enough to hold the weight of the shelves.
- Screws: Appropriate for your wall type (drywall, concrete, etc.).
- Wall Anchors: If not mounting on studs, use anchors for added support.
Step-by-Step Installation Guide
Now that you have everything ready, let’s dive into the step-by-step process of installing floating shelves for bathroom storage.
Step 1: Choose the Right Location
Decide where you want to install your floating shelves. Consider factors like accessibility and visibility. I recommend placing them above the toilet or next to the sink for easy access to toiletries.
Step 2: Measure and Mark
Using your measuring tape, determine the height at which you want to install the shelves. Mark the wall with a pencil to indicate the desired height. Make sure to measure from the floor or another fixed point for consistency.
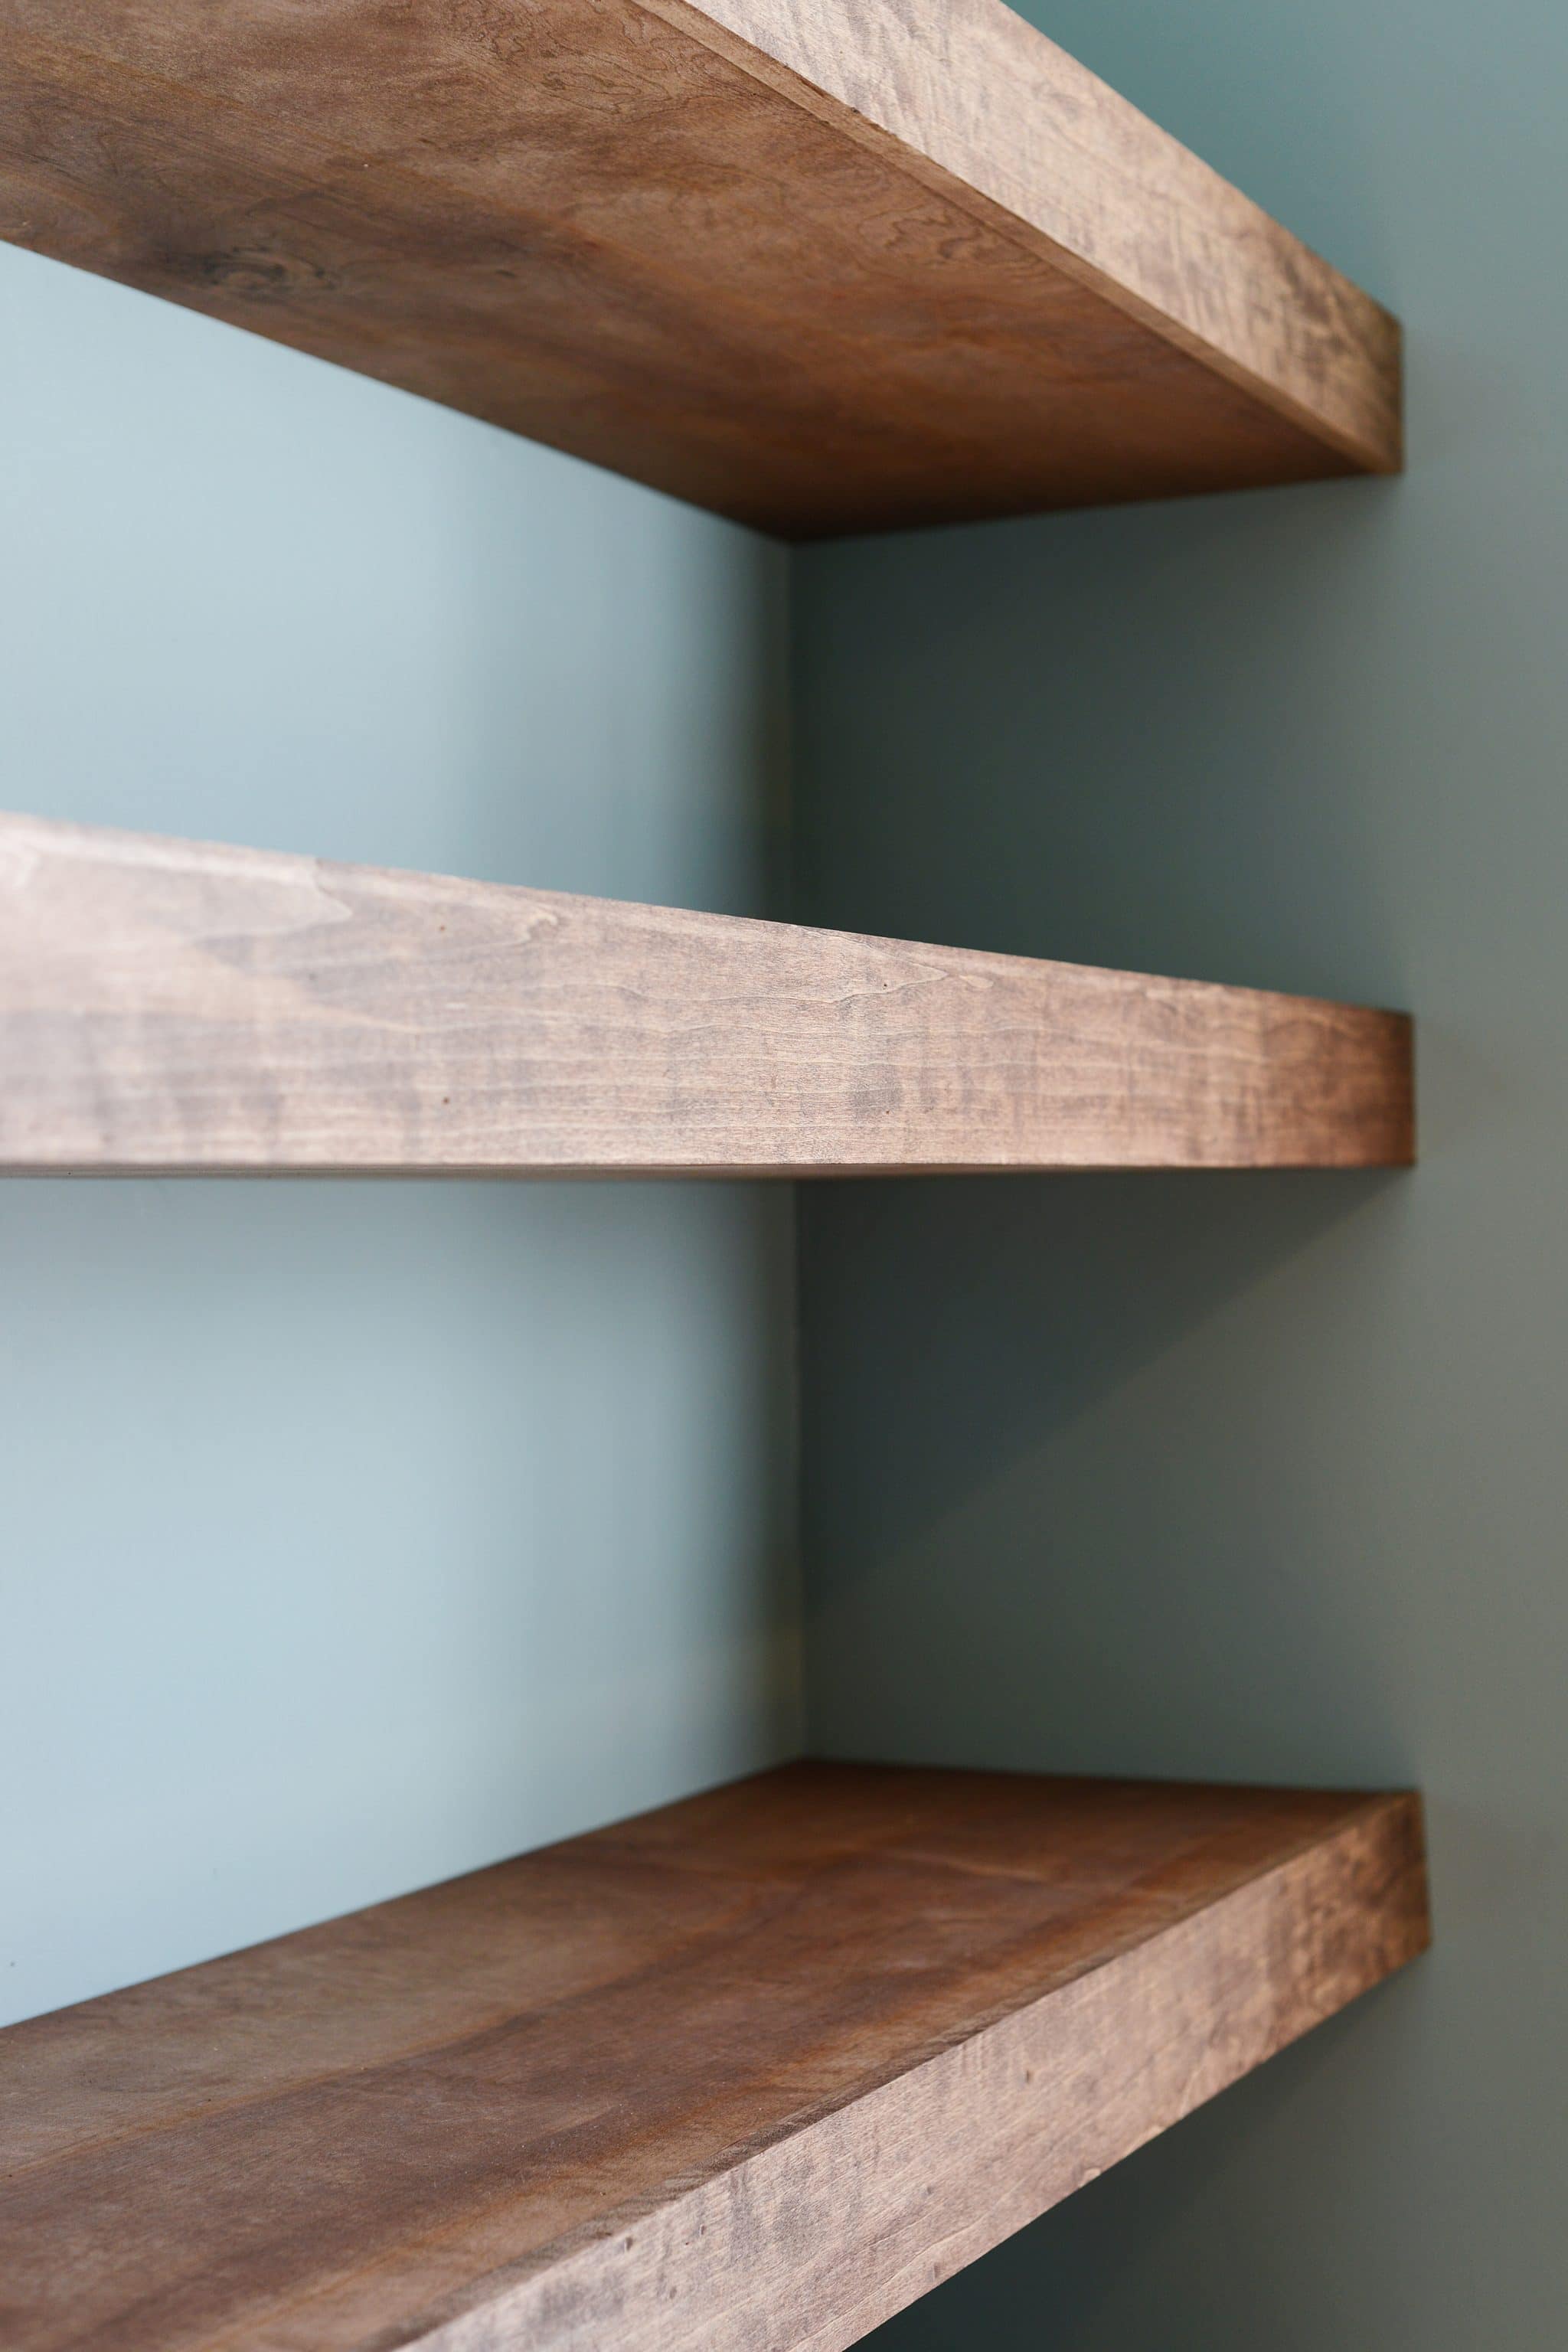
Source: yellowbrickhome.com
Step 3: Locate the Studs
Using a stud finder, locate the wall studs in the area where you plan to install the shelves. Mark the locations with a pencil. If you can’t find studs, don’t worry; just make sure to use wall anchors for support.
Step 4: Install Wall Brackets
Align the wall brackets with the marks you made earlier. Use a level to ensure they are straight. Drill holes into the wall at the marked locations and insert screws into the wall brackets. If you're using wall anchors, follow the package instructions to install them before screwing in the brackets.
Step 5: Attach the Shelves
Once the brackets are securely mounted, it’s time to attach the floating shelves. Carefully place the shelves onto the brackets, ensuring they fit snugly. Use the level again to confirm they are straight.
Step 6: Secure the Shelves
If your shelves come with additional securing mechanisms, such as screws or pins, make sure to use them. This will prevent the shelves from shifting or falling.
Step 7: Style and Organize
Now that your floating shelves are installed, it’s time to style them! Add your favorite toiletries, decorative plants, or even framed photos. Make sure to balance the items for an aesthetically pleasing look.
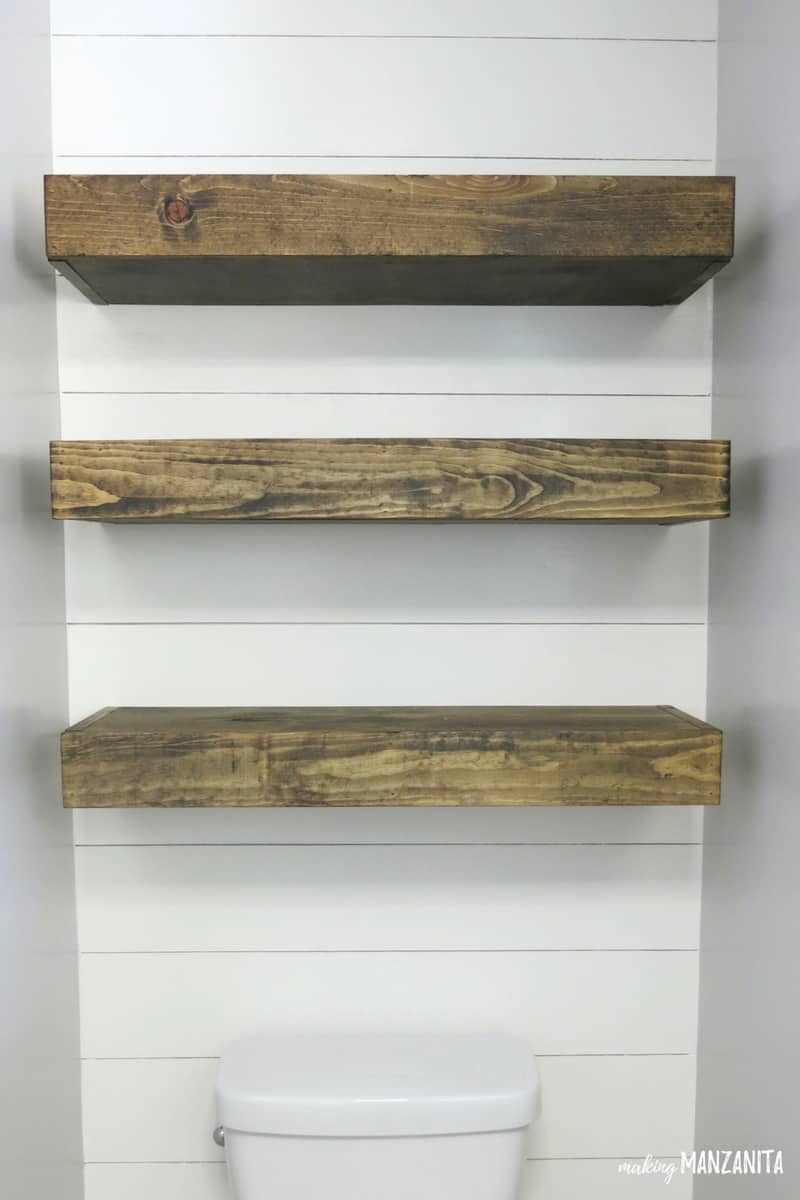
Source: www.makingmanzanita.com
Common Problems and Solutions
While installing floating shelves is generally straightforward, you might encounter some common issues. Here are a few problems and how to solve them:
Problem 1: Shelves Are Not Level
If your shelves aren’t level, double-check your measurements and the installation of the brackets. Adjust as necessary.
Problem 2: Wall Anchors Not Holding
If your wall anchors are not holding, ensure you’re using the correct type for your wall material. For drywall, toggle bolts are often more effective.
Problem 3: Weight Limit Issues
Always check the weight limit of your shelves and brackets. If you plan to store heavy items, consider using additional brackets or a sturdier shelf.
Frequently Asked Questions about Installing Floating Shelves for Bathroom Storage
What materials are best for floating shelves in a bathroom?
For bathrooms, moisture-resistant materials like treated wood, glass, or metal are ideal. These materials will withstand humidity and prevent warping.
How much weight can floating shelves hold?
The weight capacity of floating shelves varies based on the material and installation method. Most shelves can hold between 20 to 50 pounds, but always check manufacturer specifications.
Can I install floating shelves without drilling?
Yes, there are adhesive floating shelves available that don’t require drilling. However, these may not hold as much weight and are best for lightweight items.
How do I clean floating shelves?
To clean floating shelves, use a damp cloth and mild detergent. Avoid abrasive cleaners that can scratch the surface.
Can I install floating shelves in a corner?
Absolutely! Corner floating shelves can be a great way to utilize space and add decorative elements to your bathroom.
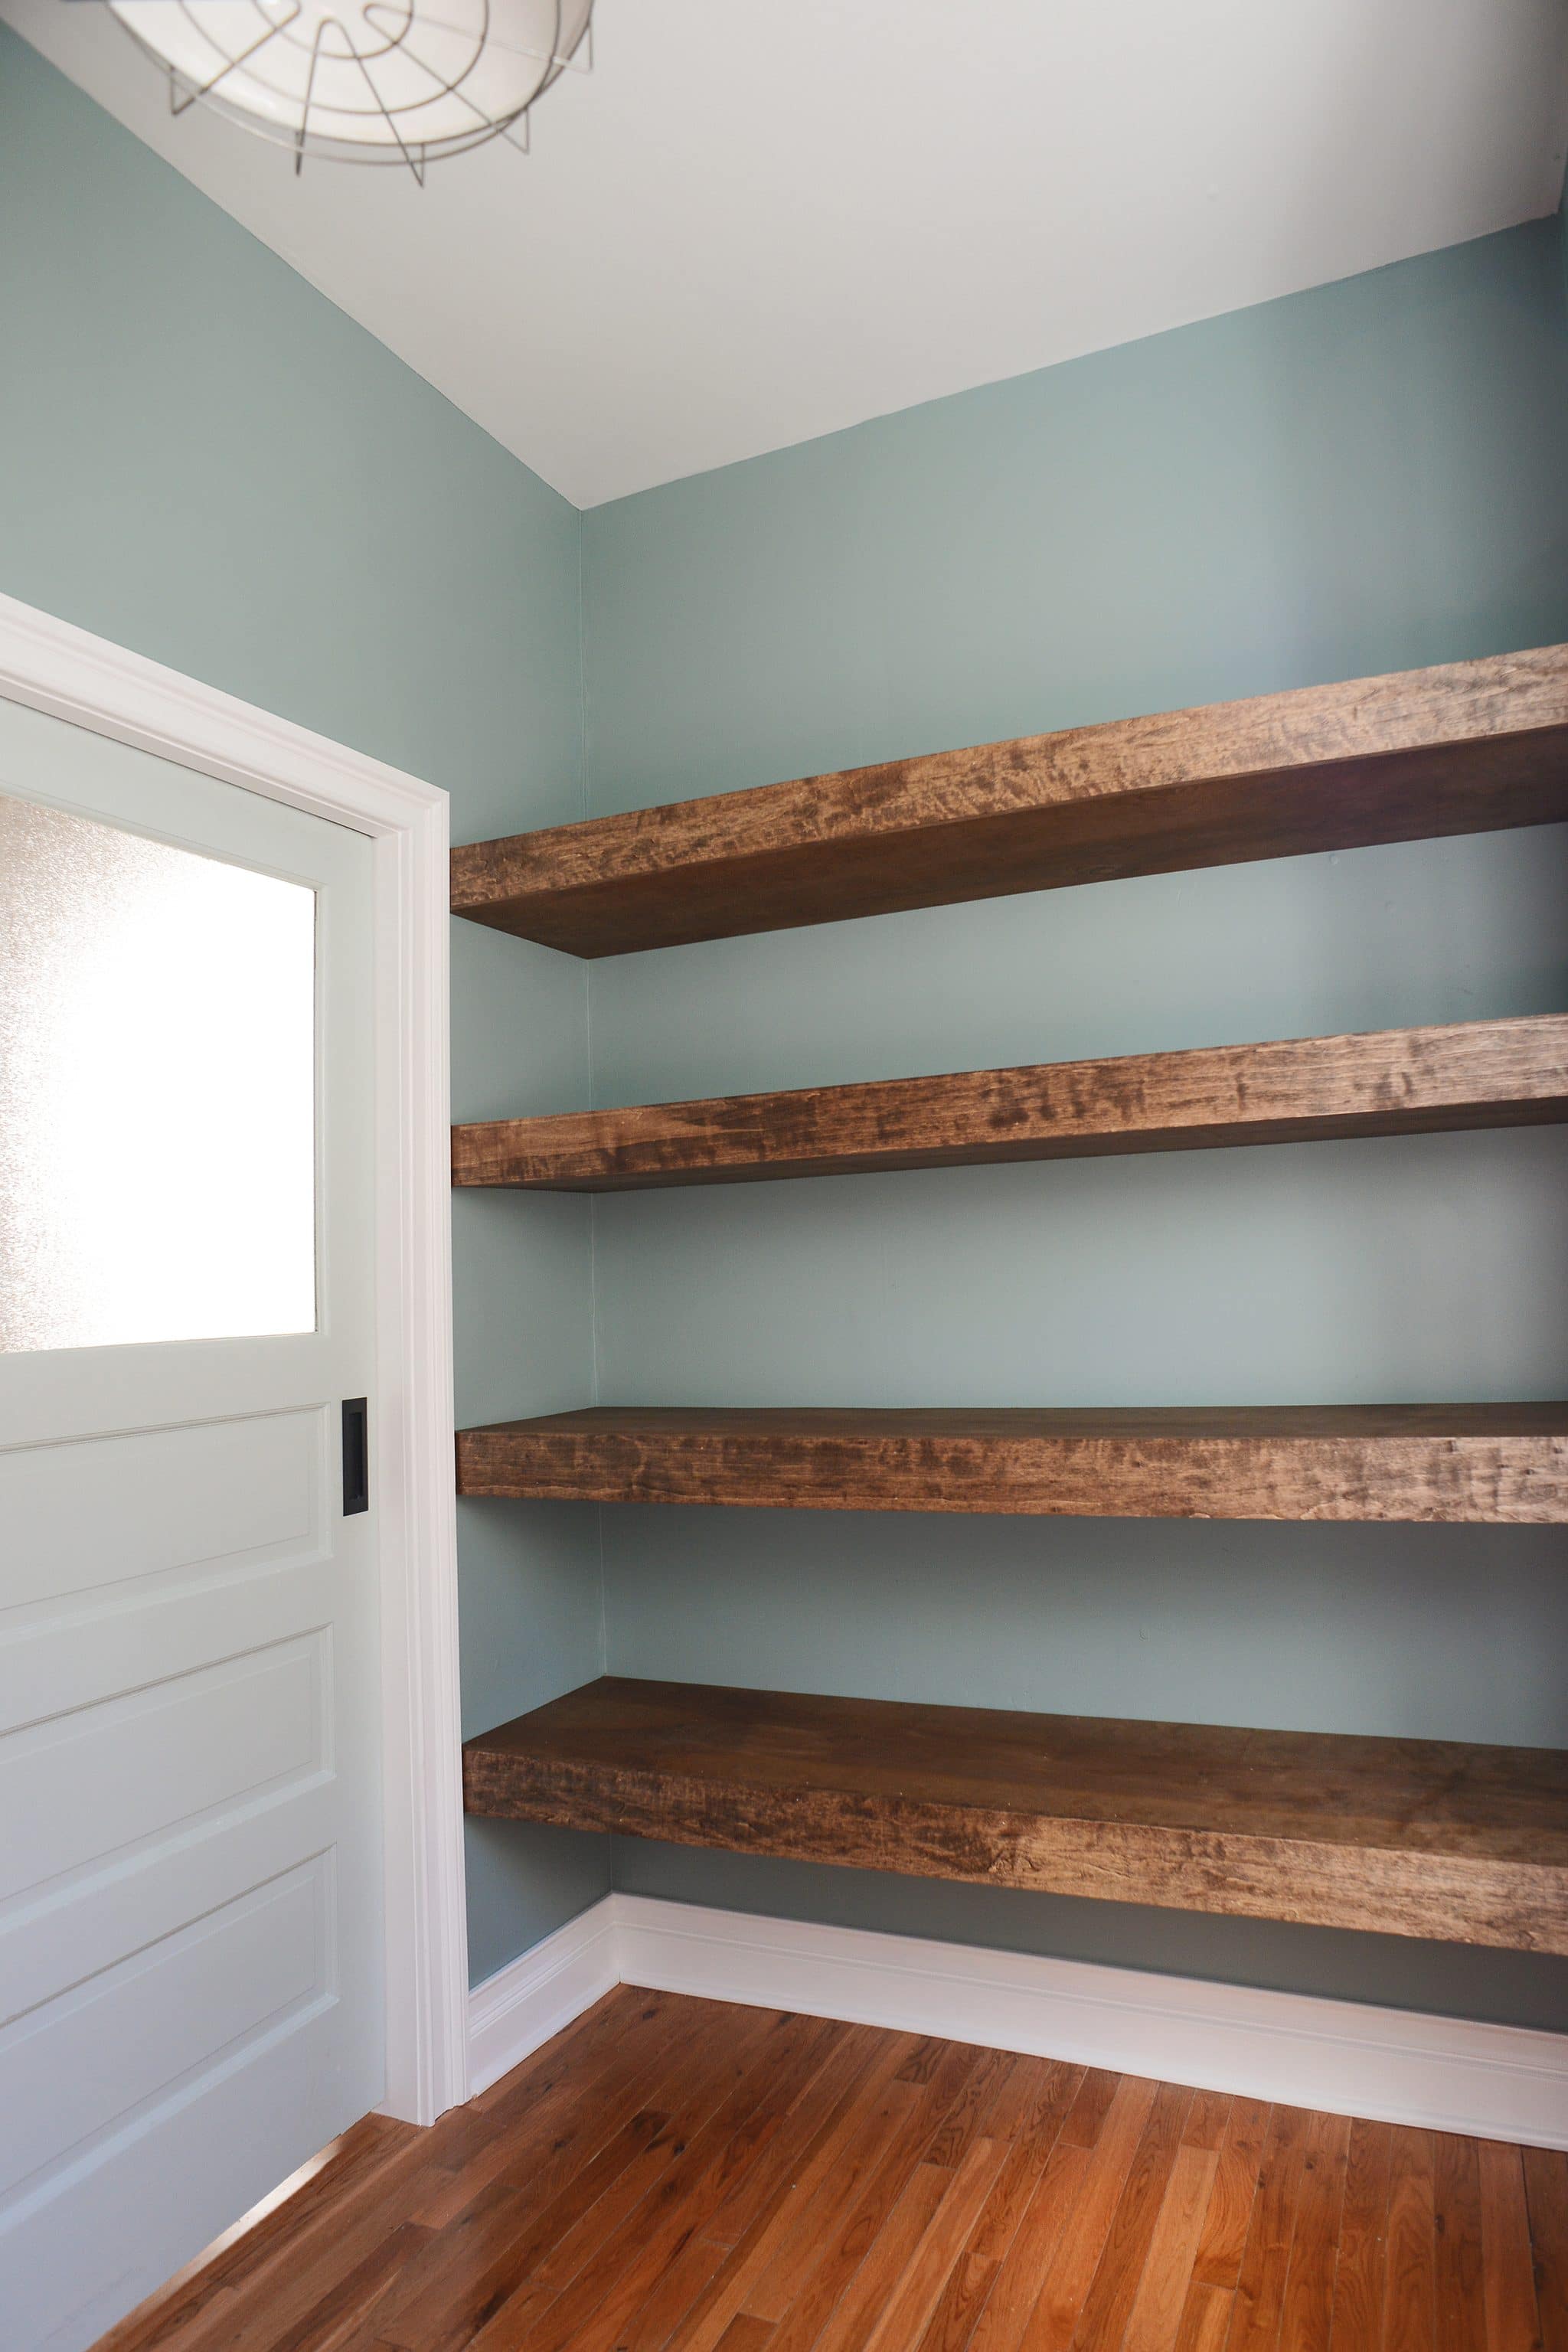
Source: yellowbrickhome.com
Conclusion
Installing floating shelves for bathroom storage is a fantastic way to enhance both functionality and style. With the right tools, materials, and steps outlined in this guide, you can transform your bathroom into an organized and visually appealing space. Remember to choose the right location, measure carefully, and secure your shelves properly for the best results.
Now that you’re equipped with all the knowledge you need, it’s time to take action! Gather your materials and start your floating shelf project today. If you have any questions or want to share your experiences, feel free to leave a comment below or explore additional resources.