
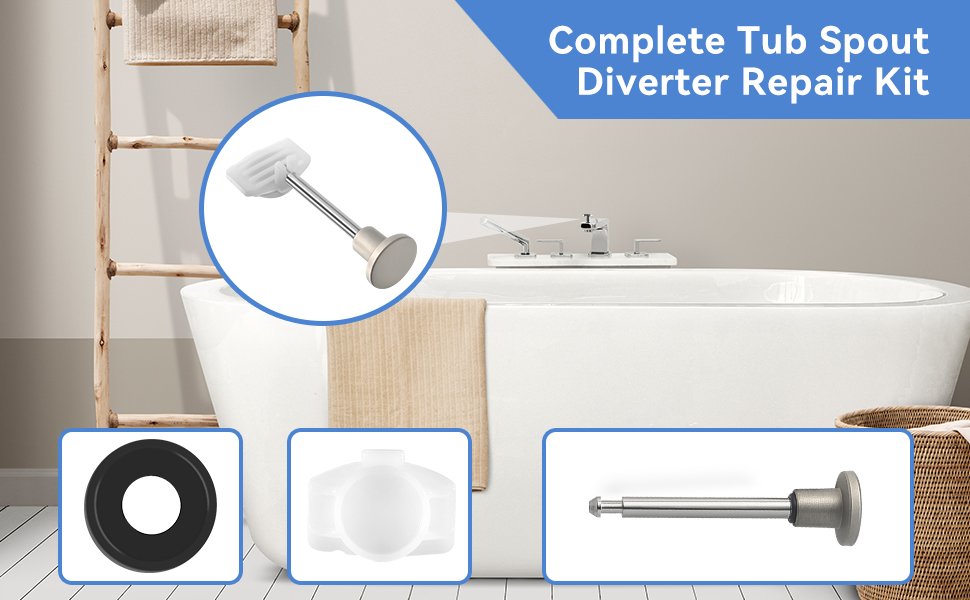
Fixing a leaking tub spout or handle valve usually requires a 1-dollar O-ring or a 20-to-40-dollar cartridge, taking 30 to 45 minutes. This guide provides steps to identify your fixture, replace internal seals, and stop water waste without tearing out your wall. You’ll also learn the exact points where a repair stops being simple and requires a licensed professional.
Table of Contents
How Tub Faucet Internal Parts Work

Bathtub valves control the volume and temperature of water running into your tub and showerhead. Inside the wall sits a brass rough-in valve body that connects to your home’s hot and cold water supply pipes. The replaceable components fit inside or attach directly onto this brass body. These parts include stems, rubber seats, springs, single-handle mixing cartridges, diverter gates, and outer trim plates.
Homeowners who want to fix dripping spouts or stiff handles can easily do this repair themselves. But this job isn’t for people with cracked copper pipes behind the wall or heavily corroded valve bodies that require pipe cutting and soldering.
A common misconception is that a dripping spout always means you need a brand-new faucet set. Water flows when rubber seals crack or plastic cartridge channels wear down from mineral scale, allowing pressurized water to sneak past the shutoff point. Replacing the worn cartridge or seat restores the seal, solving the drip without replacing the entire fixture.
The basic method
- Shut off your main water valve completely, then open the tub handle to drain remaining line pressure until all flow stops.
- Place a rag or towel directly over the tub drain so tiny screws or clips can’t fall into the plumbing trap.
- Pop off the decorative handle cap with a flathead screwdriver to reveal the center screw, then remove the screw using a Phillips screwdriver and pull the handle straight off.
- Unscrew the round trim sleeve and faceplate screws counterclockwise, sliding the metal plate away from the wall surface.
- Pull the U-shaped brass retaining clip straight up with needle-nose pliers if your valve uses one, taking care not to drop it behind the wall.
- Grip the cartridge stem firmly with channel-lock pliers and pull straight out; if it sticks, wiggle it gently side-to-side or use a dedicated plastic cartridge-pulling tool.
- Coat the black rubber seals of your matching replacement cartridge with a pea-sized amount of silicone plumbers grease, slide it into the brass valve until seated flush, reinstall the retaining clip, and reattach the handle.
If the cartridge resists, use a cartridge puller instead of wrenching hard. Forcing a stuck cartridge can crack supply pipes. This creates a major leak requiring a plumber.
Key numbers and settings at a glance
Every faucet brand requires specific hardware and disassembly methods.
| Situation | What to use | How long | What to watch for |
|---|---|---|---|
| Moen single-handle cartridge | Moen 1225 or 1222 cartridge, pulling tool | 30 to 45 minutes | Retaining clip must seat fully down into valve slots |
| Delta ball and spring valve | Delta seats, springs, and cam assembly | 20 to 30 minutes | Springs must sit wide-end down inside valve holes |
| Compression two-handle valve | New bibb washers, brass screws, seat wrench | 40 to 60 minutes | Damaged valve seats inside the brass body |
| Threaded tub spout diverter | 1/2-inch pipe nipple, Teflon tape, strap wrench | 15 to 20 minutes | Twisting the hidden pipe nipple inside the wall |
| Slip-on tub spout replacement | Hex key (usually 5/32-inch), new slip spout | 15 to 25 minutes | Burr marks on copper tubing damaging internal O-ring |
What separates good results from bad ones
Clean Prep and Careful Alignment
A clean workspace prevents long-term leaks. Scrape away mineral buildup from the brass valve housing using a nylon brush and vinegar before inserting new parts. Grit caught between the valve wall and a fresh rubber seal creates small gaps that leak immediately. When sliding in the new cartridge, align the hot and cold indicator tabs precisely according to the manufacturer markings. Turning a single-handle cartridge 180 degrees upside down reverses your hot and cold controls completely, requiring full disassembly to correct.
Avoiding Overtightening and Forcing Fits
Experienced repairers know when to stop turning tools. Plastic parts and brass bonnet nuts easily crack or strip when overtightened. Hand-tighten the retaining collar, then add just a quarter-turn with a wrench. Silicone grease is preferred, though petroleum jelly is safe for short-term use. If parts don’t slide in smoothly, check for burrs rather than using a mallet.
Common problems and quick fixes
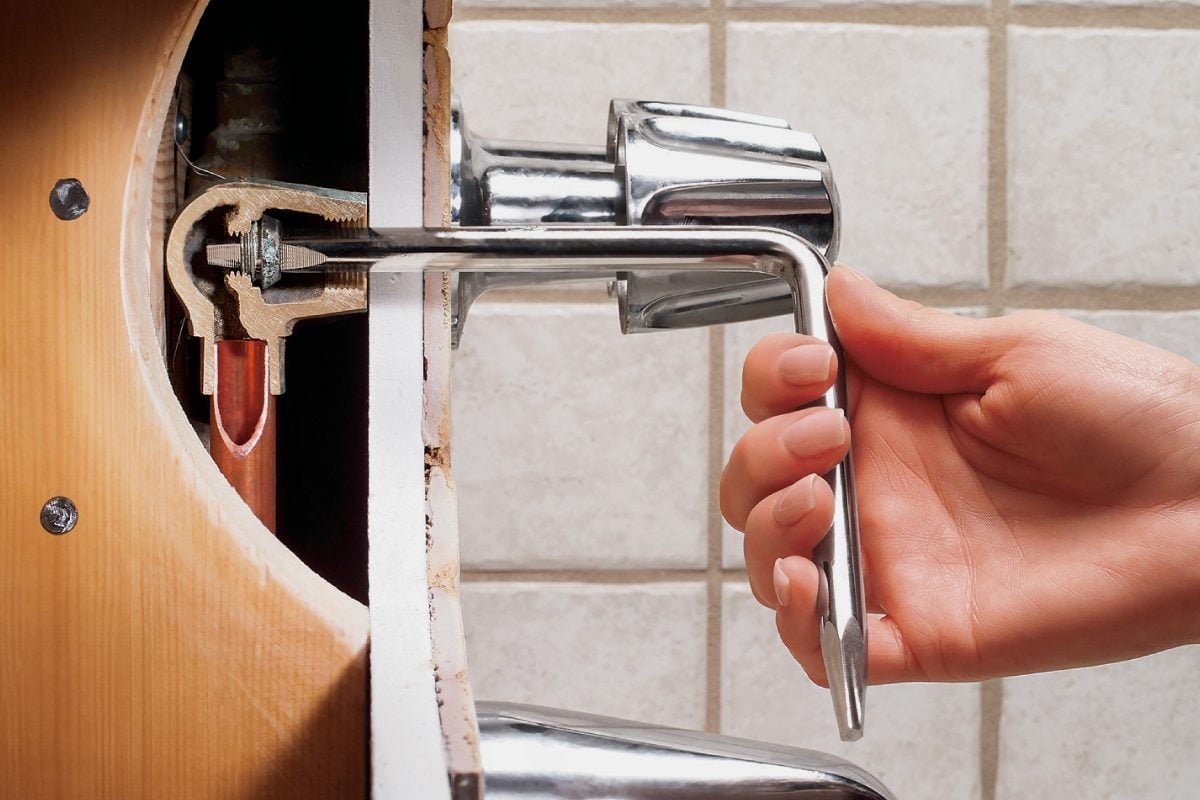
Small installation errors can cause leaks or reverse water temperatures after the water supply is restored.
| What you notice | What it usually means | What to do first |
|---|---|---|
| Handle turns, but water stays lukewarm | Cartridge rotational limit stop set too low | Adjust the plastic temperature gear on the stem |
| Water leaks around the handle base | Retaining nut loose or stem O-ring pinched | Tighten nut quarter-turn or inspect the rubber O-ring |
| Hot and cold water sides are reversed | Cartridge installed 180 degrees backwards | Shut off water, pull cartridge, rotate half-turn, reinsert |
| Diverter gate fails to send water to showerhead | Mineral buildup or broken lift gate inside spout | Soak spout in warm vinegar or install a new spout |
Safe Limits and Local Codes
Plumbing work inside residential walls must follow safe mechanical limits. The EPA WaterSense program provides flow rate guidelines to ensure shower and tub combinations deliver adequate pressure without excessive waste. On older homes, check the fixture label or stamp before buying replacement parts.
Never heat a brass valve body with an open flame inside a wall. If a valve stem is seized by corrosion, hire a licensed plumber to evaluate the assembly.
Keeping it working afterwards
Test the fixture by slowly restoring water while checking the wall for moisture. Leave the decorative trim plate off for the first 15 minutes of operation so you can easily spot tiny drips around the cartridge base under full pressure.
Wipe down external chrome trim with mild dish soap and a soft microfiber cloth; avoid harsh acidic cleaners that eat away factory clear coats. In areas with hard water, flush your tub spout diverter regularly by lifting and dropping the gate repeatedly while water flows to dislodge calcium sediment. A properly installed cartridge with silicone lubricant typically functions smoothly until you feel resistance when turning the handle or notice a steady drip from the spout.
When to use a different approach
Replacing internal parts won’t fix every bathtub faucet issue.
You should also choose a different approach if you have an obsolete, discontinued two-handle system with unserviceable internal threads. Swapping parts on an obsolete assembly costs more in specialty hardware than updating to a modern, pressure-balanced single-handle valve. Call a licensed plumber when you must cut into drywall, alter copper piping, or install access panels.
Frequently asked questions

Can I replace a tub faucet cartridge without turning off the main water?
No, you can’t replace a tub cartridge with the water on. Unthreading the retaining nut or pulling the clip under line pressure will eject the cartridge forcefully, flooding your bathroom and causing severe water damage within minutes. Always shut off your main home shutoff valve first.
Why is my new tub faucet still dripping after replacing the cartridge?
Mineral scale or metal burrs inside the brass valve housing are likely gouging the new rubber seals. Alternatively, the brass valve seat itself might be scratched, allowing water to bypass the cartridge. Pull the part, clean the brass cavity thoroughly, and inspect the internal metal surfaces.
How do I know which faucet brand I have?
Look for a stamped logo on the center of the handle, the faceplate, or the base of the tub spout. If the logo has worn away, remove the handle and match the broach spline pattern and cartridge length against reference charts at a plumbing supply store.
Is it safe to use WD-40 to loosen a stuck tub cartridge?
No, standard WD-40 isn’t a lubricant and may not effectively penetrate mineral scale; use a dedicated plumbing-safe penetrating oil or white vinegar to dissolve calcium deposits. Use white vinegar or plumbing-safe penetrating oil, then use a cartridge puller to slide the assembly out.
What happens if I drop the brass retaining clip inside the wall?
Leaving the clip inside the wall doesn’t harm your plumbing, but your faucet can’t function safely without it. Water pressure will push the cartridge outward, causing immediate wall leaks. You must buy an exact replacement clip at a hardware store before turning the water back on.
Final Thoughts
If you’re still unsure about the inner workings of your fixture, don’t hesitate to take a clear photo of the valve and head to your local hardware store. The staff there can often pinpoint the exact replacement you need. You’ll be back to enjoying a quiet, drip-free bathroom in no time.






