
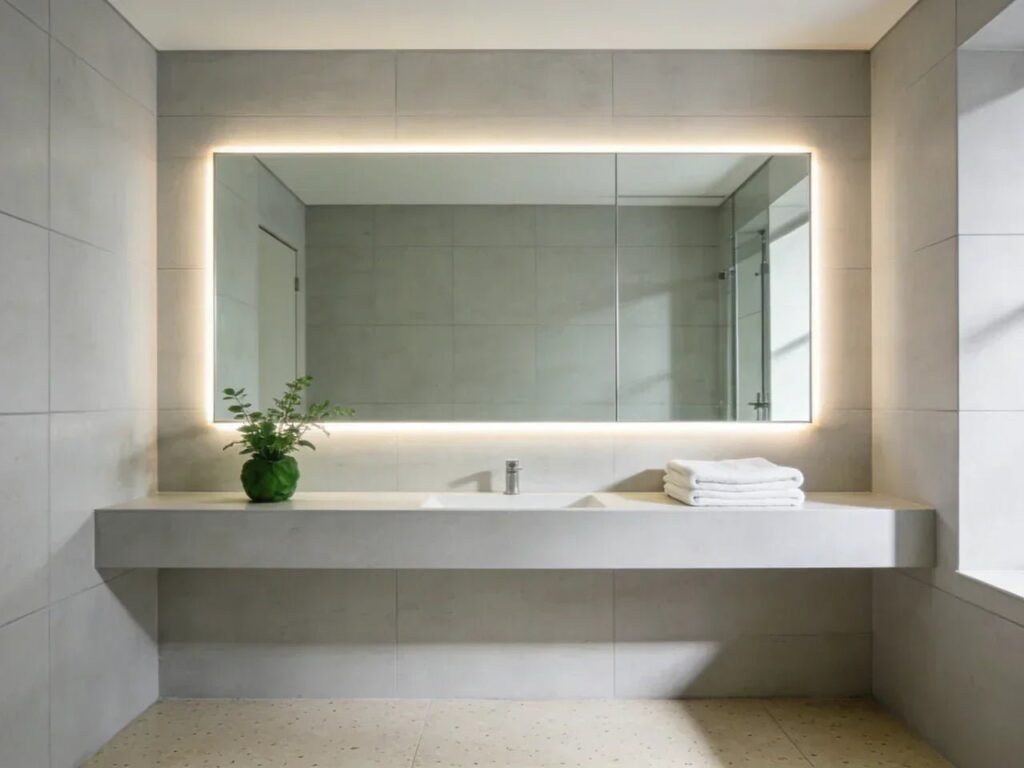
Switching older vanity bulbs to modern fixtures drops electrical draw by up to 80% per socket, which explains how energy saving bathroom lights help cut your bill your guide to savings starts with matching bulb lumens directly to room size. Replacing four 60-watt incandescents with 9-watt LEDs eliminates over 200 watts of demand whenever the switch turns on.
Table of Contents
How bathroom lights save you energy
Energy-efficient bathroom illumination relies on light-emitting diodes (LEDs) rather than heated filaments to brighten personal spaces. Traditional incandescents release about 90% of their electrical energy as heat rather than visible illumination, whereas LEDs run cool and convert the electricity directly into lumens. This setup is built for any household looking to lower utility bills while getting clean illumination for daily grooming tasks.
A frequent misconception is that lower-wattage bulbs must produce dim, gloomy spaces. Wattage measures electricity consumption rather than actual brightness; light output is measured in lumens. A standard 9-watt LED unit matches the 800-lumen output of an old 60-watt incandescent globe without wasting power. According to the ENERGY STAR lighting specifications, certified LED bulbs use up to 90% less energy than standard incandescents while delivering equivalent light output. Upgrading vanity bars and ceiling fixtures delivers crisp, high-visibility illumination across the mirrors without driving up domestic utility costs.
The basic method
- Shut off the dedicated lighting circuit breaker inside your service panel, then test the wall switch to verify power is gone.
- Remove the existing glass globes or vanity covers with an insulated screwdriver, and take out the old incandescent or halogen bulbs.
- Unscrew the fixture canopy screws to reveal the junction box, taking care to support the base so wires don’t bend.
- Unscrew the plastic wire nuts to disconnect the black live wire, white neutral wire, and bare copper grounding wire.
- Check your new damp-rated LED fixture base against the mounting bracket, adjusting the bracket screws so the fixture sits flush.
- Connect the matching wires using fresh wire nuts: twist black to black, white to white, and ground to ground before tucking them back inside the junction box.
- Fasten the new housing securely to the wall box, install your LED bulbs or secure the integrated module, and restore breaker power.
The single judgement call that determines your results is matching the fixture seal to the room’s humidity pattern. If you place an indoor dry-rated unit above a high-pressure shower head, internal moisture will corrode the connections and cause early failure. If you work on home wiring and encounter aluminum conductors, frayed insulation, or an ungrounded metal box, stop immediately. Step back and hire a licensed electrician to inspect the branch circuit.
Key numbers and settings at a glance
Choosing the right fixtures depends entirely on where they sit in relation to your water sources and tasks.
| Situation | What to use | How long | What to watch for |
|---|---|---|---|
| Night illumination path | 0.5-watt guide light outlet cover | 5 minutes to screw on plate | Sensor blockage from towels or doors |
What separates good results from bad ones
Color temperature and placement
Getting clean light depends on where you direct the beams. Placing an intense overhead downlight directly above the vanity mirror casts dark shadows under the eyes and chin, making personal grooming difficult. Experienced installers place vertical fixtures on both sides of the mirror at eye level to spread balanced light across the face. They also choose 3000K bulbs for warm, natural skin tones instead of harsh 5000K bulbs that give the room a sterile look.
Dimmer and fixture compatibility
Swapping out standard switches for modern dimmers offers significant control, but the hardware must match. A classic mistake people make is pairing new LED bulbs with older mechanical dimmer switches; this ruins the internal drivers, causing severe buzzing and flickering that forces an early replacement. Always pair dimmable LEDs with an electronic low-voltage (ELV) or dedicated LED-rated dimmer switch. This varies by model — check the label on both the dimmer and the bulb packaging before completing the installation.
Common problems and quick fixes

Addressing early lighting problems avoids fixture damage and keeps energy use low.
| What you notice | What it usually means | What to do first |
|---|---|---|
| Rapid pulsing or strobing | Dimmer switch is incompatible with LED drivers | Replace the wall switch with an LED-rated dimmer |
| Glow remains after turning off | Stray voltage or illuminated switch leakage | Swap the illuminated wall switch for a standard toggle |
| Water droplets inside lens | Inadequate IP rating or missing silicone seal | Re-seat the rubber gasket or buy a wet-rated trim |
| Premature bulb failure | Enclosed fixture trapping driver heat | Switch to bulbs labeled specifically for enclosed fixtures |
Electrical safety codes and moisture ratings
Bathroom lighting must follow strict legal standards to prevent electrical shock in wet environments. The National Electrical Code (NEC), published by the National Fire Protection Association (NFPA), requires all light fixtures installed inside wet zones—such as directly over tubs or inside shower enclosures—to carry an explicit “Suitable for Wet Locations” label. Standard damp-rated units are strictly limited to areas subject to steam, such as general ceiling locations or vanity walls positioned away from shower spray.
The NEC prohibits cord-connected luminaires, chain-supported luminaires, and track lighting within the zone extending 3 feet horizontally and 8 feet vertically from the top of the bathtub rim or shower threshold unless they’re specifically listed for wet locations. If your remodeling project requires moving junction boxes, running new cabling through wall studs, or modifying your main breaker panel, building codes in most municipalities require permits. This work demands the skills of a licensed, insured electrician to keep your home safe and fully insured.
Maintaining your bathroom fixtures
Proper care protects delicate LED driver electronics from the steamy, corrosive bathroom air. Avoid harsh chemical sprays or ammonia-based cleaners, as these degrade the protective rubber gaskets that keep steam out of internal wiring chambers.
Modern sealed LED fixtures don’t require routine bulb replacements for many years, but accumulated dust on driver vents can trap heat and shorten their working life. If you notice light output dropping or color shifting toward an odd yellow tint, the diode driver is degrading and the unit is ready for replacement.
When to use a different approach
Upgrading to LED fixtures offers substantial benefits, but this approach is the wrong choice for households that use unvented bathrooms with extreme moisture problems. Placing standard LED fixtures into rooms lacking working exhaust fans will cause electrical corrosion, regardless of bulb ratings. In this situation, invest your funds into installing a high-capacity exhaust fan before touching the light fixtures.
This project is also not for homeowners with historic, knob-and-tube electrical wiring. Connecting modern high-efficiency fixtures to aging, ungrounded branch circuits introduces fire hazards that offset any utility savings. Run fresh wiring through the walls first, or use surface-mounted battery LED puck lights until you can rewire the space safely.
Frequently asked questions
Can LED lights handle high bathroom humidity?
Yes, provided they carry a damp-location or wet-location safety mark. Damp-rated fixtures easily withstand steam from baths and sinks, while wet-rated units seal completely against direct water splashes inside showers. Check the packaging for these specific ratings before mounting any light near water.
Why do my new bathroom LED lights buzz?
Incompatible dimmer switches cause this buzzing sound. Older wall dimmers designed for incandescent bulbs chop electrical current unevenly, vibrating the internal LED components. Swapping the wall control for an LED-compatible dimmer stops the noise and prevents premature driver damage.
How long does a bathroom LED conversion take?
A basic vanity fixture replacement takes 30 to 45 minutes when existing wiring is sound. Swapping individual twist-in bulbs requires only 5 minutes. If you must cut new drywall holes for recessed fixtures, set aside 2 to 3 hours for the project.
Is it safe to install LED bulbs in enclosed shower covers?
Yes, but only if the bulb packaging explicitly states it’s rated for enclosed fixtures. Sealed recessed cans trap heat around the bulb base. Using standard open-air LEDs in enclosed shower trims leads to overheating, which permanently damages internal circuits within months.
What happens if I use dry-rated bulbs above a shower?
Steam penetrates the unsealed lamp base, corroding the contacts and triggering ground faults. Moisture inside high-voltage sockets creates short circuits that trip your breakers and create electrical fire hazards. Keep dry-rated units away from humid zones.






