
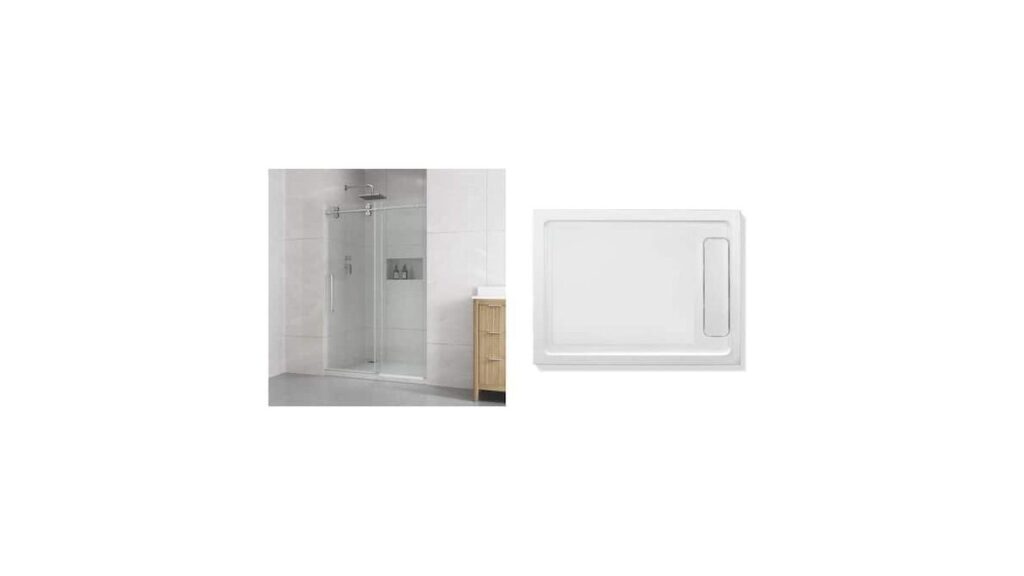
An ove decors shower doors review for your bathroom shows that these units provide thick, sturdy tempered glass and quiet sliding rollers, but they demand straight walls and careful planning. Most models feature glass between 5/16-inch (8 mm) and 3/8-inch (10 mm) thick, which keeps water off your floors better than thin, flimsy alternatives. Matching the adjustment range provides a high-end look without custom prices. This guide details sizing tolerances, mechanical weak spots, and the critical structural checks you need before mounting one.
Table of Contents
Understanding Ove Decors Shower Enclosures
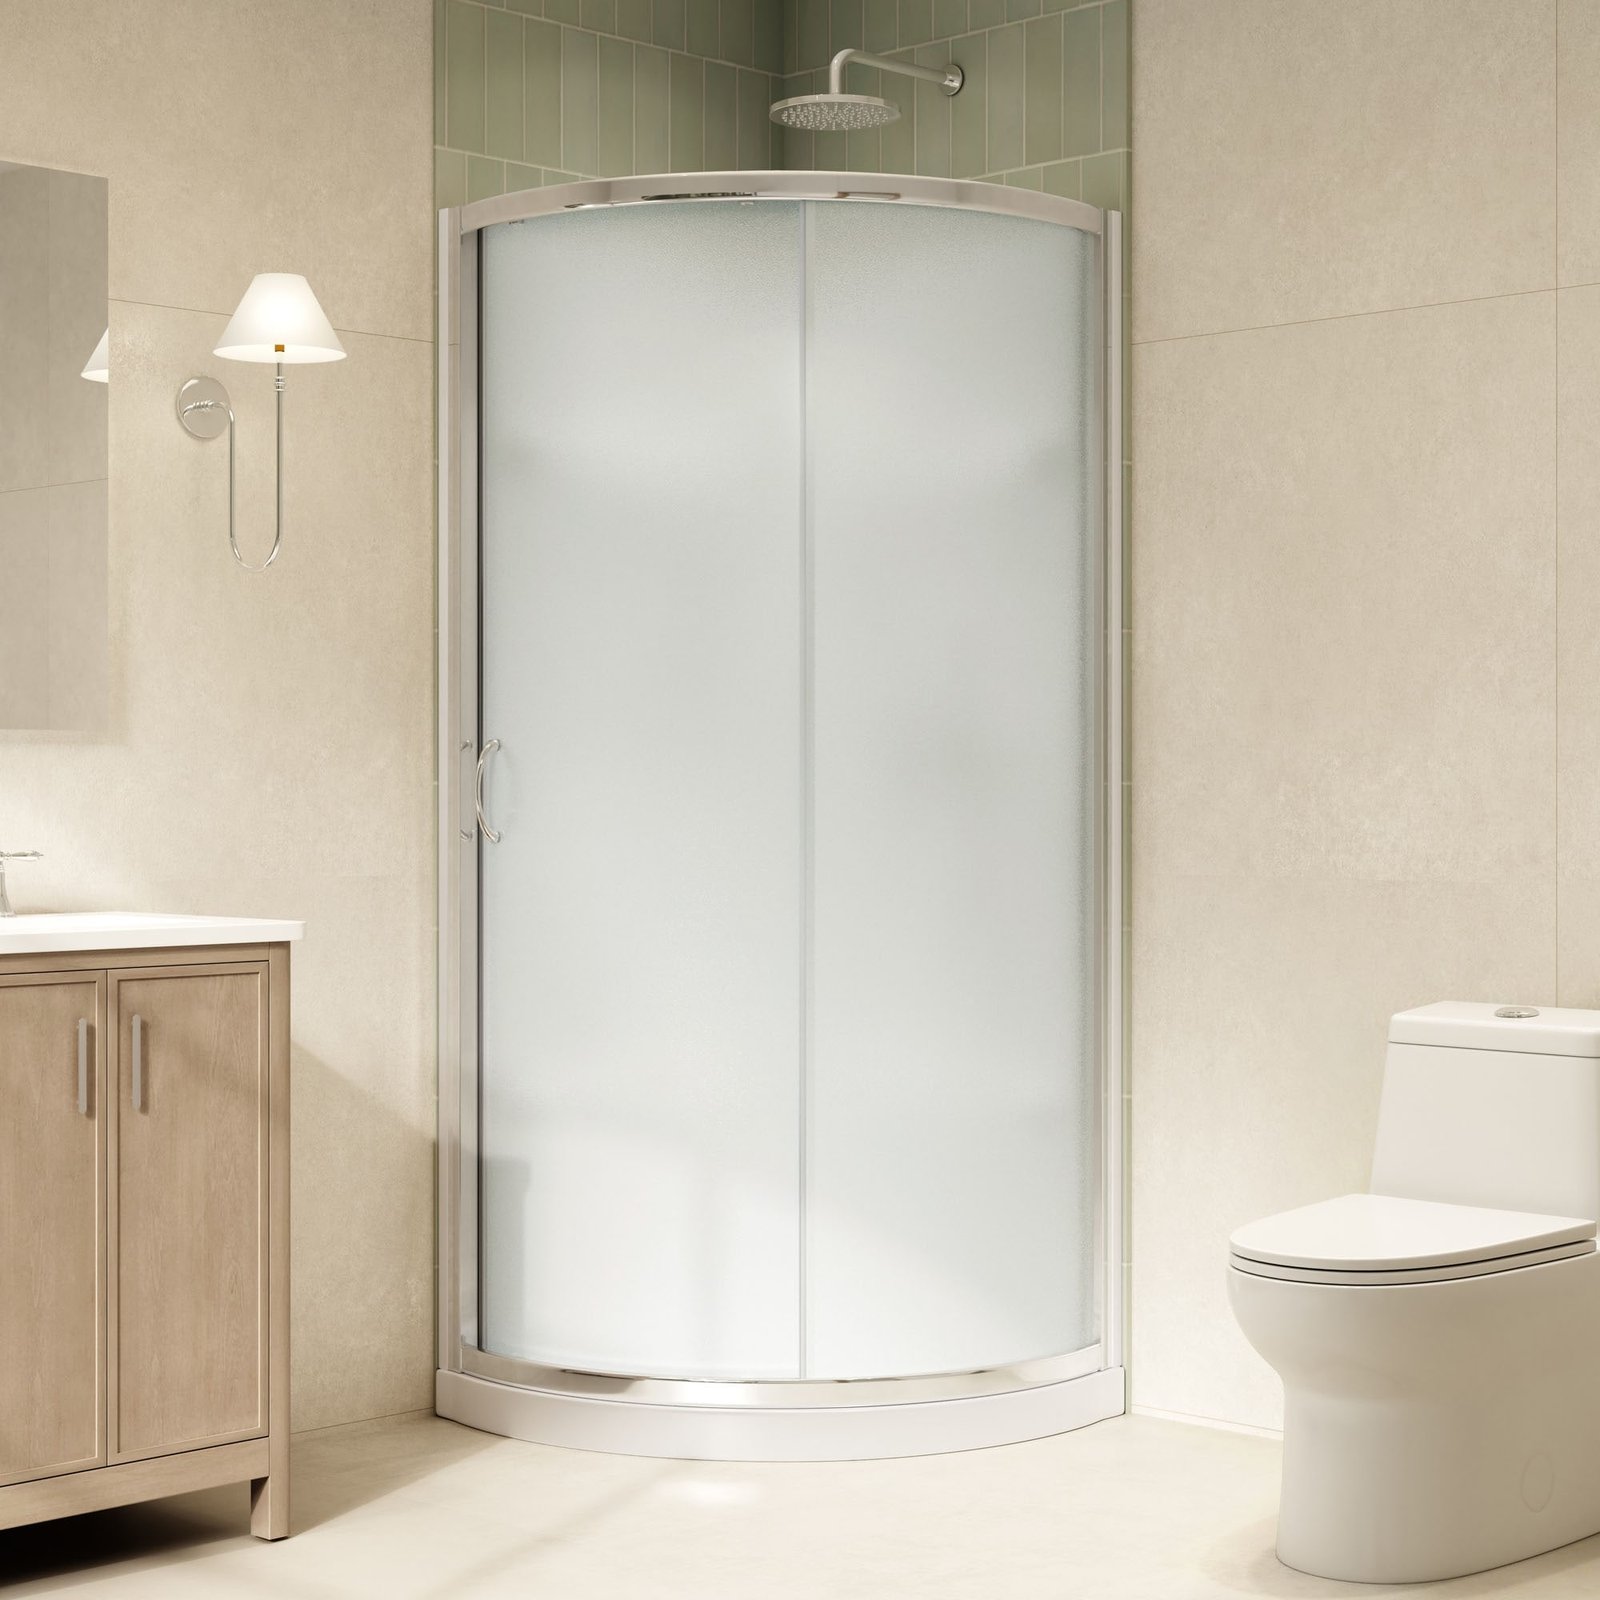
Ove Decors manufactures semi-frameless and frameless shower enclosures designed for standard residential alcoves and corner showers. These doors fit homeowners who want modern, heavy-glass styling without paying thousands for custom fabrication. A major misconception is that these doors fit any shower opening right out of the box. They don’t. Each model has a strict built-in width tolerance, usually allowing only about one-quarter inch to one inch of total adjustment across the wall jambs.
Hardware clamps directly onto the tempered panels. Tempered glass is strong but fragile at the edges. Striking an edge against tile causes the panel to shatter. Top-rail rollers spread the panel’s weight across the upper bar.
The basic method
Installing these doors requires two able-bodied adults and precise measurements before drilling into tile.
- Measure the width of your shower opening across the threshold, at the center height, and at the top rail height (usually around 70 to 74 inches up).
- Check both side walls with a 48-inch spirit level to confirm they stand plumb within one-quarter inch from bottom to top.
- Cut the top aluminum support rail to your exact opening width using a 32-teeth-per-inch hacksaw blade, wrapping masking tape around the cut line to prevent rough burrs.
- Mark wall bracket holes directly through the metal fittings, then drill through the tile using a diamond-tipped masonry drill bit at slow speed.
- Insert heavy-duty wall anchors into the tile, fastening the wall brackets securely with stainless steel screws into wall studs where possible.
- Mount the heavy rollers onto the pre-drilled holes in the glass panel, tightening the bolts by hand to avoid pinching the glass gaskets.
- Lift the door panel with a partner, set the top rollers onto the metal track, and snap the bottom guide block into place at the shower threshold.
- Apply a thin, continuous bead of silicone sealant along the entire interior perimeter of the base track to prevent water from migrating under the metal and leaking out.
The single judgement call that separates a good result from a bad one is knowing when to stop tightening hardware. Over-torquing metal brackets against bare tempered glass will shatter the sheet immediately, while leaving bolts loose causes the heavy door to sag and drag over time.
Key numbers and settings at a glance
Glass thickness and wall tolerances dictate which model fits your bathroom setup.
| Situation | What to use | How long | What to watch for |
|---|---|---|---|
| Standard alcove tub conversion | 5/16-inch (8 mm) bypass sliding doors | 3 to 4 hours | Roller alignment on top track |
| Walk-in shower with solid studs | 3/8-inch (10 mm) rolling single door | 4 to 5 hours | Structural stud placement behind tile |
| Out-of-plumb walls (over 3/8 inch) | Model with adjustable wall jamb profiles | 4 to 6 hours | Gaps behind the water seals |
| Small bathroom layout | Double-sliding bypass glass doors | 3 to 4 hours | Clearance near vanity and toilet |
| Corner neo-angle enclosure | Fixed glass clamps with pivot door | 5 to 6 hours | Base threshold leveling |
What separates good results from bad ones
Wall Preparation and Layout Checks
Experienced installers never open the hardware box until they check the walls for square. If the finished walls lean outward by more than three-eighths of an inch, standard roller models can’t close flat against the vertical jambs. This leaves a vertical triangle gap where water sprays out during showers.
Hardware Clamping and Clearance
Assembly order affects roller life. Install the bottom guide and fixed panel first. Check the sweep seal clearance while hanging the glass. If the sweep drags, adjust the top roller eccentrics to raise the panel. Keep rubber bumpers on glass until the panel is mounted.
Common problems and quick fixes
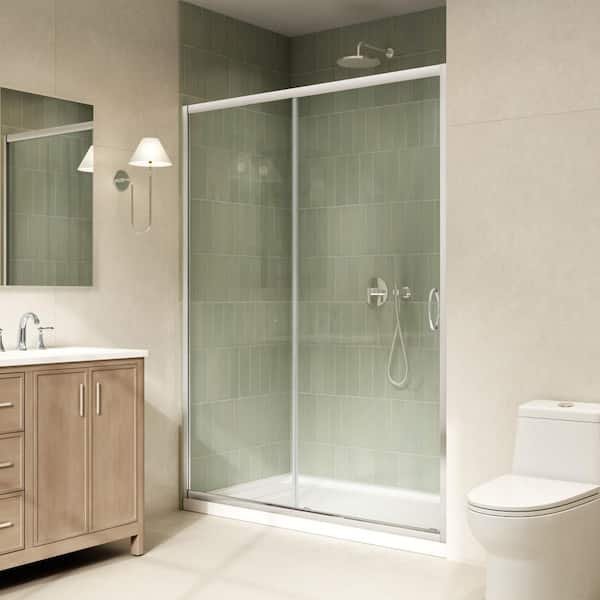
Most issues trace back to out-of-square framing or improper track leveling.
| What you notice | What it usually means | What to do first |
|---|---|---|
| Door rolls open or shut on its own | The upper support rail isn’t level | Adjust the track mounting brackets or level the bar |
| Water pools outside the bottom curb | Splash seal installed backward or missing | Turn the bottom vinyl sweep fin inward toward the drain |
| Glass panel grates against threshold | Top roller eccentrics slipped downward | Loosen center bolt, twist the eccentric disc up, and retighten |
| Door rattles inside the bottom track | Floor guide channel is spread too wide | Adjust the internal nylon guide block spacing |
Building codes and safety limits
Tempered safety glass in architectural applications must meet strict impact standards. The Consumer Product Safety Commission safety standard for architectural glazing materials sets structural and break-pattern rules under 16 CFR Part 1201 to lower the risk of cutting injuries. Ove Decors etches this certification stamp directly into a corner of every glass panel.
Local plumbing and building codes also require minimum clearance widths inside finished bathrooms. Most local jurisdictions enforce the International Residential Code (IRC), which requires an unobstructed shower door opening of at least 22 inches wide. If you choose a bypass model with wide overlapping panels, confirm your walkthrough opening meets this 22-inch rule before ordering. When drilling into structural studs or moving electrical switches away from the shower entrance, bring in a licensed contractor to pull necessary building permits.
Protecting your glass and hardware
Keep your shower clean by wiping the glass down with a rubber squeegee after every use. Hard water minerals bond quickly with microscopic pores in hot glass, leaving cloudy white spots that standard cleaners can’t remove. Clean the glass regularly with a mix of mild dish soap and warm water, or use a pH-neutral glass cleaner. Never spray harsh chemical cleaners containing bleach, ammonia, or abrasive powders on the aluminum tracks and brass rollers. Harsh chemicals strip the protective anodized layer off metal finishes, causing premature pitting and flaking. Inspect the silicone seal along the bottom curb as part of your usual clean, and replace the vinyl sweep seals when they stiffen or show cracks.
When to use a different approach
An Ove Decors heavy sliding door is the wrong choice if your shower walls lean out of plumb by more than one-half inch. Adjustable framed units or custom-cut glass suit crooked openings far better.
This hardware is also not for bathrooms used by people who need full clearance for accessibility. Sliding tracks sit on top of a raised curb, creating a trip hazard. If someone in your home uses a wheelchair or needs step-free entry, skip sliding glass systems and install a curbless, roll-in shower design with appropriate grab bars and clearance.
Frequently asked questions
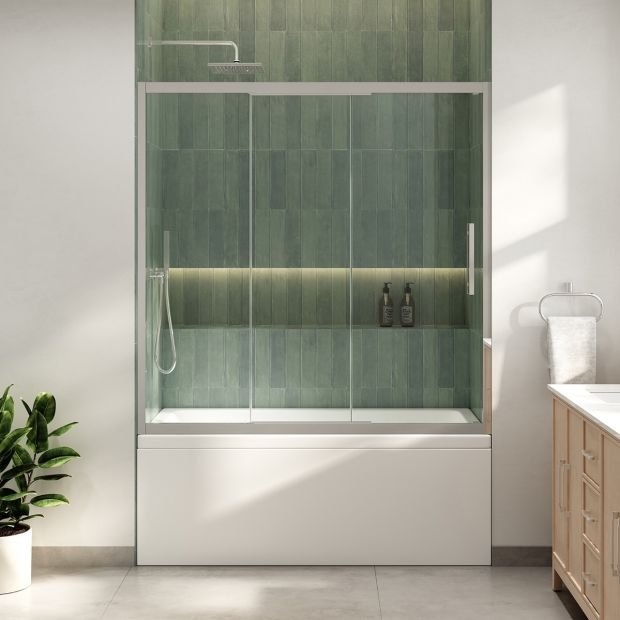
Can one person install Ove Decors shower doors alone?
No, hanging these doors requires at least two people. A single panel of 3/8-inch tempered shower glass can weigh well over 80 pounds. Trying to balance, level, and bolt a heavy, slippery sheet of glass onto an overhead track without help creates an extreme risk of dropping and breaking the panel.
Why does my new sliding shower door leak water onto the floor?
The bottom sweep seal is usually installed backward or the silicone bead was placed inside the shower. The flexible vinyl fin must point toward the shower drain to direct water inward. Furthermore, placing caulk on the inside track traps water inside the frame instead of letting it escape to the drain.
How long does the silicone sealant need to dry before using the shower?
Wait 24 hours after applying silicone before using the shower. Standard 100% silicone needs a full day to cure completely in normal room conditions. Running hot water or creating steam before that window passes will weaken the seal and cause perimeter leaks.
What happens if the glass touches a ceramic floor tile directly?
The tempered panel will likely shatter into thousands of small pieces. Tempered glass carries severe internal surface stress. While the flat face of the panel is strong, any direct point-impact on an edge or corner against hard stone or ceramic tile triggers instant structural failure. Always set glass on wood shims or rubber blocks.
Is the glass coated with a protective water-repellent layer?
This varies by model — check the label on your specific box. Many modern Ove Decors models include factory-applied protective coatings to resist soap scum, but entry-level models do not. If your model lacks this coating, treat the clean glass with an aftermarket hydrophobic spray designed for shower glass.
Final Thoughts
Choosing the right enclosure transforms your daily routine into a spa-like experience. Once you’ve verified your wall measurements and checked for level surfaces, you’ll be ready to upgrade your space with confidence. Don’t rush the installation; take your time with the alignment, and you’ll enjoy a beautiful, leak-free shower for years.






