

A thorough review toto drake ii two piece elongated toilet buyers rely on shows this model clears waste reliably using 1.28 gallons per flush. It pairs an extra-slick glaze with dual washdown jets, giving strong rim cleaning without wasting water. If you want a dependable, high-power flush in a standard bathroom layout, it delivers solid performance. This guide covers real-world setup steps, critical clearance measurements, maintenance limits, and troubleshooting that short summaries leave out.
Table of Contents
Design and Flushing Power
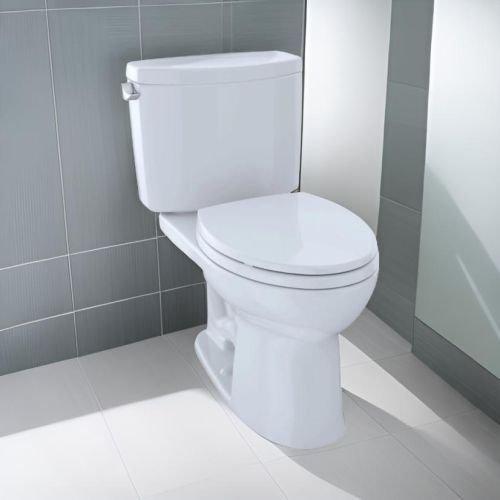
The Drake II is a gravity-fed, two-piece ceramic toilet made for residential bathrooms. It combines a separate tank and an elongated bowl that provides extra seating room compared to round designs. The unit uses dual nozzles near the rim to spin water forcefully around the bowl instead of dropping water through small, traditional rim holes.
A common myth is that high-efficiency 1.28-gallon toilets clog constantly because they use less water than older models. In reality, the bowl uses a wide 3-inch flush valve rather than an older 2-inch valve. This wider opening dumps water into the bowl twice as fast, creating a sudden siphon pull that carries heavy waste through a fully glazed 2-1/8-inch trapway without needing a second flush.
The ceramic surface is treated during the firing process with a smooth glaze called CeFiONtect (formerly Sanagloss). This barrier keeps particles and mold from gripping the ceramic surface below the water line.
The basic method
Installing the Drake II requires careful assembly so the porcelain doesn’t crack under pressure.
- Turn off the wall shutoff valve completely and flush the old toilet to drain it.
- Remove residual water with a sponge, unbolt the old bowl, and scrape all old wax off the floor flange using a 2-inch putty knife.
- Slide two new 5/16-inch brass closet bolts into the flange slots with their threads facing straight up.
- Press a standard wax ring onto the floor flange.
- Lower the elongated bowl straight onto the flange bolts, pressing down firmly and evenly to seat the wax ring.
- Hand-tighten the nuts onto the floor bolts, then turn them slightly with a wrench—don’t overtighten.
- Place the tank-to-bowl rubber gasket over the bowl’s flush valve opening, lower the tank onto the bowl, and tighten the two tank bolts alternating left to right until the tank rests firmly on the bowl’s contact points.
- Connect a flexible braided stainless-steel supply line to the tank inlet and open the stop valve.
The single judgement call that separates a tight seal from a cracked base is how you tighten the floor bolts. Tighten just until the bowl resists rocking; pulling the wrench too hard snaps the ceramic base instantly. If your closet flange sits broken or beneath the finished floor level, stop immediately. Replacing a subfloor or broken cast iron flange requires a licensed plumber to avoid hidden sewage leaks inside your framing.
Key numbers and settings at a glance
The Drake II fits specific plumbing rough-ins and works best within standard residential water pressures.
| Situation | What to use | How long | What to watch for |
|---|---|---|---|
| Rough-in distance | Tape measure from bare wall to bolt center | 2 minutes to measure | Needs 12 full inches; baseboard can steal space |
| Tank mounting | Screwdriver and tank bolts with rubber washers | 10 minutes to level | Alternate bolts evenly to avoid tilting the tank |
| Fill valve adjustment | Top adjustment screw on the valve head | 1 minute to set | Keep water line 1/2 inch below the overflow pipe |
| Supply line setup | 3/8-inch compression by 7/8-inch ballcock hose | 5 minutes to install | Hand-tight plus 1/4 turn; don’t cross threads |
What separates good results from bad ones
Preparation and Leveling
Experienced plumbers never set the bowl until they dry-fit it over the flange without wax. This shows whether the floor is flat. If the porcelain rocks on uneven tile, push plastic shims under the low side before pressing the wax down.
Tank Balance and Torque
When attaching the tank to the bowl, work back and forth between the two bolts. Give the left bolt three turns, then give the right bolt three turns. The trade-off for quiet, leak-free operation is that the rubber gasket takes significant muscle to compress. Tighten the bolts evenly until the tank is stable and level. Pulling further to eliminate every tiny visual seam will crack the tank bottom.
Common problems and quick fixes
A few small adjustments handle most running water or weak flush symptoms.
| What you notice | What it usually means | What to do first |
|---|---|---|
| Water trickles into bowl constantly | Flapper isn’t sealing over the 3-inch orifice | Unhook chain and verify it has two links of slack |
| Tank takes over 90 seconds to fill | Fill valve screen is clogged with supply debris | Shut off water, flush line, and rinse the top valve cap |
| Flush doesn’t pull waste cleanly | Water level inside the tank is set too low | Turn the fill valve screw clockwise to raise water level |
| Water pools around the base bolts | Floor bolts were tightened unevenly or flange sits low | Check bolt snugness; pull bowl and install a thicker wax ring |
Building codes and water standards
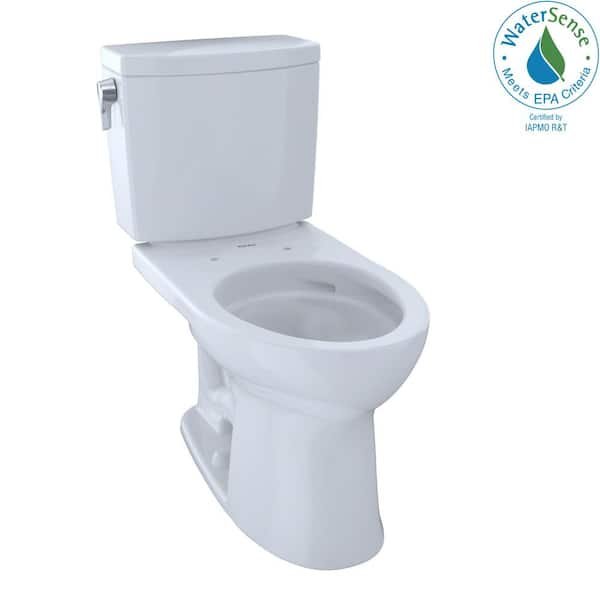
Plumbing fixtures must comply with national and regional water consumption limits. The Drake II uses 1.28 gallons per flush (4.8 liters), which complies with the federal standard set by the Energy Policy Act. It also meets the voluntary efficiency rules established by the EPA WaterSense program, which requires residential fixtures to use twenty percent less water than the standard 1.6-gallon federal cap while passing strict laboratory waste extraction tests.
If your home sits in California, check local city ordinances. The California Energy Commission (CEC) limits new residential toilet installations to 1.28 gallons per flush, making this unit fully legal for new construction and permitted bathroom renovations. If your municipal code requires an inspection for plumbing line alterations, pulling permits and scheduling an inspector ensures your home insurance covers any future water incidents.
Maintaining the ceramic finish
Clean the bowl regularly using a soft sponge and a mild liquid dish soap or baking soda.
A hard bristle brush or abrasive scouring powder will scratch the CeFiONtect glaze over time, creating tiny micro-grooves where mineral deposits collect. The first sign the glaze needs attention is a light brown mineral ring forming at the resting water line. Dissolve this line by pouring two cups of white vinegar into the bowl water, leaving it to soak for four hours, and wiping it clean with a microfiber cloth.
When to use a different approach
This toilet is the wrong choice for bathrooms with a 10-inch rough-in distance. The Drake II requires a true 12-inch gap from the finished drywall to the center of the drain flange; forcing it into a 10-inch space will block the tank from lining up with the bowl bolts.
This model is also not for small powder rooms where every inch counts. The elongated bowl extends roughly 28.5 inches into the room. If your door swing hits the front edge of the porcelain, buy a compact round-front toilet instead. Finally, if you need a zero-maintenance finish for a commercial rental where tenants use abrasive bleach scouring pads, a standard non-coated porcelain toilet resists chemical abuse better.
Frequently asked questions
Does the toilet include a seat in the box?
No. Toto sells the bowl and tank together, but you must buy the seat separately. Pick any standard elongated seat, such as a Toto SoftClose seat or an electronic bidet seat, to match the bolt holes.
Can you install a bidet seat on this toilet?
Yes. The Drake II bowl accommodates standard elongated bidet seats, including Toto Washlet models. The area around the seat bolt holes is flat and gives ample clearance for water hoses and electrical cords.
Why is the tank wobbling on the bowl?
The tank bolts are too loose. Alternate tightening each bolt a few turns at a time until the tank’s built-in ceramic feet touch the rear ledge of the bowl firmly without rocking.
How long does a rubber flapper usually last?
About four to five years under normal municipal water conditions. However, hard water containing iron or sulfur breaks down flexible flapper rubber faster, causing it to leak water into the bowl sooner.
What happens if you use drop-in bleach tablets?
Bleach tablets dissolve the rubber flapper, the tank-to-bowl gasket, and the plastic fill valve threads. This causes internal tank leaks, wastes hundreds of gallons of water, and cancels the manufacturer warranty.
Is the bowl height considered ADA compliant?
Yes. The bowl measures 16-1/8 inches from the floor to the rim, which reaches over 17 inches once you add a standard seat. This qualifies it as Universal Height, meeting standard ADA accessibility requirements.
Final Thoughts
Choosing this fixture means you won’t have to worry about clogs or constant repairs anymore. It’s a smart upgrade that makes daily life a little easier. Once you’ve verified your bathroom’s measurements, grab your wrench and get started. You’ll definitely appreciate the difference in quality every time you use it.






