
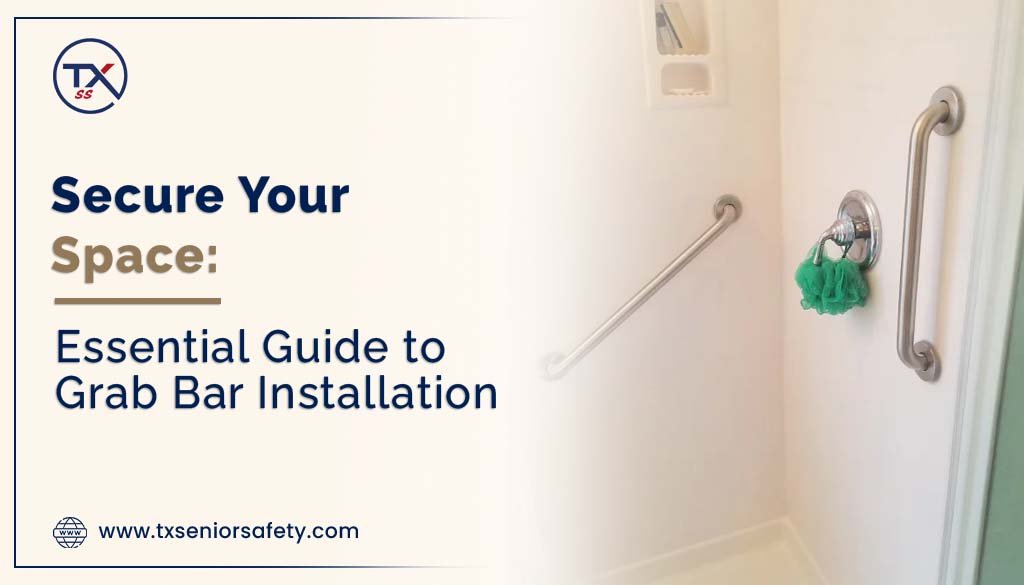
To install grab bars safely, you must understand wall backing, mounting height, and weight capacity. Standard installations require fastening into structural wood studs or certified hollow-wall anchors that handle significant pulling force. This guide covers the structural checks, layout, drilling, and hardware needed for a secure installation.
Table of Contents
Know where to install your grab bars
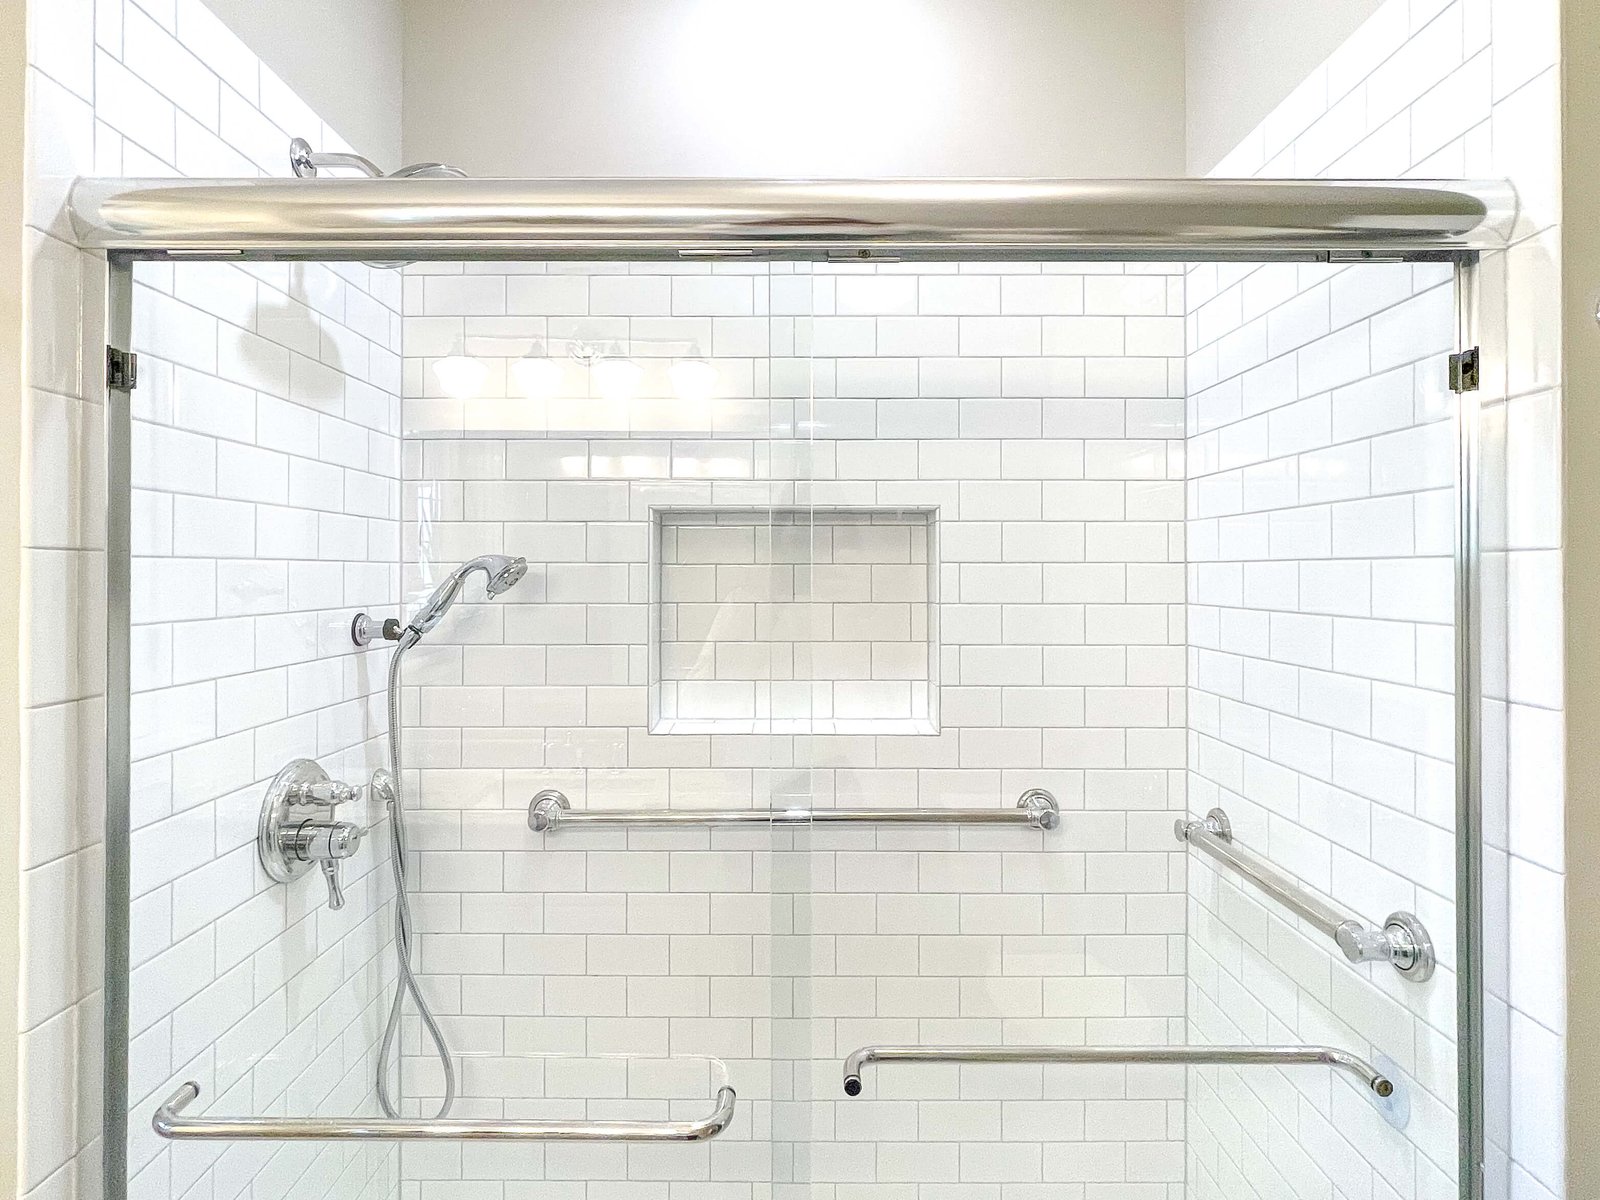
A grab bar is an anchored rail providing balance when stepping over a tub or standing on tile. Towel bars fasten into thin drywall with light plastic plugs, and they pull free instantly under human body weight.
Grab bars stay anchored because steel screws drive deep into structural wood framing behind the wall. When a stud isn’t present, you must use specialized hollow-wall toggle anchors rated for safety rails. This hardware spreads the pulling force across a broader surface behind the wall board. Grab bars feature smooth, textured, or knurled metal grips. A textured finish gives you a firmer hold when your hands are wet and covered in soap.
The basic method
- Locate the wall studs behind your shower wall using a reliable stud sensor, then tap lightly with a rubber mallet to confirm a solid sound.
- Mark your mounting height on the wall with a pencil, keeping the bar between 33 and 36 inches above the finished shower floor. Hold the bar against the wall, place a level that spans the full length of the bar, and trace the screw holes inside the mounting flanges.
- Apply masking tape over the marks to stop the drill bit from slipping across the slick tile surface. Chuck a carbide-tipped masonry bit sized to match the manufacturer’s specifications for your chosen anchors, set the tool to standard rotation—never hammer mode—and drill slowly while dipping the bit in cool water.
- Drive 2.5-inch stainless steel wood screws through the flange directly into the wood stud until the mount sits flush.
- Snap or twist the decorative flange cover plates over the mounting screws until they lock tight.
You must ensure your screw bites into solid wood rather than just the edge of a stud. If the screw turns endlessly, it missed the framing. You must back it out, shift the bar, or switch immediately to a structural hollow-wall anchor. If you must cut into plumbing lines or modify electrical wiring behind the wall, hire a licensed general contractor or plumber.
Key numbers and settings at a glance
The following settings show the hardware requirements and drill choices across typical residential shower wall types.
| Situation | What to use | How long | What to watch for |
|---|---|---|---|
| Wood stud behind ceramic tile | 2.5-inch stainless steel #10 or #12 screws | 10 to 15 minutes per stud | Spinning screws that missed the center of the wood |
| Hollow drywall outside the shower | Winged structural toggle bolts | 15 minutes per mount | Minimum 3.5 inches of hollow clearance behind wall |
| Wood stud behind porcelain tile | Diamond-grit hole saw bit with water cooling | Follow manufacturer instructions | Bit overheating and scorching the hard porcelain |
| Fiberglass shower surround | Must have solid wood blocking installed behind the fiberglass | Follow professional installation standards | Flexing or cracking thin fiberglass under heavy screw pressure |
| Concrete or masonry wall | 2-inch stainless concrete drive screws or expansion sleeves | 15 minutes per hole | Masonry dust clogging the hole before the screw seats |
What separates good results from bad ones
Preparation and drill speed
Experienced installers never rush the initial hole. Drilling ceramic or porcelain tile demands low rotational speed and steady, gentle pressure. Running a drill at top speed burns out a carbide bit in under a minute and risks cracking the surrounding tile. Pros keep a small cup of cold water nearby, dipping the bit often to keep the cutting tip cool. They also score the tile glaze lightly with an automatic center punch or tape down a scrap wood guide to prevent the bit from skating across the wall.
Sealing and alignment
Water management is where amateur jobs fail. Water seeps behind mounting plates if they aren’t sealed correctly. Applying silicone around the screw hole and flange rim prevents moisture from reaching wall studs. Experienced installers seal the entire perimeter of the flange to prevent moisture from reaching the wall studs and causing rot. That small bottom gap lets trapped moisture drain out instead of stewing behind the plate.
Common problems and quick fixes

Standard adjustments can resolve common installation obstacles.
| What you notice | What it usually means | What to do first |
|---|---|---|
| Screw spins freely without tightening | The screw missed the stud or stripped out the pilot hole | Back the screw out and insert a structural hollow toggle anchor |
| The drill bit wanders across the tile | Glazed tile surfaces are too slick for a bare bit | Stick two layers of masking tape over the mark |
| Fine crack appears across the tile face | You used hammer mode or applied too much forward pressure | Switch to rotary mode, reduce pressure, and seal the crack |
| Mount wobbles after screws are driven home | Screw head isn’t sitting flat against the mounting flange | Loosen all screws slightly, realign the flange, and torque evenly |
Bathroom safety and structural standards
Building codes set benchmarks for fall prevention hardware. According to the ADA Standards for Accessible Design, a grab bar must withstand a vertical or horizontal load of at least 250 pounds of force without breaking or pulling free from the wall. The same standards require grab bars to have an outside diameter between 1.25 inches and 2 inches to ensure a safe, secure hand grip. They also specify a 1.5-inch clearance between the rail and the finished wall so your knuckles don’t hit the tile while gripping.
Following commercial accessibility standards provides the safest setup in private homes. If your bathroom walls contain structural metal studs rather than wood, standard wood screws won’t hold. Metal framing requires specialized butterfly toggles or solid wood blocking added inside the wall cavity, which requires removing tile and calling a licensed remodeling contractor.
Maintaining the hardware
Check mounting plates regularly by pushing and pulling the rail. You shouldn’t feel any play or wiggle between the flange and the wall surface. If the bar moves, remove the trim covers right away and tighten the screws back down.
Clean rails with warm water and mild dish soap on a microfiber cloth. Avoid abrasive powders, scouring pads, and cleaners with bleach, ammonia, or acid. These chemicals strip protective clear coats off stainless steel, bronze, and chrome finishes, leading to surface rust and pitting. Inspect the perimeter silicone seal once a year. If the caulking dries out, shrinks, or peels, scrape it off completely with a plastic blade and apply fresh 100% silicone sealant to keep moisture out of your framing.
When to use a different approach
This method is unsuitable for renters who can’t drill into tile. It’s also unsuitable for thin, freestanding acrylic inserts lacking solid backing. Drilling into an unsupported acrylic shell without structural backing will crack the panel and offer zero holding power.
Use a tension-mounted security pole or a freestanding shower chair instead. You can also explore temporary suction-cup grab bars for light balancing support, though you must never trust them to bear full body weight during an actual fall.
Frequently asked questions

Can grab bars be installed without drilling into studs?
Yes, you can install grab bars without studs if you use hollow-wall anchors specifically rated for grab bars. These anchors use expanding metal wings that spread pressure across the back of the wallboard. Standard plastic wall plugs are unsafe and must never be used.
Why do grab bars need to be 33 to 36 inches high?
This height range matches natural human arm positions when standing or rising from a seated position. Positioning the bar lower forces you to bend down unsafely, while placing it higher strains your shoulders and wrists when you pull your body weight upward.
How long does silicone caulk take to dry around grab bars?
Silicone caulk takes about 24 hours to cure completely before you can expose it to direct shower water. While some quick-cure formulas claim water resistance in 3 hours, waiting a full day guarantees the waterproof seal behind the flange won’t wash away.
Is it safe to use suction cup grab bars in a shower?
No, suction cup grab bars aren’t safe for holding body weight. They work only for light balance assistance. Changes in temperature, grout lines, and surface soap scum make suction cups lose pressure and detach suddenly, which can cause serious falls.
What happens if you drill into a water pipe behind the wall?
Water will spray out through the drill hole immediately, causing fast structural damage inside the wall. If this happens, shut off the home’s main water supply valve right away and call an emergency licensed plumber to open the wall and repair the copper or PEX line.
Final Thoughts
Once you’ve finished the project, give each bar a firm, steady pull to ensure it doesn’t budge. It’s also a good idea to check the screws every few months to keep things tight. You’ll feel much more confident knowing your bathroom is a safer, more accessible space for everyone who visits.
Related guides






