
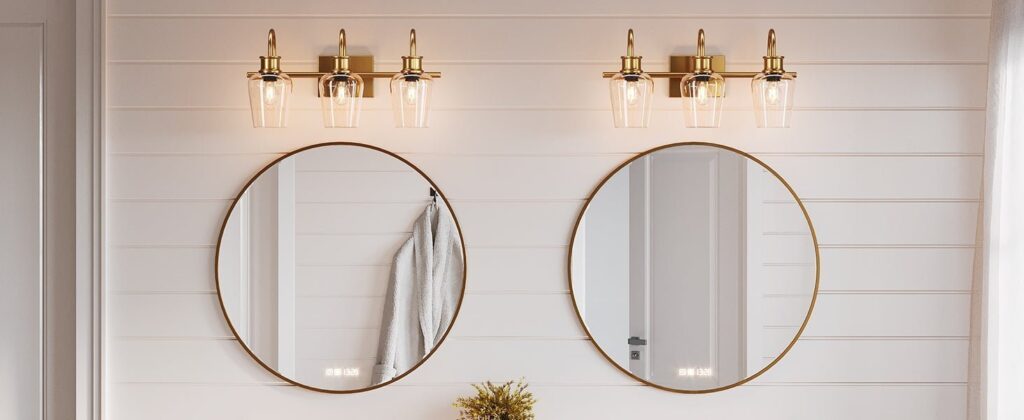
Floating wall units, corner bases, narrow-depth cabinets, open-frame consoles, and single-basin pedestals form the 5 modern vanity styles that fit small bathrooms your guide to chic space saving solutions relies on for tight floor plans. Standard units measure 21 inches deep, but these compact choices drop down to 12 to 18 inches to protect walking paths. This guide details real clearances, rough-in plumbing adjustments, wall-blocking needs, and the trade-offs of shrinking your wash station.
Table of Contents
Modern vanity styles for small bathrooms
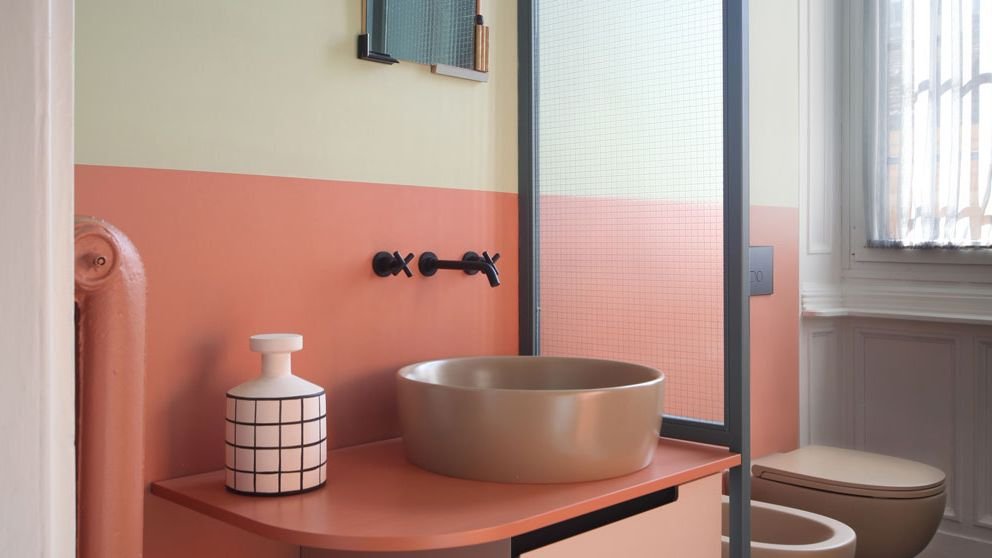
A small-space vanity combines a water basin with a cabinet or frame built under 24 inches wide. Homeowners use them in powder rooms, guest suites, and narrow apartments to wash hands without blocking doorways. They fit anyone dealing with less than 40 square feet of floor space.
A frequent mistake is assuming every compact unit provides hidden storage. Open consoles and pedestal shapes clear physical space, yet they offer zero cabinet volume for bottles or spare rolls.
Water lines also dictate what fits. Wall-mounted styles require waste pipes to exit directly through the wall drywall. If your home has plumbing coming up through the subfloor, a wall-hung unit forces you to reroute copper and PVC lines behind the finished wall. This adds labor costs before the cabinet even touches the room. For those who want floor storage without cutting walls, a freestanding slim cabinet avoids moving those pipes.
The basic method
Installing a small unit requires precise anchoring and pipe fitting so doors clear nearby walls.
- Measure your wall width with a tape measure, allowing at least 15 inches from the basin center to any sidewall.
- Turn both water shutoff valves clockwise until tight, then open faucet handles to relieve system pressure.
- Mark wall studs using an electronic stud finder; if using a floating frame, install a 2×6 wood blocking board between studs at 32 inches from the subfloor.
- Set the cabinet in place, place a 24-inch bubble level across the top frame, and tap wood shims underneath until flat.
- Fasten the cabinet into studs using 3-inch cabinet screws driven through the top rear structural rail.
- Run a 3/8-inch bead of 100% silicone sealant along the cabinet rim, then press the basin top down firmly.
- Connect the 1-1/4 inch P-trap to the wall drain slip joint, tightening the plastic nuts by hand plus a quarter turn with slip-joint pliers.
- Connect flexible stainless steel supply lines to faucet shanks, torquing nuts to roughly 10 foot-pounds using an adjustable wrench.
Getting your plumbing rough-in height right makes or breaks this job. If your wall waste pipe sits higher than the vanity sink drain outlet, gravity can’t clear water and the bowl will hold dirty water. If you must move copper supply lines or cut into main soil stacks, hire a licensed plumber to avoid hidden water damage behind drywall.
Key numbers and settings at a glance
Planning around tight walls means matching your room layout to the correct fixture style.
| Situation | What to use | How long | What to watch for |
|---|---|---|---|
| Floor space under 30 sq ft | Floating wall-mount | 2 to 3 hours to hang | Wall drain rough-in height |
| Entry door hits vanity edge | Rounded corner console | 1 to 2 hours to fit | Out-of-square 90-degree corners |
| Narrow hall powder room | Shallow 12-inch depth unit | 2 hours to set | Faucet must fit side mount |
| High humidity, poor airflow | Open brass or steel frame | 1 to 2 hours to bolt | Visible P-trap plumbing finish |
| Shared family half-bath | Deep single-drawer cabinet | 3 hours to level | Drawer notch clearing drain pipe |
What separates good results from bad ones
Rough-in planning and wall framing
Experienced installers verify wall backing before buying hardware. A wall-hung vanity filled with water can pull drywall anchors right out of the wall. Always open the drywall and nail a solid 2×6 timber horizontal backer between two studs if you pick a floating design. This step holds the cabinet steady for decades. Also, check wall corners with a framing square. Old houses rarely have true 90-degree corners. If a wall leans inward, an off-the-shelf square top leaves an ugly wedge-shaped gap that caulking can’t easily hide.
Door swings and pipe clearances
Check traffic paths before you tighten mounting bolts. If the bathroom entry door swings inward, don’t install a unit that leaves less than 2 inches of handle clearance. Many people install a vanity only to discover the drawer strikes the door trim when pulled out. If you choose an open-frame metal console, swap cheap white plastic drain tubes for solid brass or chrome traps. Open bases expose every pipe, so your plumbing finish must look as clean as the faucet above it.
Common problems and quick fixes
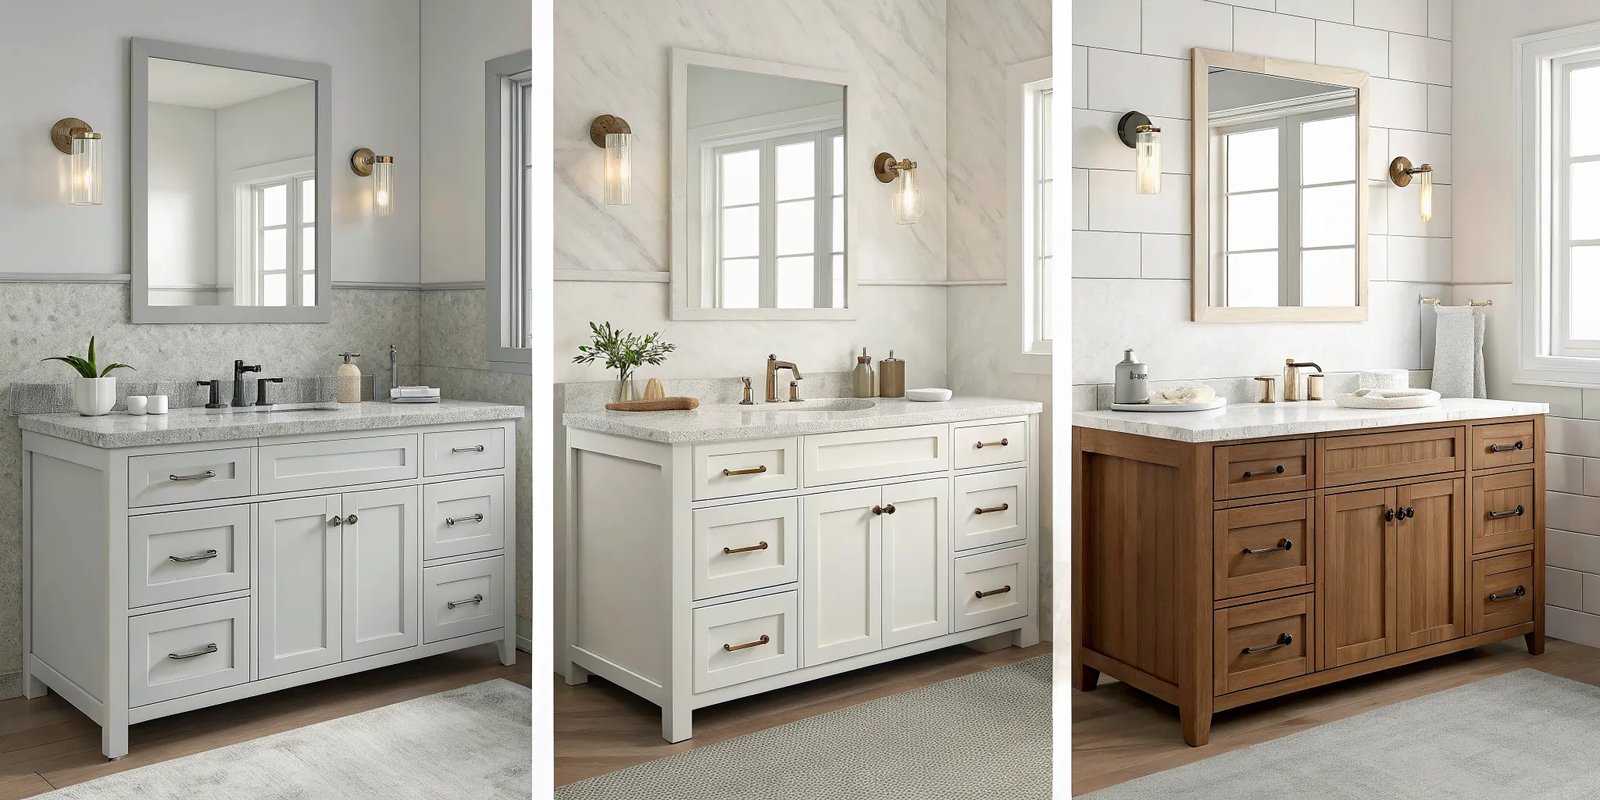
Plumbing leaks and wobbling happen when parts are forced into tight spaces.
| What you notice | What it usually means | What to do first |
|---|---|---|
| Sink drains slowly | P-trap pitch is level or backwards | Lower the wall waste arm connection |
| Cabinet rocks when touched | Floor subfloor is uneven | Drive cedar shims under the low base corner |
| Vanity drawer won’t close | Pipe hits the drawer back panel | Cut a relief notch in the rear drawer box |
| Water pools behind faucet | Top sits angled toward the wall | Shim the front base until top leans 1 degree forward |
Required clearance standards
The International Code Council bathroom fixture clearances establish strict minimum spaces that every homeowner must follow. Under standard residential codes, you must leave at least 21 inches of clear walking space in front of the sink edge. You also need a minimum of 15 inches measured from the center line of the sink basin to the nearest side wall, bathtub edge, or toilet tank.
Fitting a fixture smaller than these limits breaks building codes and makes using the room frustrating. If your space can’t meet the 15-inch centerline rule, you can’t legally install a vanity cabinet there without a special design variance. Altering vent stacks or major waste branches requires an inspection permit in most towns, so consult your local building department before cutting structural wall studs.
Keeping it working afterwards
Small cabinets show water wear quickly because sinks sit close to wood edges. Wipe splashed water off the countertop edges after heavy use to stop laminated wood or veneered MDF from swelling. Reseal stone tops regularly using a fluoropolymer-based impregnating stone sealer to prevent hand soap stains.
Check under the cabinet whenever you notice it for dampness. Flexible braided hoses can loosen slightly from daily water-hammer shocks. Run your dry hand along the brass stop valves; if you feel moisture, snug the compression nut by an eighth turn. If drawer glides start binding from bathroom steam, spray the steel tracks with a dry silicone lubricant rather than oil, which attracts dust and hair.
When to use a different approach
A modern styling choice isn’t right for every household. This approach isn’t for large families sharing a single bathroom who need to hide twenty hygiene bottles and appliances. A 16-inch shallow unit simply lacks the cubic volume for deep storage.
If your home has thick concrete walls or historical plaster that you can’t cut into, avoid floating styles. Rerouting pipes through masonry costs far too much. In that case, buy a traditional floor-mounted cabinet that conceals supply lines coming up through the floor.
If you care for toddlers or seniors who lean on counters for balance, avoid open-leg consoles. Use a securely anchored, heavy base unit instead.
Frequently asked questions
Can you put a regular faucet on a narrow-depth vanity?
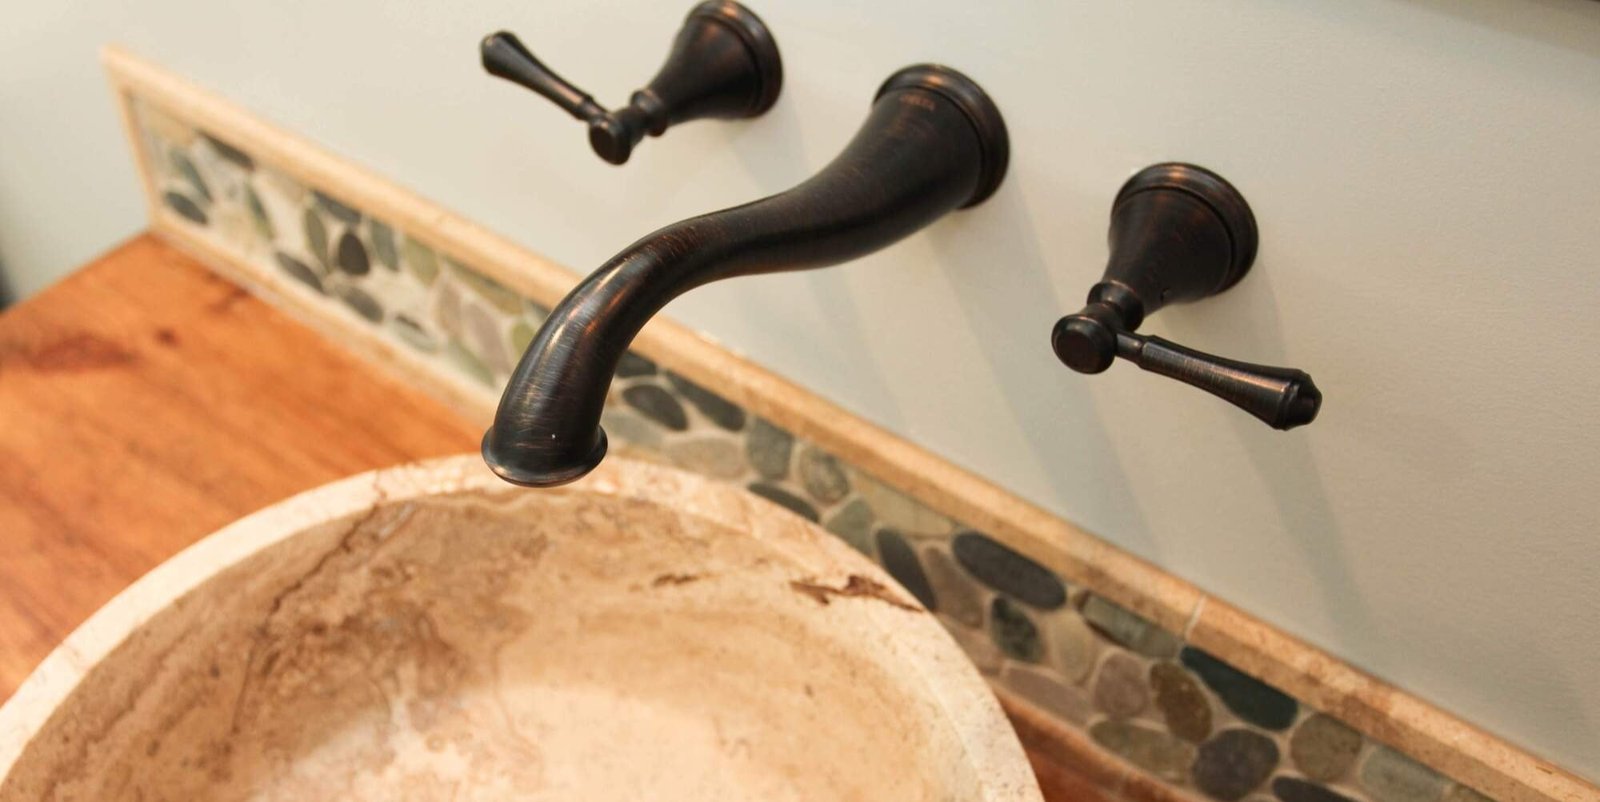
No. Narrow cabinets under 15 inches deep lack room behind the sink for standard faucet shanks. You must purchase a compact single-hole faucet, a side-mounted deck faucet, or a wall-mounted faucet that keeps the sink surface clear.
Is a wall-mounted vanity safe for heavy use?
Yes, but only if bolted directly into solid wood studs or horizontal wall blocking. Drywall anchors alone will fail when someone leans on the sink basin. Check the manufacturer’s manual, as this varies by model.
How much space should be between the toilet and vanity?
Building codes require at least 15 inches from the center line of the sink to the edge of the toilet bowl. Maintaining 18 inches provides much better elbow room for daily use in tight layouts.
What happens if your drain pipe sits too high in the wall?
Water will back up into your sink bottom because gravity can’t push it uphill into the sewer arm. You must either open the wall to lower the sanitary tee fitting or pick a taller floor-standing vanity.
Why do floating vanities make small bathrooms look bigger?
They expose uninterrupted floor tile from wall to wall. Seeing more open floor space tricks your eye into perceiving a larger room footprint, while letting you slide a step stool or scale underneath.
Final Thoughts
Choosing the right vanity doesn’t mean you have to sacrifice your personal style or daily comfort. Once you’ve measured your space, head to a local showroom to test the drawer depth in person. You’ll find that a well-chosen piece makes your tiny bathroom feel like a luxurious, open sanctuary instead of a cramped closet.
Related guides
- All Bathroom Outlets Not Working: How to Reset Your GFCI
- Bathroom Remodel No Payments for Two Years: How It Works
- Bathroom Fan With Humidity Sensor: How to Choose and Install






