
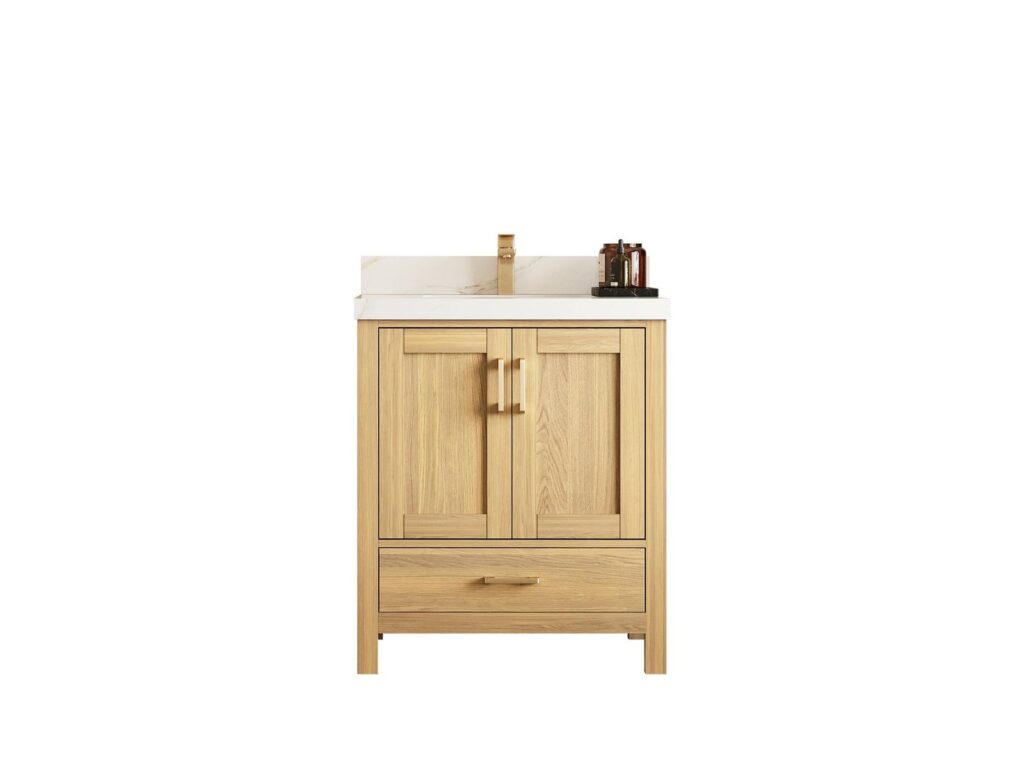
Following a step-by-step checklist on title how to choose furniture for a bathroom solves your storage and layout problems in under 30 minutes of measuring. You need water-resistant materials, exact wall clearances, and the right plumbing alignments before you buy anything. This guide suits homeowners and renters planning a practical layout update.
Table of Contents
Choosing the right bathroom furniture
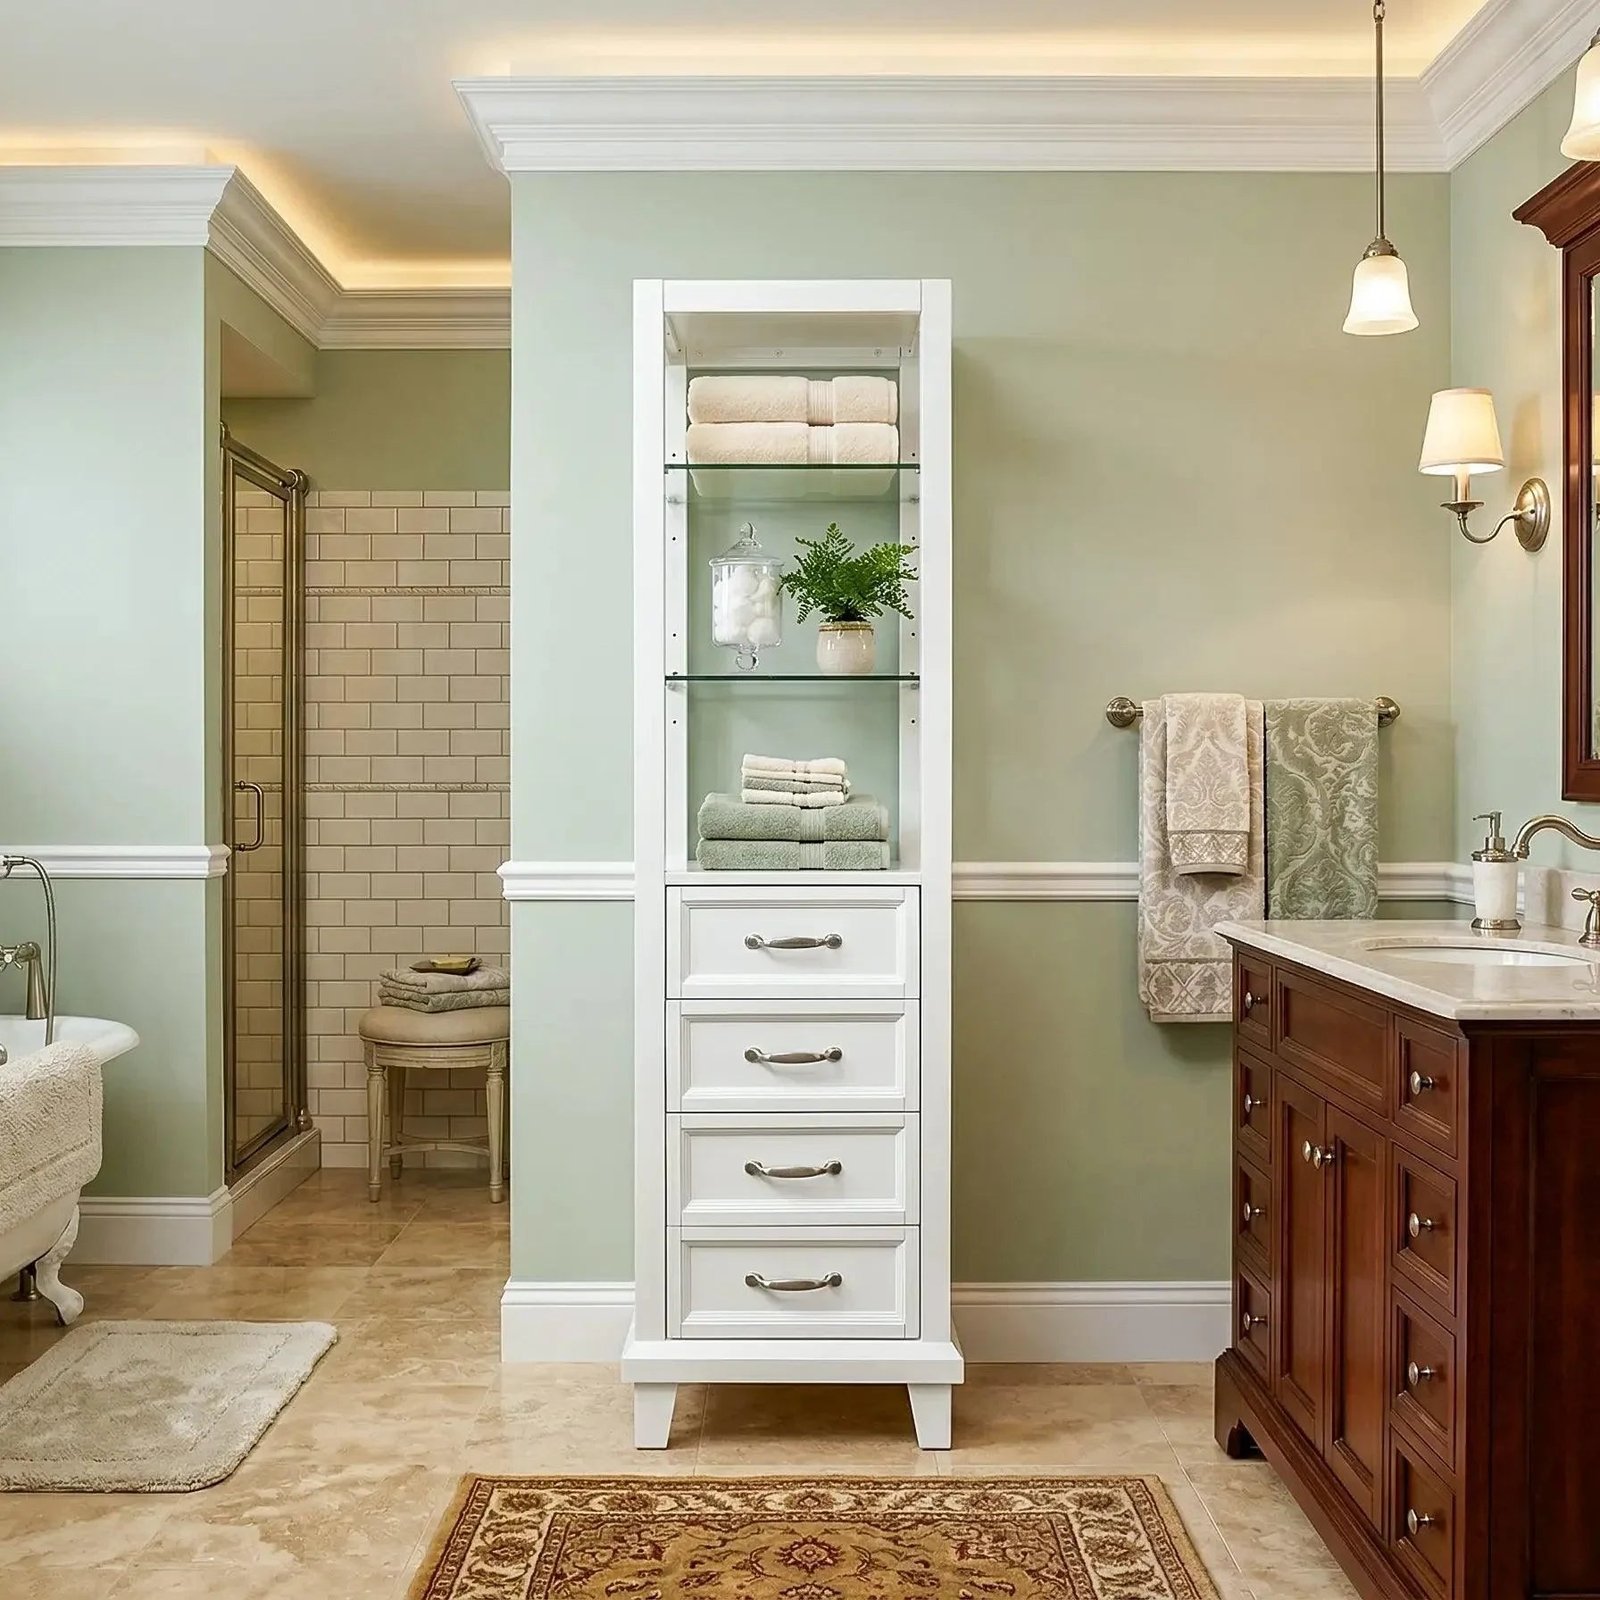
- Steel tape measure: Use a 16-foot metal tape with clear 1/8-inch markings; fabric sewing tapes stretch and give false reads.
- Torpedo spirit level: A standard 9-inch magnetic level to check floor slopes and wall plumb.
- Painter’s tape: 1.5-inch blue low-tack tape to lay out unit footprints directly on the floor.
- Pencil and grid paper: Standard 1/4-inch grid sheets to sketch pipe locations and door swings.
- Stud finder: A basic sensor that locates standard 1.5-inch wood framing studs behind wallboard.
Cardboard mockups work great for testing tight corners, but rough hand spans don’t work for plumbing cutouts. If you must shift waste pipes inside walls, hire a licensed plumber rather than drilling blind into framing.
Step-by-step
- Measure the rough-in plumbing height and width. Record the distance from the finished floor to the center of the drain pipe using your steel tape, which is usually 18 to 20 inches.
- Map door swings and drawer clearances. Mark 30 inches of open floor space in front of the vanity location with blue tape to make sure doors open fully without hitting the toilet. Careful: If your cabinet hits the door frame, you can’t open drawers all the way; check trim width first.
- Check wall flatness and stud locations. Run your 9-inch level across the wall surface where your cabinet will sit to spot bumps or gaps.
- Select a moisture-rated base material. Pick marine-grade plywood or solid wood with polyurethane sealants rather than standard non-rated particleboard. Tip: Raw edge banding absorbs damp air fast; look for fully sealed edge joints on all four sides.
- Match vanity height to the primary user. Choose 32 inches for small children or 36 inches for adults to avoid lower-back strain.
- Verify ventilation clearances near the unit. Keep wood storage units at least 12 inches away from open shower curbs to reduce direct water splash.
- Anchor the cabinet frame to wall framing. Drive two 2.5-inch cabinet screws straight into marked wall studs to stop tip-over accidents. Installing heavy hanging units onto hollow tile walls requires specialized structural anchors, so hire a licensed contractor if you lack masonry drilling gear.
Matching units to room layouts
Every home layout brings unique humidity levels, wall strengths, and floor limits that change your furniture needs.
| Room Type | Extra Setup Time | Material Priority | Clearance to Watch |
|---|---|---|---|
| Powder Room (Half Bath) | 1 hour | Decorative Painted MDF | 21 inches from bowl rim |
| Primary Master En-Suite | 3 to 4 hours | Solid Hardwood / Stone | 36 inches between twin basins |
| Basement Guest Bath | 2 hours | Powder-Coated Metal / PVC | 2 inches off concrete floor |
| Tight Hallway Bathroom | 2 to 3 hours | Marine Plywood | 30-inch shower door swing |
It’s much safer to install a compact 24-inch vanity and add a recessed cabinet later than to squeeze in a 36-inch unit that blocks the bathroom doorway.
How to tell you did it right
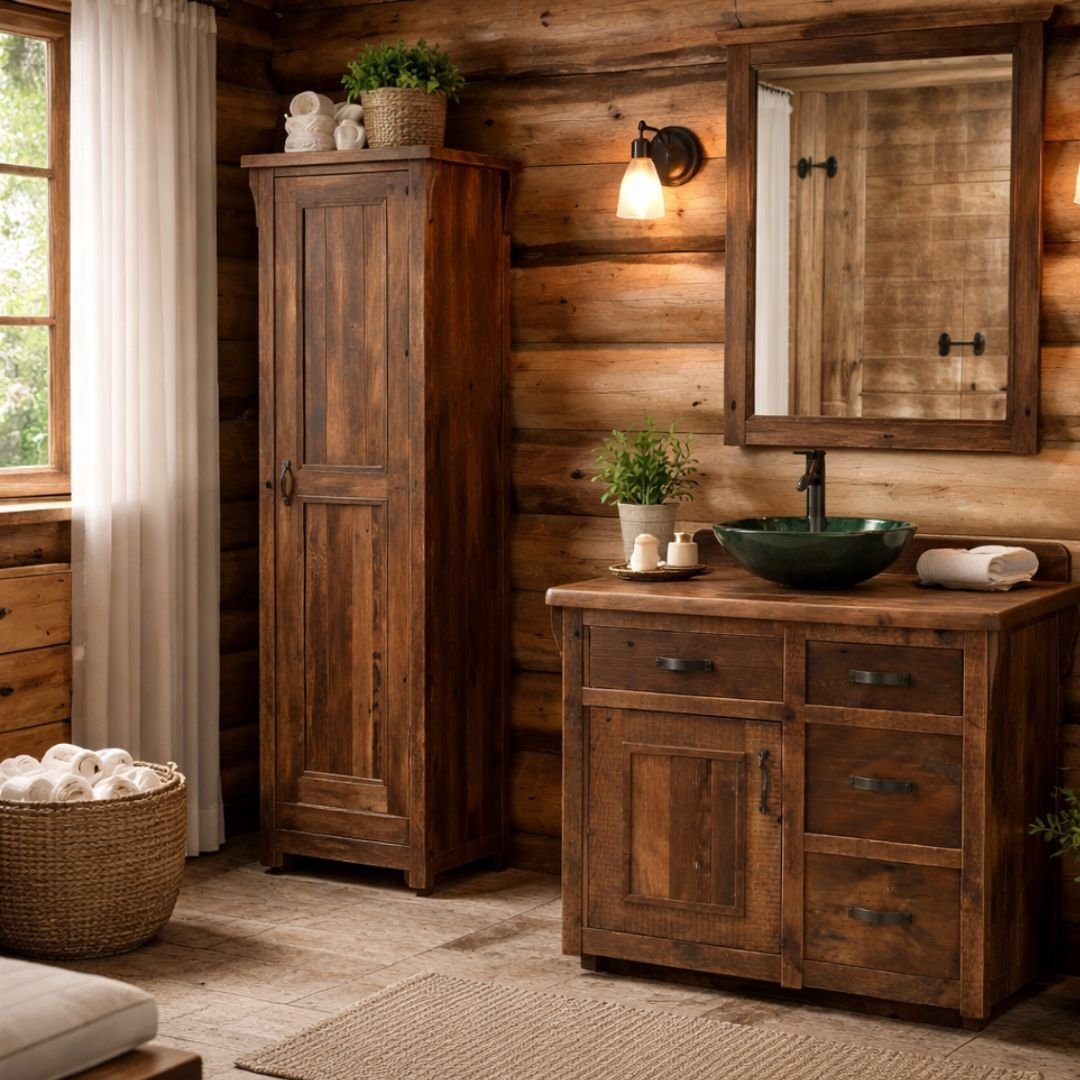
A correct installation shows zero rocking when you push against the counter edge. Drawers slide freely without scraping against side door trim, and your spirit level shows the bubble centered across the vanity top. In poor setups, gaps appear along the rear wall, and cabinet doors hang crooked. The most common quality failure is swelling along lower base panels. This seam swelling happens when floor mopping water enters unsealed wood joints. You stop this damage by running a continuous bead of mold-resistant silicone along the base, keeping room exhaust fans running, and sealing open screw holes.
Moisture control rules and final setup
High humidity ruins wood fast if you skip airflow rules. The EPA Indoor airPLUS program requires mechanical exhaust fans in bathrooms to vent humid air directly outside to prevent structural rot and moisture buildup. After anchoring your furniture, caulk all sink rims with 100% silicone sealant, wipe dust from drawer slides, and store your plumbing user manuals inside. Quality sealed cabinetry lasts over a decade before surface seals need a fresh coat of water-resistant varnish. If your setup requires running new exhaust ducting through your home’s exterior siding, hire an HVAC technician to keep the seal watertight.
Alternative storage options
Wall-mounted floating vanities
This style hangs directly on reinforced wall studs without touching the floor tiles. It makes small spaces look wider and lets you clean the floor easily, but it requires solid blocking inside the wall framing.
Freestanding leg consoles
These units stand on slender metal or wood posts without heavy side panels. They save money on trim work and setup, though you lose hidden shelf space because the drain trap stays visible.
Recessed mirrored medicine cabinets
These shallow boxes sit inside the wall cavity between two wall studs. You gain four to five inches of shelf depth without stealing walking area, but moving hidden wires needs a licensed electrician.
Frequently asked questions

Can regular bedroom furniture be used in a bathroom?
No, standard bedroom dressers lack moisture-resistant glues and water-repellent top finishes. High humidity causes ordinary furniture joints to loosen and particleboard frames to swell rapidly. If you convert an old dresser, coat every surface with exterior polyurethane first.
Is solid wood better than MDF for bathroom vanities?
Yes, high-grade plywood and solid woods hold up better against heavy sink weights and minor water leaks. Standard MDF absorbs standing water quickly like a sponge. However, high-density exterior MDF works fine if sealed completely beneath thick enamel paint.
How much space do you need around a bathroom vanity?
You need at least 30 inches of clear floor space directly in front of the cabinet. Building codes also require 15 inches of side clearance from the sink centerline to any side wall, shower glass, or toilet edge.
What is the most durable countertop material for a vanity?
Engineered quartz counters resist bathroom stains, makeup dyes, and water damage better than most surfaces. Natural marble looks elegant, but it stains easily from soaps and requires repeated sealing regularly.
Who is this buying guide not for?
This guide isn’t for commercial restrooms or public locker facilities that require commercial stainless steel units and hands-free fixtures. Those public spaces must follow strict local accessibility rules rather than residential home storage dimensions.
What happens if you skip caulking the back of the vanity?
Water splashes run down the back of the cabinet and get trapped against the drywall. This hidden moisture feeds wall mold and slowly rots the back panel of your cabinet within a single year.
Final Thoughts
Once you’ve finalized your measurements and picked your pieces, you’ll feel much more confident about the installation. Don’t rush the process; take a moment to double-check your plumbing connections before you secure anything permanently. You’re going to love how much more functional and organized your space feels once it’s all finished.






