

To solve how to pick moisture resistant paint for a bathroom that lasts, select a 100% acrylic latex formula containing an EPA-registered antimicrobial mildewcide, paired with a satin or semi-gloss finish. A proper coat holds up against daily steam when the surface is correctly prepared and the paint is applied in a well-ventilated environment. This guide walks through the exact label terms to check, the surface preparation routine, and the drying times needed to stop peeling before it starts.
Table of Contents
What bathroom paint actually does
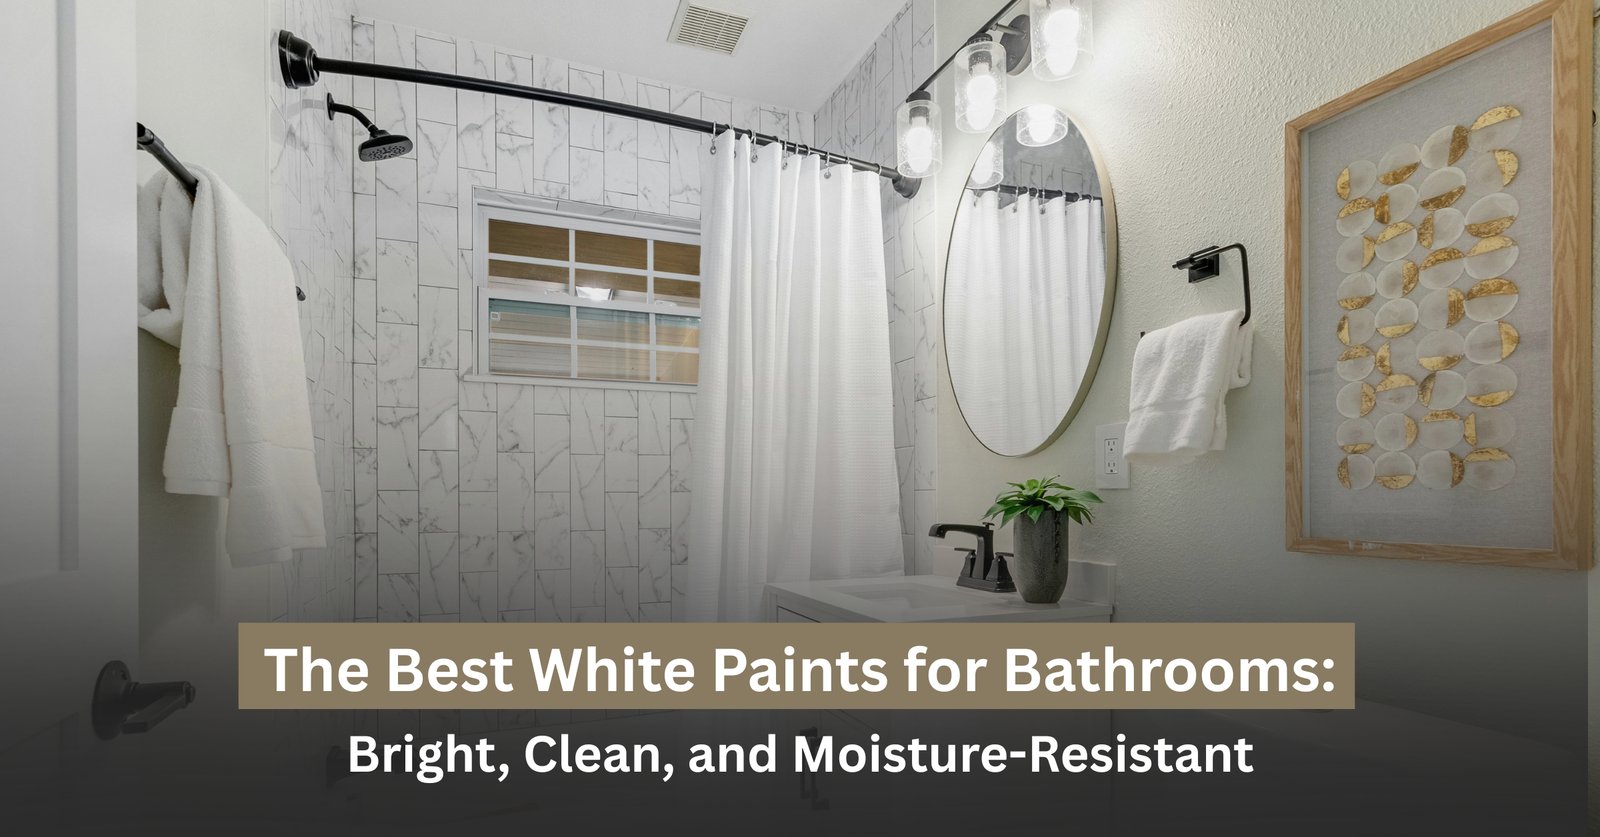
Moisture-resistant bathroom paint forms a tight, water-repellent film that slows steam penetration and stops fungal spores from feeding on the binder. Standard flat wall paint uses cheap vinyl fillers that absorb water droplets like a sponge. Bathroom formulas combine dense acrylic resins with active biocides that keep mold from rooting into the drywall.
A common misconception is that moisture-resistant paint acts as total waterproofing. It doesn’t stop running water behind broken caulking, nor will it fix leaks inside the wall cavity. This product is designed for high-humidity washrooms, laundry spaces, and powder rooms. Who this isn’t for: homeowners dealing with rotted greenboard or active plumbing leaks, since new paint over wet drywall will blister within days. Water vapor condenses on cold surfaces, and without the right binder, that trapped liquid breaks the chemical bond between the old layer and the new film.
The basic method
- Wash the entire wall area with 1 gallon of warm water mixed with 1/3 cup of trisodium phosphate (TSP) substitute to strip body oils and soap scum.
- Scrape away loose, flaking layers with a 2-inch putty knife, then sand the ridges smooth using 120-grit sandpaper.
- Fill gouges or pinholes with moisture-resistant spackling compound, letting it dry for 2 hours before feather-sanding with 220-grit paper.
- Wipe away all gypsum dust using a damp microfiber cloth, then let the room air dry for at least 4 hours.
- Roll on 1 full coat of dedicated acrylic stain-blocking primer at roughly 350 to 400 square feet per gallon, using a 3/8-inch nap roller.
- Wait 3 to 4 hours for the primer to dry completely under good airflow.
- Apply the first coat of moisture-resistant acrylic paint, maintaining a wet edge with steady, vertical roller passes.
- Allow 4 hours of dry time, then roll the second coat to ensure complete film thickness.
The single judgement call that makes or breaks this job is surface dryness before the first roll. If the drywall core still holds trapped humidity from cleaning, the primer will fail to anchor. If you find black mold spreading across an area larger than 10 square feet, stop; the EPA guide on mold cleanup advises hiring an experienced remediation contractor rather than painting over it yourself.
Key numbers and settings at a glance
Every bathroom brings different steam levels and wall conditions, so adjust your paint choice and wait times to match the room.
| Situation | What to use | How long | What to watch for |
|---|---|---|---|
| Half bath (no shower) | Standard interior acrylic in satin | 2 hours dry between coats | Dust settling on wet sheen |
| Full bath with window | 100% acrylic with mildewcide in satin | 4 hours dry between coats | Drafts drying edges too fast |
| Windowless bath with shower | Dedicated kitchen/bath semi-gloss | 4 hours dry, 48 hours cure | Condensation drips before full cure |
| Unpainted fresh drywall | Mold-resistant PVA primer first | 24 hours cure before topcoat | Drywall soaking up resin unevenly |
| High-gloss existing walls | Bonding primer over scuffed surface | 3 hours dry before topcoat | Paint sliding or pooling on slick areas |
What separates good results from bad ones
Surface prep and working sequence
A solid paint job depends on what happens before the can opens. Oil films from soap, hairspray, and shampoo settle on upper walls and prevent paint from bonding. Washing down walls with a degreaser is mandatory, not optional. If you paint directly over soap residue, the dried film pulls away in large sheets once shower steam heats the room. Work from the ceiling down to the baseboards, cutting in borders with a 2-inch angled sash brush before rolling the main fields.
Managing cure times and room conditions
The real trade-off comes down to sheen versus appearance. Semi-gloss resists water droplets better, but it highlights every dent and taping seam in your drywall. Satin hides wall flaws better, though it demands longer cure times to build moisture defense. A mistake people actually make is running the shower the morning after painting. It costs them the whole project: surfactants leach out of uncured paint, leaving sticky, yellow drip marks that ruin the finish and require a full resand. Keep the shower completely dry for at least 48 hours after your final coat.
Common problems and quick fixes
When bathroom paint fails, the wall shows clear warning signs that tell you what went wrong.
| What you notice | What it usually means | What to do first |
|---|---|---|
| Paint peeling in large rubbery sheets | Surface had oily residue during application | Scrape loose areas, clean with degreaser, and prime |
| Brown or clear shiny drip trails | Surfactants pulled out by high humidity | Wash gently with a damp sponge and warm water |
| Tiny bubbles lifting under the surface | Moisture trapped behind the paint film | Burst blisters, sand flat, and apply bonding primer |
| Black specks showing through paint | Mold growing from underneath the layer | Clean with bleach solution, dry fully, use stain primer |
| Wrinkling paint skin while rolling | Second coat put on before first coat dried | Let it harden 24 hours, sand flat, and recoat |
Moisture limits and paint standards
Bathroom ventilation rates dictate how well your paint holds up over time. The Home Ventilating Institute publishes standard exhaust guidelines: an intermittent bathroom fan should move at least 50 cubic feet of air per minute (CFM) for bathrooms up to 50 square feet, or roughly 1 CFM per square foot for larger spaces. If your fan doesn’t clear steam within 20 minutes after a shower, no paint film will stay intact indefinitely.
For homes built before 1978, scraping old layers carries a severe health hazard from lead dust. The EPA Lead Renovation, Repair and Painting Program requires certified testing kits before disturbing older paint. If lead is present, hire an EPA-certified lead-safe contractor to complete the surface preparation.
Routine maintenance and cleaning
Once your paint cures, keeping it clean preserves the mildew-resistant coating. Wash down high-steam zones every 3 to 6 months using warm water and mild dish soap on a soft microfiber rag. Never scrub semi-gloss or satin bathroom paint with abrasive scouring powders or rough nylon pads; scratching the surface breaks the protective top film and lets mold take hold in micro-grooves.
You’ll know a bathroom needs a fresh coat when water droplets stop beading on the wall and begin to soak in, or when washing no longer removes dark gray mildew stains. For the average family bath, this happens when the biocides naturally deplete—check the product label for the manufacturer’s recommended maintenance or recoat intervals.
When to use a different approach
Standard moisture-resistant paint is the wrong choice for three specific areas: * Inside the shower stall or on surfaces hit by direct water spray. Use ceramic tile, fiberglass enclosures, or waterproof epoxy systems instead. * Over basement foundation walls showing active efflorescence or white mineral deposits. Mineral salts push paint off masonry; apply a dedicated hydraulic masonry waterproofer here. * In bathrooms without any fan, window, or heating vent. Even premium paint fails in stagnant air. Install an exhaust fan or run a dedicated dehumidifier instead of relying on a paint can.
Frequently asked questions

Can regular paint work in a bathroom?
No, regular interior paint lacks the biocides and tight resin cross-linking required to block steam. Within several months, regular flat or eggshell paint absorbs humidity, leading to bubbled surfaces, flaking patches, and dark mildew colonies across your drywall.
Is semi-gloss paint necessary for bathroom ceilings?
No, specialized flat or matte bathroom ceiling paints work better. Semi-gloss ceilings reflect overhead lights harshly and reveal every plaster seam. Dedicated bathroom ceiling paints contain high biocide levels while keeping a flat finish that hides drywall imperfections.
How long must bathroom paint dry before shower use?
Wait at least 48 hours before turning on the shower. While the paint feels dry to the touch in 2 to 4 hours, steam halts the chemical curing process. High moisture during the first two days draws water-soluble additives to the surface.
Why does new bathroom paint peel around the shower?
It peels because of poor mechanical adhesion, usually caused by steam exposure during painting or invisible soap scum left on the wall. If you skip cleaning with a degreaser or sand-scuffing the old paint, the new layer can’t bond.
What happens if you skip primer on bathroom drywall?
Skipping primer leads to flashing and rapid moisture failure. Raw drywall paper and joint compound absorb paint binders at different speeds, leaving porous zones where steam penetrates the wall, causing bubbles and premature peeling.
Final Thoughts
Once your walls are dry, keep a small container of leftover paint tucked away for minor touch-ups. You’ll be glad you have it if a scratch appears later on. Taking this simple step ensures your bathroom stays looking fresh and protected against humidity for years to come.






