
You lower the water level by turning the float adjustment screw clockwise, which is how to adjust toilet float valves so water stops spilling into the overflow pipe. The most common cause of a running toilet is a float sitting too high, which keeps the fill valve open constantly.
Table of Contents
Why this happens
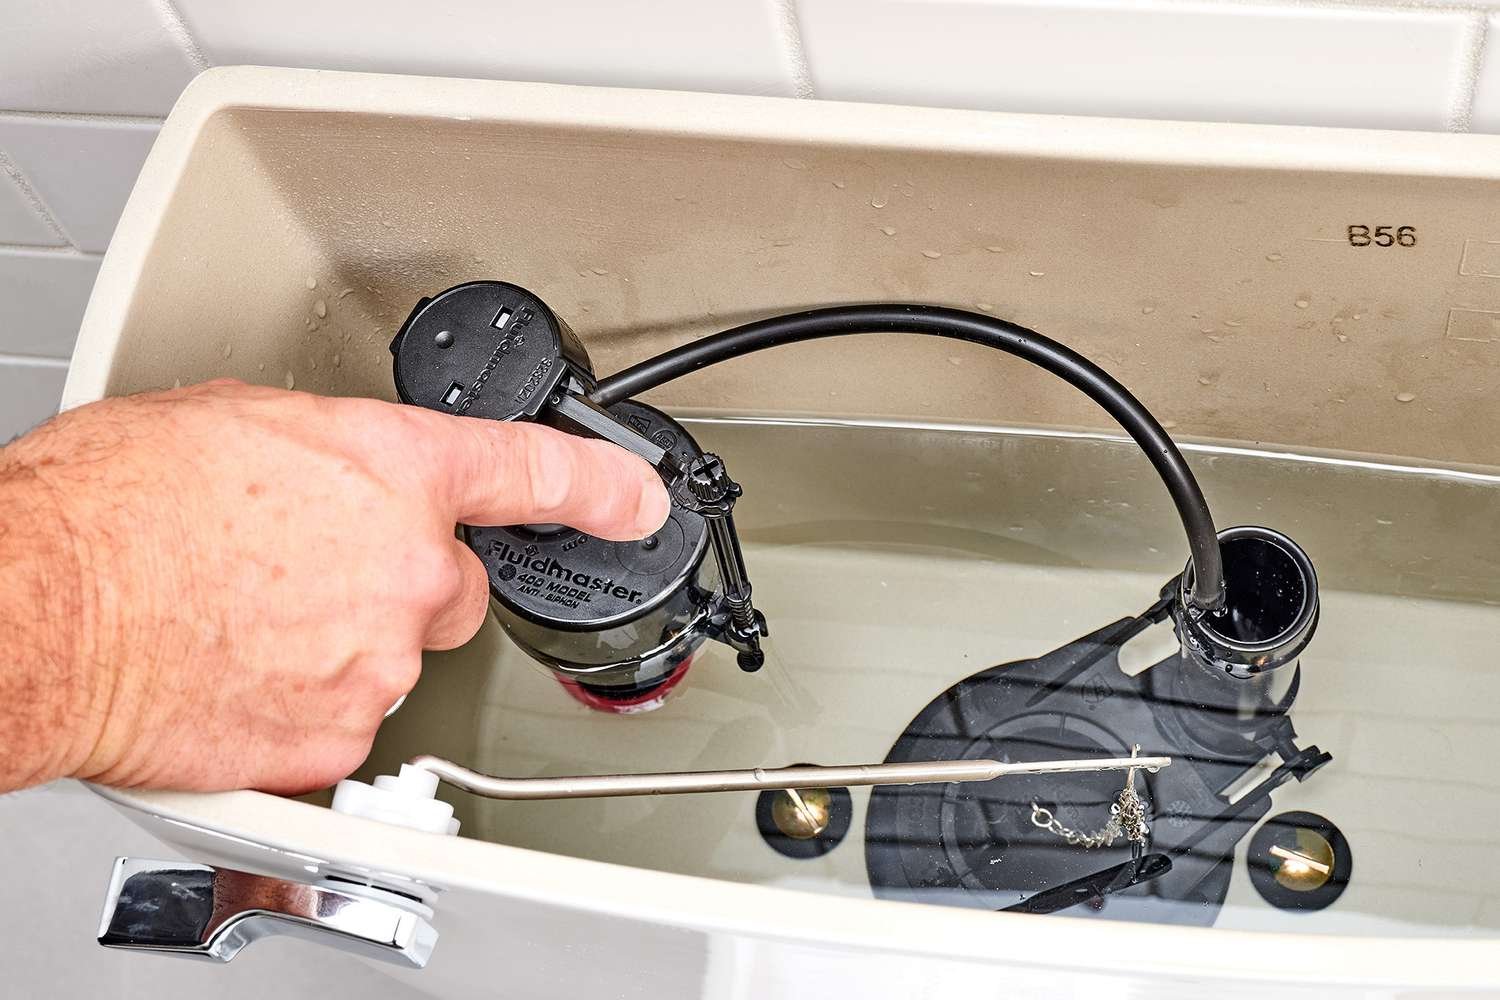
Water enters your toilet tank until the float rises to a set height and shuts off the fill valve. Mineral buildup from hard water often coats the moving parts, which stops the arm from moving smoothly. Old plastic parts can also warp or slip out of place over time.
When the float sits too high, water pours over the top of the overflow tube and runs down into the bowl continuously. If the float sits too low, the tank won’t hold enough water to clear waste in one flush, forcing you to flush twice. A cracked float ball can also fill with water, becoming too heavy to rise at all.
Turn the adjustment screw on a cylinder float
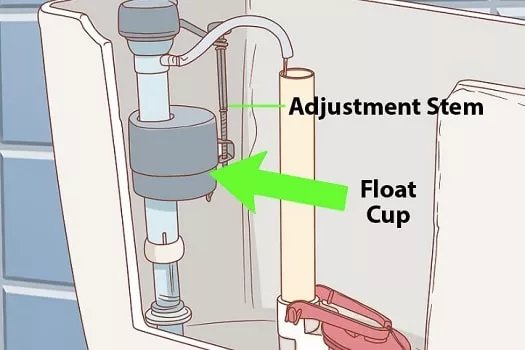
This fix is for modern toilets that have a plastic float cup sliding up and down the main valve shaft. Look for a long plastic screw next to the float cup. Take a flathead or Phillips screwdriver and turn the screw clockwise one full turn to lower the water level. Turn it counterclockwise if your tank isn’t filling high enough.
Flush the toilet once to test the change. Watch where the water stops as the valve clicks shut. A simple decision rule applies: if the water still reaches the overflow tube, turn the screw another full turn clockwise; if the bowl clears weakly, turn it half a turn counterclockwise. This varies by model — check the label stamped inside your tank for the exact fill line.
Bend or turn the brass arm on a float ball
This fix is for older tanks that use a hollow rubber or metal ball attached to a long arm. If your valve has a screw where the arm meets the valve base, turn that screw one full turn clockwise to lower the ball.
If there’s no screw, take the metal rod in both hands. Support the center with your left hand and gently bend the arm downward using your right hand. Don’t bend it near the valve, or you might snap the connection. Flush the tank and check the level. If water still enters the tube, bend the rod down slightly more. A common mistake people make is forcing a brittle, corroded brass rod until it snaps off, which leaves you without a working toilet until you replace the entire valve assembly.
Replace the entire fill valve assembly
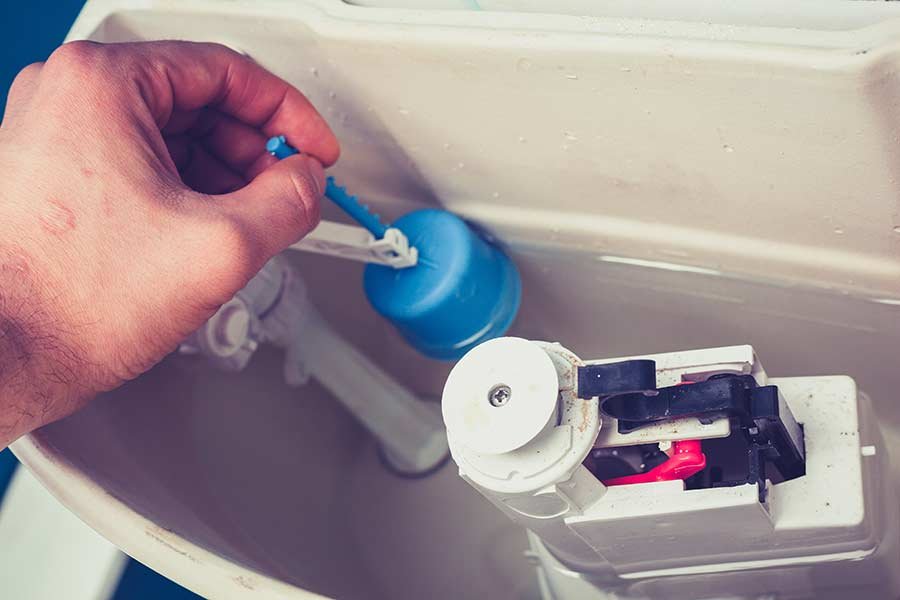
This fix is for cracked valves, broken float arms, or units so caked with lime that adjustments don’t move the float anymore. It takes about an hour, basic hand tools, and a replacement valve from any hardware store.
Turn off the shutoff valve on the wall under the tank by turning it clockwise until it stops. Flush the tank and hold the handle down to drain out all standing water. Soak up leftover drops with a sponge so nothing spills on your floor. Unscrew the water supply line, loosen the locknut under the tank, pull the old unit out, and install the new one by hand-tightening the nut. The trade-off here is spending an hour doing manual plumbing instead of a thirty-second adjustment, but it resets the mechanism completely.
This job isn’t for people who can’t reach behind the tank or anyone with rusted supply nuts that won’t budge with normal hand tools. In those cases, call a licensed plumber to prevent cracking the porcelain.
What not to do
- Don’t drop tank-cleaning chlorine bleach tablets into the water, because harsh chemicals eat away at rubber seals and make plastic float clips brittle.
- Don’t pull or push hard on the float arm while the tank is full, since you can snap the valve body and cause water to leak into the tank.
- Don’t set the water level right at the rim of the overflow pipe to get a stronger flush, because normal water pressure spikes will push water down the drain all night.
- Don’t leave the tank water running while you take parts apart, as loose hoses will spray the room immediately.
How to stop it happening again
Regular checks keep your tank working smoothly and save money on your water bill.
| If you’re doing this | Do this instead | Why |
|---|---|---|
| Ignoring a faint hissing sound | Remove the lid and inspect the overflow pipe | Hissing means the valve is still open and running |
| Guessing the correct water height | Mark the water level with a pencil 1 inch below the tube | Gives you a clear reference mark during cleanings |
| Forcing a stuck adjustment screw | Spray white vinegar on mineral deposits to loosen them | Hard turning strips plastic threads permanently |
Frequently asked questions
Can a toilet float be adjusted without tools?
Yes, many modern cylinder valves use a pinch clip directly on the metal pull rod. You simply squeeze the two metal prongs together with your fingers, slide the float down to lower the water line, and release the clip to lock it in place.
Why is my toilet still running after adjusting the float?
The flapper at the bottom of your tank has failed. When an old rubber flapper doesn’t seal tightly against the drain hole, water leaks into the bowl constantly. The float drops as water leaves, which keeps reopening the fill valve even if your float settings are correct.
How high should the water level be in the tank?
One to two inches below the top of the overflow pipe is the standard target. This gap gives the float enough room to rise and shut the valve off completely before water spills over the edge. Setting it higher leads to slow, hidden water waste.
What happens if the toilet float is set too low?
Your toilet will suffer from weak flushes that leave waste behind in the bowl. The tank relies on the weight of a full water volume to push waste through the trapway quickly. A low float forces people to flush two or three times to clear everything.
Is it safe to bend a plastic float arm?
No, plastic arms will crack or snap under bending pressure. Only traditional brass or soft metal rods can be bent safely. If your toilet features a plastic arm, you must use the built-in adjustment screw located near the valve base to change the height.
Final Thoughts
Once you’ve finished these quick tweaks, listen closely to your tank for a few minutes to ensure the hissing sound has stopped completely. If the water still runs, you might need to replace the fill valve entirely. Don’t hesitate to tackle this simple fix; it’ll save you plenty on your water bill.
Related guides