
To make the toilet bowl fill up more, ensure the refill tube is properly positioned to direct water into the overflow pipe during the fill cycle. This standard adjustment takes about 5 minutes and uses only a screwdriver. It suits anyone whose modern gravity-fed toilet leaves poor water coverage or stains after flushing.
Table of Contents
Tools to make your toilet bowl fill more
- Flathead screwdriver (medium size, with a quarter-inch tip)
- Phillips-head screwdriver (number 2 size, for cross-shaped adjustment heads)
- Small flashlight or headlamp (to inspect dark corners inside the tank)
- Rubber household gloves (standard clean cleaning gloves to protect your hands)
- Ruler or tape measure (a rigid 6-inch ruler to check the internal water depth)
A clean butter knife works as a backup driver if you don’t have a flathead, but using pliers directly on plastic screw heads will strip the threads. If your brass fill valve is corroded solid, contact a licensed plumber to swap the assembly safely.
Step-by-step
- Lift the ceramic tank lid straight up with two hands and place it on a soft towel on the floor.
- Flush the toilet once and watch the narrow rubber refill tube that runs from the fill valve into the open overflow pipe.
- Push the refill tube back into the overflow clip if it slipped loose, keeping the tip pointed downward above the opening.
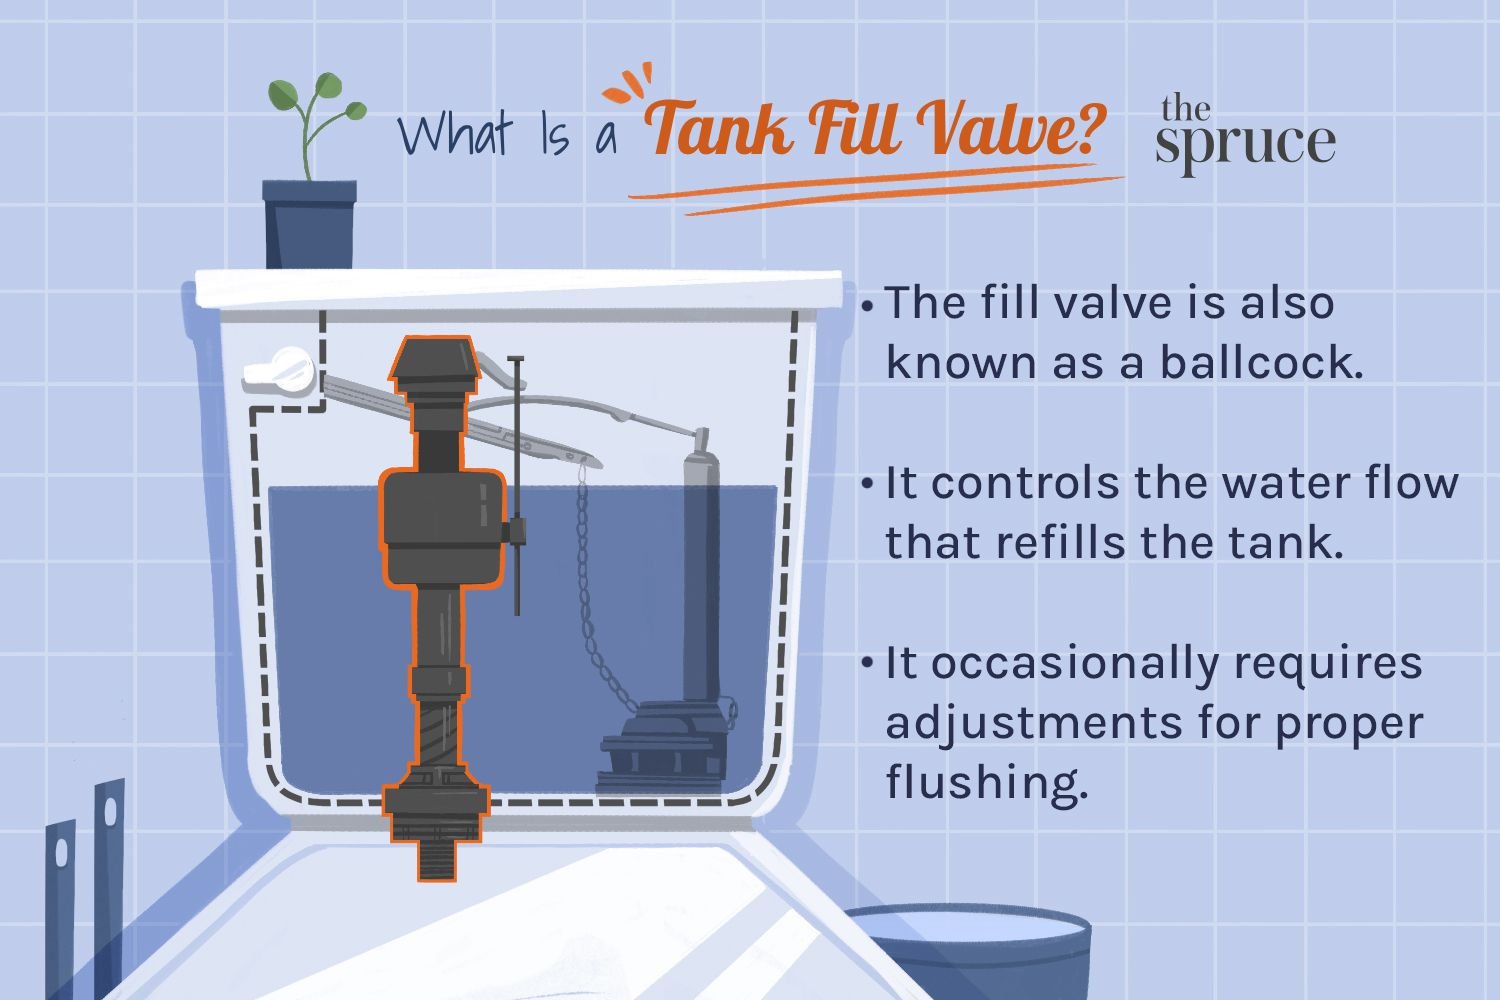
- Locate the plastic adjustment screw on top of the vertical fill valve assembly.
- Flush the toilet again and wait about 60 seconds for the tank and bowl to stop filling completely.
- Check the tank water level, which must sit between 1 and 2 inches below the top rim of the overflow pipe.
Tip: If you see water splashing down the outside of the overflow pipe, push the refill clip further down so the water shoots straight inside.
Careful: Don’t turn the adjustment screw more than 2 full turns at once; overfilling the tank sends constant water down the overflow pipe and runs your utility bill up.
If the internal shutoff valve below the tank leaks around its stem when turned, stop and call a licensed plumber.
Adjusting for Different Toilet Hardware
The exact effort depends directly on the internal parts inside your tank.
It’s safer to start small and add more height on a second flush than to overshoot on the first try.
How to tell you did it right

A correct result leaves the resting water level right at the bowl’s built-in trap weir line, covering the bottom basin completely. A poor result leaves a shallow pool that exposes dry porcelain walls. This problem happens because the refill tube dumps water into the overflow pipe too slowly while the tank fills. When the tank finishes filling early, the valve shuts off before the bowl reaches its natural spill point. You can prevent this by keeping the refill tube unobstructed and setting the tank float to its highest safe mark. This adjustment has an honest limit: the bowl’s physical shape determines its maximum water line. Adding extra water simply flows over the internal porcelain weir and down the drain, so you can’t fill a bowl higher than the factory trap design allows.
Water conservation rules and tank maintenance
The US Environmental Protection Agency sets residential flush guidelines through its WaterSense program specifications, limiting fixture flow to 1.28 gallons per flush. Keep your water line beneath the tank’s stamped fill mark to stay within these limits. Once finished, wipe down the rim, set the heavy tank lid flat, and wash your gloves. This mechanical fix lasts several years before internal plastic parts wear out. If your toilet shows cracked porcelain around the tank bolts, stop immediately and hire a licensed professional before a major leak floods your floor.
Other ways to do it
Clean the rim jets
Clear mineral crust from the small holes under the bowl rim using a small mirror and an Allen wrench. This lets flush water enter freely, which speeds up the bowl’s siphon action without altering the tank valves.
Install a high-flow refill valve
Swap your old fill valve for an adjustable high-output valve with an internal dial. This valve lets you send extra water directly through the small refill hose into the bowl while the main tank fills normally.
Hire a licensed plumber
Call a local plumbing contractor to clear a partially clogged vent pipe on your roof. Clearing blocked vents restores regular air pressure to the waste line, which stops sewer pipes from siphoning water out of your bowl.
Frequently asked questions

Can I raise the water level past the factory line?
No, you can’t make water sit higher than the internal porcelain weir. The toilet bowl works by gravity, so any liquid poured beyond the trapway’s curve immediately spills over into the waste pipe.
Why does my bowl water drop after filling?
A partial drain clog or a blocked roof vent often pulls water out. This suction siphons the bowl’s contents below the normal resting line within a few minutes after the fill cycle ends.
How long does a toilet fill valve last?
Most valves work reliably for 5 to 10 years before their rubber seals harden. Water with high mineral levels or chemical drop-in bleach tablets will degrade these flexible parts much faster.
Is it safe to bend the float rod?
Yes, but only bend brass rods very gently near the middle. Don’t force plastic rods, because bending plastic will snap the arm and prevent the water valve from closing properly.
What happens if the tank water is too high?
Water drains continuously into the overflow tube, wasting hundreds of gallons each week. This creates a quiet hissing sound and raises your monthly water bill until you lower the float screw.
Final Thoughts
Once you’ve finished, flush the toilet a few times to check that the water level stays consistent. If it’s still not quite right, don’t worry; you can always tweak the float valve slightly until it’s perfect. You’ll find that a cleaner bowl makes your daily routine feel much more refreshing.
Related guides
