
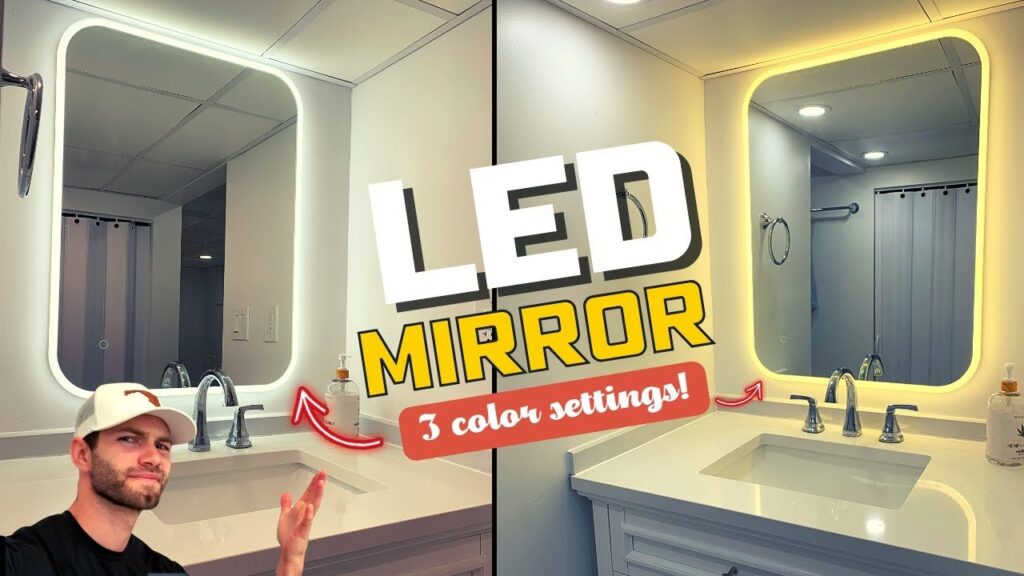
Installing a bathroom vanity mirror with lights comes down to securing a level wall bracket and connecting three basic electrical wires over about 60 to 90 minutes. You’ll mount the frame directly into wall studs, join black to black and white to white, and hang the glass safely. This job suits homeowners comfortable handling basic household tools and resetting a circuit breaker.
Table of Contents
Tools for your vanity mirror installation
- Stud finder: A basic magnetic or electronic edge-detecting wall scanner.
- Torpedo level: At least 12 inches long to verify your lines across the mounting zone.
- Non-contact voltage tester: A rated pen-style detector that confirms electrical current is off before touching wires.
- Electric drill and driver bits: A variable-speed drill with a 1/4-inch masonry or twist bit.
- Heavy-duty wall anchors: Toggle bolts or metal snap toggles rated for at least 50 pounds; basic hollow plastic expansion plugs will fail under daily use.
- Wire strippers and 3 twist-on wire nuts: Sized for 14-gauge household wiring.
A heavy flat steel cleat works if you lose the factory mounting bracket, but picture-hanging wire will snap under the off-center weight of glass and lighting transformers. If your wall cavity lacks an accessible junction box, hire a licensed electrician to pull fresh cable through the framing.
Step-by-step
- Switch off the bathroom lighting breaker at your main service panel and hold a non-contact tester against the fixture wires to confirm zero voltage.
- Locate the center point of your sink basin using a tape measure, then mark this line lightly on your wall up to eye level, roughly 60 to 65 inches from the floor.
- Scan the wall horizontally across a 24-inch band using a stud finder to identify solid timber behind the drywall.
- Position the metal wall cleat at your chosen height, align your level across its top edge, and pencil in the drill holes; if the hole falls on a stud, drive a 2-inch wood screw directly; if it hits empty drywall, insert a 50-pound toggle bolt. Careful: The mirror’s internal frame rests about two inches higher than the mounting plate, so measure the rear hook offset before making holes.
- Strip 1/2-inch of rubber insulation off each electrical conductor using your wire strippers if bare copper isn’t exposed already.
- Splice the black live wire to the mirror’s live lead, white neutral to neutral, and ground to bare copper using three twist-on wire nuts, capping each connection firmly. Careful: A frequent mistake people actually make is trusting flimsy wall anchors into soft drywall, which costs them hundreds of dollars when shattered glass falls into the sink basin.
- Tuck the joined cables smoothly inside the recessed wall junction box so no conductor pinches against the metal edges.
- Lift the mirror evenly with two hands, slide its rear channel down over the wall cleat, and secure any safety locking screws beneath the base.
Mounting surface requirements
Every wall type demands different hardware and working speeds when hanging an illuminated glass unit.
| Wall Foundation | Hardware Needed | Core Difference | Critical Risk |
|---|---|---|---|
| Hollow Drywall | 1/4-inch snap toggles | Needs deep cavities behind sheetrock | Anchor butterfly tearing out gypsum paper |
| Wood Studs Behind Board | 2.5-inch structural wood screws | Direct solid bite with zero anchor plugs | Missing the stud edge off-center |
| Ceramic or Porcelain Tile | Diamond-tipped core drill bit | Must run drill under 600 RPM with water | Cracking expensive face glaze under pressure |
| Solid Masonry or Plaster | Ribbed expansion masonry shields | Concrete bits drill slower than wood bits | Hammer vibrations shaking loose old plaster |
It’s safer to pre-drill a small test hole first than to blast a huge cavity that weakens your wall surface.
How to tell you did it right
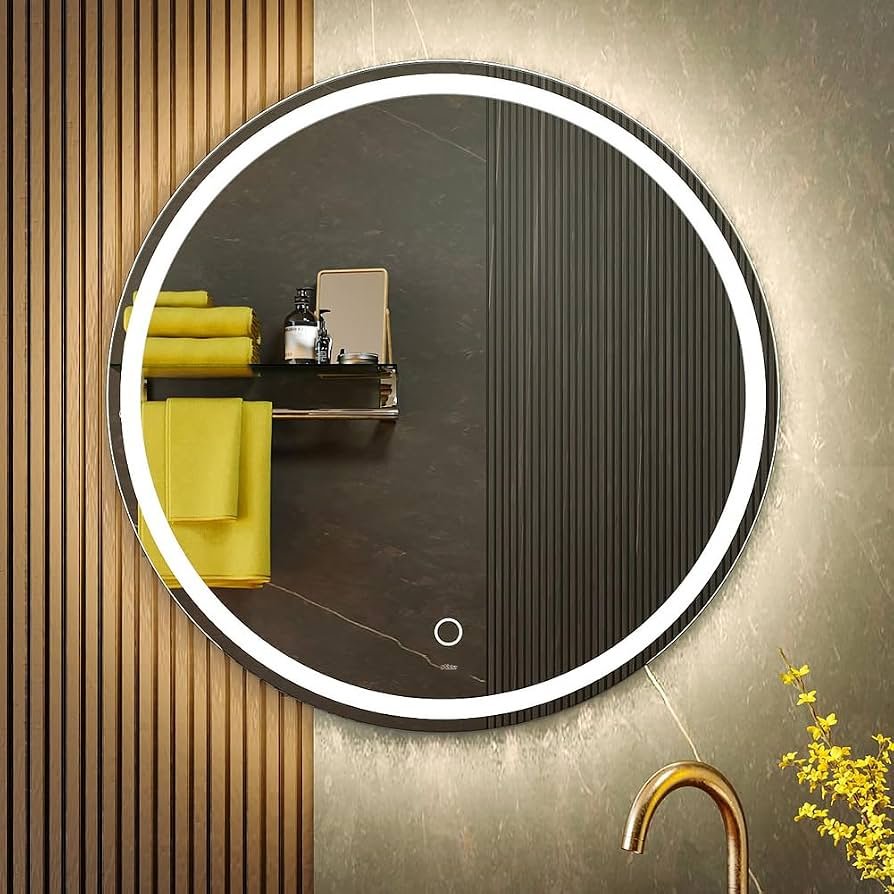
A correct installation hangs completely flush against the sheetrock, shows no gaps along the sides, and produces zero flicker when you flip the wall switch. In contrast, an improper mount tilts slightly downward and rocks under hand pressure.
Shadows behind the glass occur when technicians fail to pull the cleat tight, leaving the unit leaning outward at the top. You stop this defect by driving every anchor head firmly against the wall plate and running a 12-inch level across the finished frame.
Codes and maintenance
Bathroom electrical fixtures must conform to the safety rules published by the National Fire Protection Association under Article 410 of the National Electrical Code, which forbids hanging open light units inside wet shower envelopes unless specifically listed as damp-rated equipment.
Wipe down excess sheetrock dust, pack your wire strippers, and reset the main circuit breaker. Use an ammonia-free glass cleaner sprayed directly onto a microfiber rag to protect the silver backing from chemical desilvering. Once hung firmly, the physical brackets stay secure for decades, though the internal LED driver may need a replacement swap down the road—this varies by model, so check the label.
Alternative setup methods
Surface plug-in cord
Run the mirror’s pre-wired power cord down to an existing GFCI outlet. This eliminates opening drywall, taking 20 minutes instead of two hours, but leaves an unsightly cord draped across your wall tiles.
Recessed medicine cabinet
Cut a rectangular opening into the wall framing between two studs to set the illuminated unit flush inside the room. This gains internal shelf space, but adds framing labor and structural checks.
Professional electrician install
Hire a certified tradesperson to pull fresh branch wiring through the walls and mount the chassis. You trade a professional service fee to avoid handling live mains panels and power lines yourself. This isn’t for budget renovators who want a quick weekend update without calling contractors.
Frequently asked questions
Can I install an LED mirror without an existing junction box?
No. Hardwired lighted mirrors require a certified junction box in the wall to enclose wire splices safely, meet local building codes, and stop fire hazards from spreading inside the cavity.
Is it safe to hang a lighted mirror directly above water?
Yes, provided the fixture holds an explicit damp rating from a laboratory like UL and sits outside the active shower spray zone.
What happens if I connect the neutral and hot wires backward?
The lights might still turn on, but the internal switch will cut the neutral line instead of live power, leaving the internal electrical circuits energized even while the mirror looks switched off.
How high should the mirror hang above the vanity counter?
Hang the unit 5 to 10 inches above your countertop surface, which positions the illuminated glass directly at normal face level without picking up daily water splashes from the running faucet.
Can I wire this mirror to an existing wall dimmer switch?
Yes, but only if the mirror’s internal LED driver is rated specifically for forward-phase or reverse-phase dimming; standard LED units will buzz loudly and flicker on mismatched dimmers.
Final Thoughts
Once you’ve wiped away any fingerprints and turned the power back on, take a moment to enjoy your brighter space. You’ll find that a well-lit vanity makes your morning routine much smoother. If you’re feeling confident, you might consider adding a dimmer switch next to give your bathroom a truly relaxing glow.
Related guides
- How to Install a Bathroom Exhaust Fan Without Attic Access
- How to Install a 30 Inch Towel Rack Brushed Nickel Correctly






