
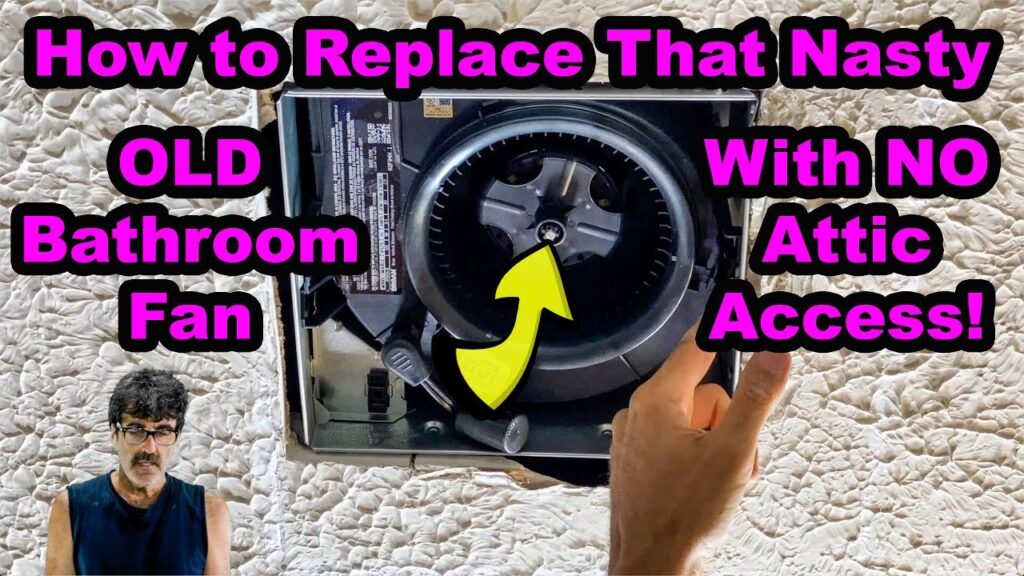
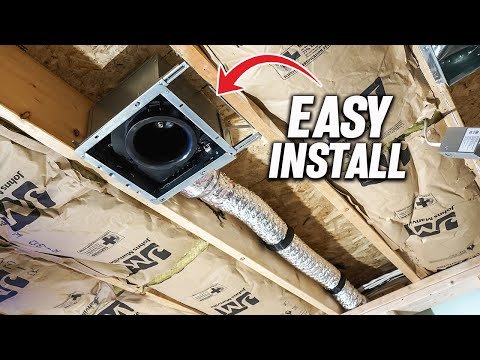
To install a bathroom exhaust fan without attic access, use an old-work fan housing that secures directly from the room side. This job takes about two to three hours for an existing opening, costs between fifty and two hundred dollars for parts depending on the fan grade, and needs care because it involves live electrical cables and ceiling drywall. You must have a non-contact voltage tester before starting.
Table of Contents
Tools to install your exhaust fan
| Item | How much | Why it’s needed | A substitute |
|---|---|---|---|
| Room-side fan unit | 1 unit | Mounts entirely from below ceiling | none — don’t swap this |
| Non-contact voltage tester | 1 tool | Confirms power is fully off | Multimeter with insulated leads |
| Drywall jab saw | 1 saw | Cuts drywall along housing outline | Oscillating multi-tool with blade |
| Wire strippers | 1 tool | Removes wire insulation cleanly | Utility knife used very carefully |
| Wire connectors | 3 to 4 pieces | Joins house and fan wiring | Lever-style wire terminals |
| Foil HVAC tape | 1 roll | Seals duct to exhaust port | none — don’t swap this |
| Self-tapping screws | 4 to 6 screws | Anchors housing brackets to joist | Wood screws of same length |
Before you start
- Switch off the bathroom circuit breaker at the main service panel, then verify the switch box has no power.
- Cover the bathroom floor and sink with a heavy canvas drop cloth to catch drywall dust.
- Empty the vanity area around the workspace so you have clear ladder placement.
- Check your ceiling for joist locations using a stud finder; people often skip this and end up cutting right into hidden framing timber, which ruins the drywall.
- Stop and call a licensed electrician if you discover scorched wiring, ungrounded metal boxes, or aluminum house wires inside the ceiling.
Step by step
- Switch off the bathroom circuit breaker and test the wall switch with a non-contact voltage tester to confirm zero current.
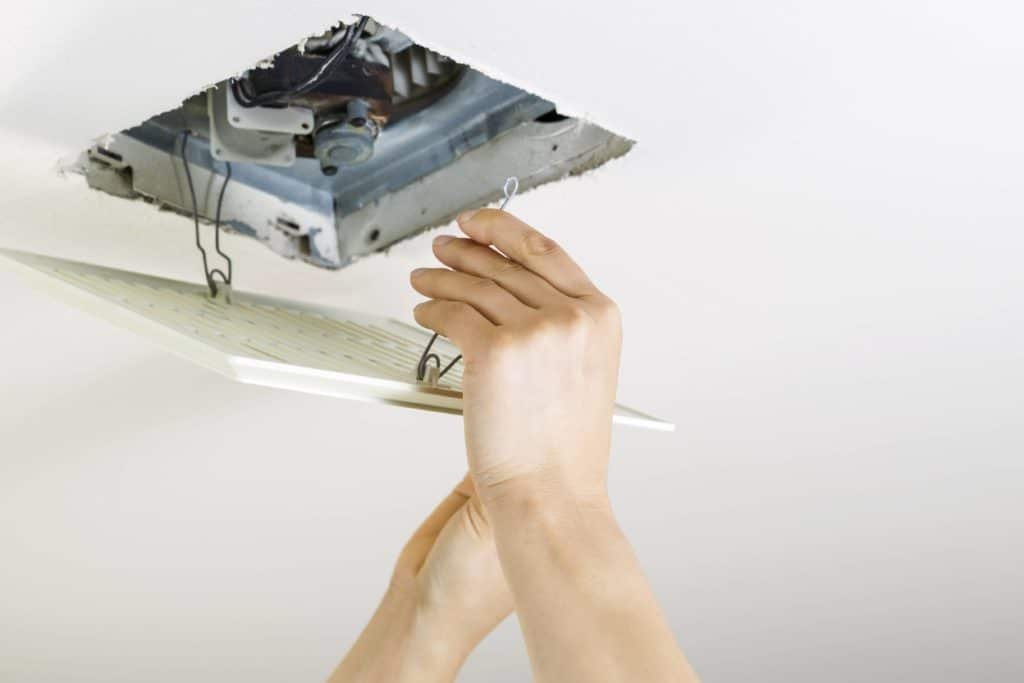
- Remove the old fan grille by pulling it down two inches and squeezing the two wire mounting springs together.
- Disconnect the old motor assembly and untwist the wire nuts, separating the black, white, and bare copper wires completely.
- Cut the mounting screws holding the old metal housing to the joist using an oscillating saw, then pull the old box down.
- Trace the new room-side fan housing template onto the ceiling drywall using a pencil, aligning one flat edge flush against the joist.
- Cut along your pencil lines with a drywall jab saw held at a ninety-degree angle until the larger cutout drops free.
- Pull the existing flexible duct down through the hole and secure it to the fan’s duct connector using foil tape.
- Push the fan housing up into the ceiling hole until its mounting flanges sit completely flush against the drywall surface.
- Drive four one-inch screws through the internal mounting brackets directly into the wood joist to lock the housing tight.
- Connect the matching house wires to the fan wires using twist-on connectors—black to black, white to white, and green or bare copper to the house grounding wire.
How to know it worked
The fan tells you it’s working correctly through both physical movement and sound. Turn the breaker back on and flip the wall switch. The motor should produce a steady, low hum without any clicking, rattling, or vibration against the ceiling drywall. Hold a single sheet of toilet paper flat against the intake grille; the fan must pull it tight against the plastic slats and hold it there without falling. If the paper drops to the floor or the motor whines, check whether your duct damper is stuck shut or the housing is pinching the blower wheel.
If something goes wrong
| What happened | Why | What to do |
|---|---|---|
| Motor doesn’t run | Loose wire connector inside housing | Turn off breaker and re-twist nuts |
| Fan rattles loudly | Housing is loose against joist | Drive extra screws into framing |
| Air blows back into room | Duct flap installed backward | Flip the internal backdraft damper |
| Hole cut too large | Saw blade drifted past template | Patch gaps with setting compound |
| Duct slips off port | Tape failed to grip metal | Re-wrap with approved foil tape |
How often to do this
This duration varies by model — check the label on your specific unit for its rated operating hours. The two biggest factors that shorten this lifespan are daily shower frequency and dust accumulation. A household taking four steamy showers a day forces the motor to run much longer than a single-occupant home. Clean the plastic faceplate and vacuum the blower blades regularly.
Frequently asked questions
Can I install an exhaust fan entirely from inside the bathroom?
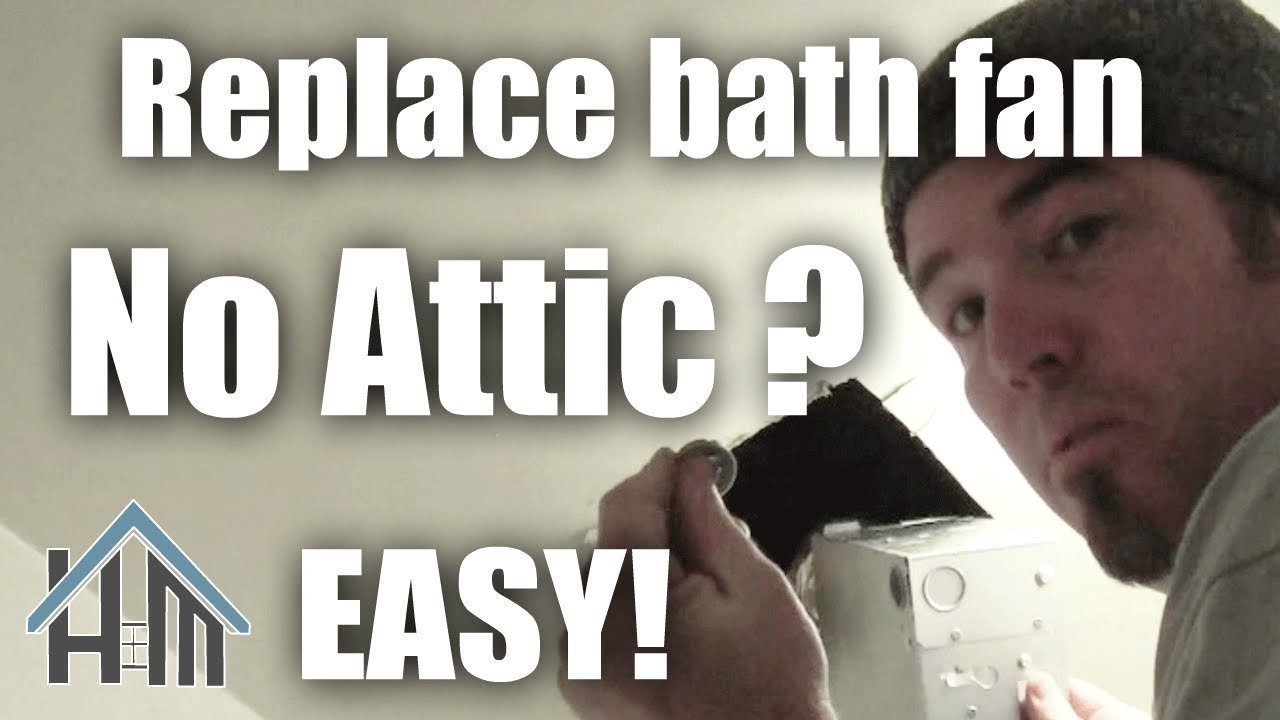
Yes, you can do this by purchasing a room-side installation fan designed specifically for retrofit jobs. These housings use internal screw brackets that clamp directly to the ceiling joist from below, so you don’t need access to an attic space above the room.
How long does room side fan replacement take?
About two to three hours for an existing opening. If your new housing matches the old ceiling footprint, the work takes closer to ninety minutes. If you must cut drywall or resize your exhaust ducting to fit the port, plan for three hours.
Is it safe to vent the fan directly into ceiling joists?
No, you must never vent moisture directly into enclosed ceiling joists. This mistake traps gallons of water vapor inside your framing, which rots the structural wood and causes mold. The fan must always exhaust through a continuous duct to an outside wall or roof vent.
What happens if the duct size doesn’t match the fan?
The fan runs louder and moves significantly less moist air. Forcing a four-inch fan output into a three-inch pipe creates air resistance that strains the motor. If you must adapt sizes, use an inline metal duct expander and expect a small drop in airflow performance.
Does a bathroom fan need its own dedicated circuit?
No, standard fans drawing under one ampere can share an existing bathroom lighting circuit under national electrical guidelines. However, units with built-in electric heaters draw high wattage and require their own separate twenty-ampere breaker run straight from your electrical panel.
Why is my new exhaust fan vibrating against the ceiling?
The metal housing isn’t fastened securely to the wooden joist. Turn off the wall switch, remove the decorative grille, and verify that all mounting screws are driven deep into solid wood rather than just grabbing the edge of the gypsum ceiling drywall.
Final Thoughts
Once you’ve finished sealing the edges with caulk, give the adhesive plenty of time to cure before turning the unit on. You’ll appreciate the difference during your next shower, as the room stays dry and fresh. Just keep an eye on the vent cover occasionally to ensure it doesn’t collect any dust.
Related guides
- Charcoal Filter for Bathroom Fan: Essential Air Quality Fix
- Bathroom Fan With Humidity Sensor: How to Choose and Install
- Bathroom Fan Not Working Well: Simple Fixes for Better Airflow






