
Soundproofing a bathroom exhaust fan involves cleaning the housing, isolating the motor bracket with rubber washers, and wrapping the ductwork in fiberglass insulation. The most common cause of excess fan noise is physical vibration passing straight into the ceiling drywall and framing timber.
Table of Contents
Causes of bathroom exhaust fan noise
Exhaust fans make noise for three mechanical reasons. First, dirt accumulates on the blower wheel over several months, throwing the spinning parts out of balance. This imbalance shakes the entire metal enclosure. Second, metal housings are usually screwed directly into wood ceiling joists without any damping pads. As the motor runs, those structural vibrations resonate through your ceiling like a drumhead. Third, air rushing through narrow, ribbed plastic ducts creates turbulence. If an exhaust pipe has sharp 90-degree bends, air whistles and thumps against the duct walls before it can reach the exterior vent flap outside your house.
Deep clean the blower wheel and housing
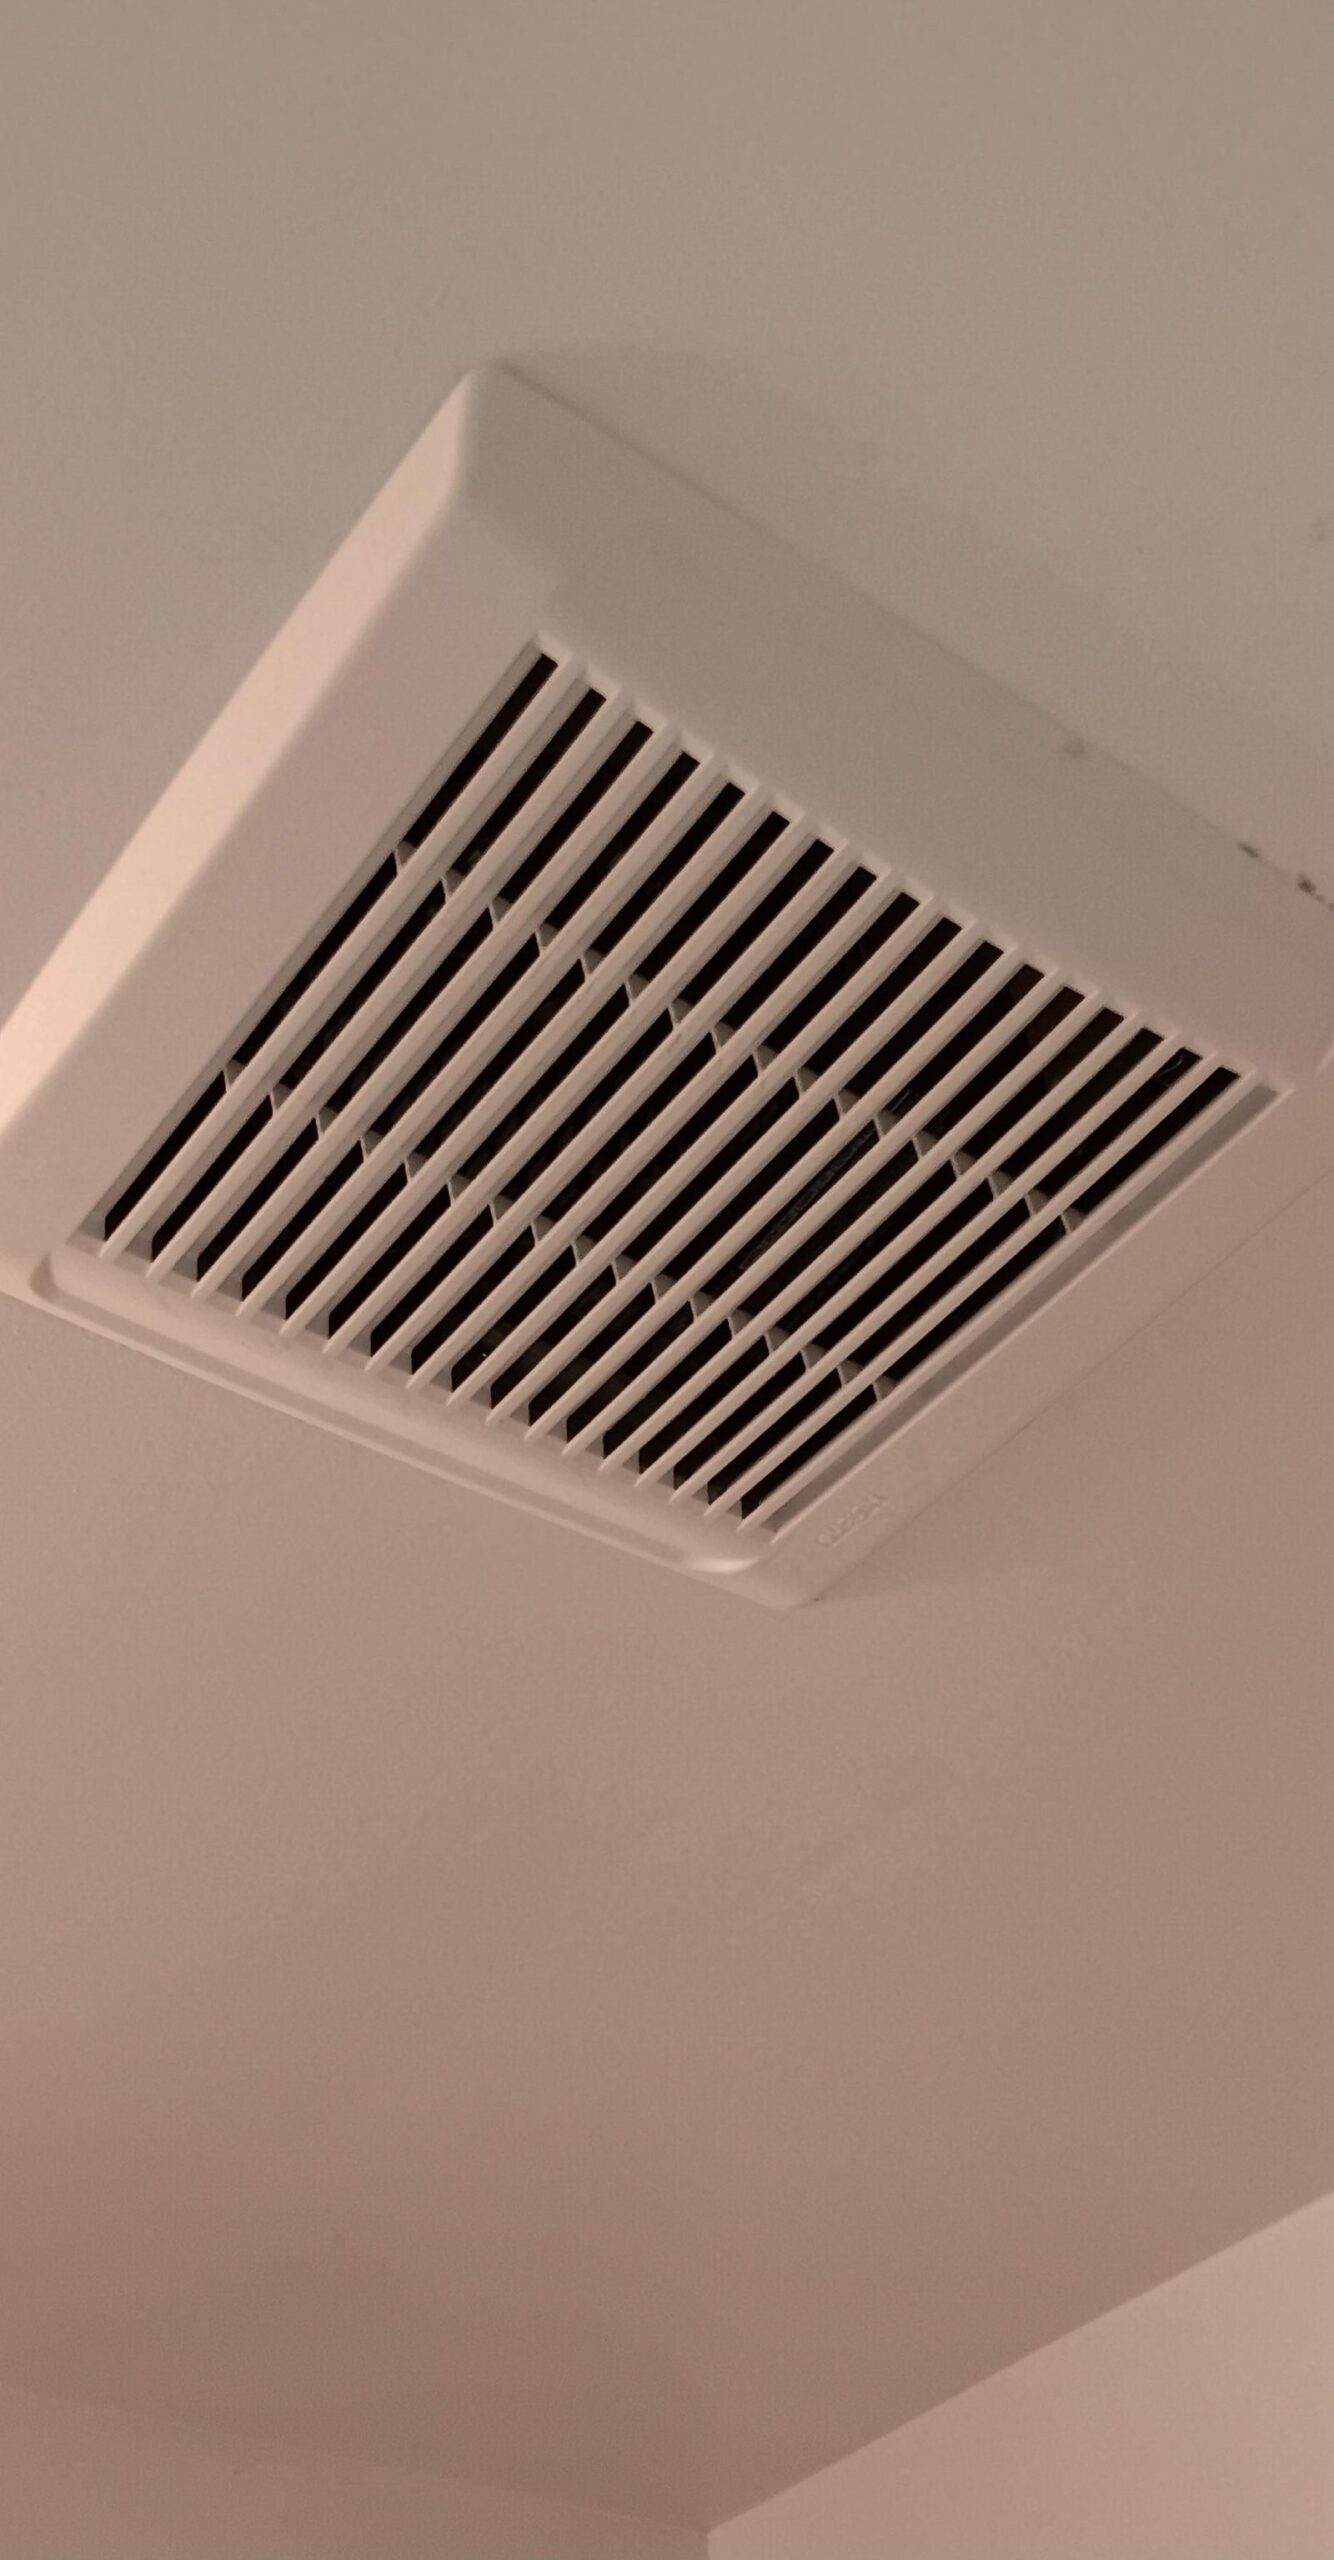
This fix is for anyone hearing a harsh rattling or grinding sound. Turn off power at the circuit breaker first. Pull the plastic grille down gently and squeeze the two wire mounting clips to remove it. Wash the grille in warm water using a mild dish soap. Next, use a vacuum brush attachment to remove heavy lint from the housing. Take a damp microfiber cloth and wipe every fan blade until it spins smoothly by hand. If dirt stays stuck to the blades, use an old toothbrush to break it free. You’ll know it worked if the fan spins freely without ticking or rubbing against the metal casing when pushed by hand.
Isolate mounting screws with rubber washers
This fix addresses deep humming or rumbling that vibrates the ceiling around the unit. Remove the exhaust motor assembly from its outer box by backing out the interior bracket screws—usually two to three fasteners hold it inside. Slide a 1/16-inch thick neoprene or silicone washer onto each screw before driving it back into place. Tighten the screws until snug, but don’t over-compress the rubber. This trade-off means the fan box may sit slightly lower, but the rubber absorbs motor vibration before it reaches the wood joists. If you over-tighten, the rubber flattens completely, and the noise immediately returns.
Insulate the exhaust duct in the attic

This fix is for loud whooshing or roaring air noise in homes with attic access above the bathroom. It isn’t for apartment renters without ceiling access. Wrap the entire exposed pipe with R-6 foil-faced fiberglass duct wrap, taping every seam with metal foil tape. Replace any ridged, flexible plastic tubing with smooth metal pipe to reduce air turbulence, keeping the run straight with minimal turns. When choosing quiet ventilation, look for products certified under the Home Ventilating Institute directory to find ratings below 1.5 sones. If dealing with hardwired attic electrical connections feels unsafe, hire a licensed electrician to handle motor wiring.
What not to do
- Don’t spray expanding foam around the fan casing. Expanding foam presses inward against the housing walls, warping the metal and jamming the spinning fan wheel.
- Don’t stuff fiberglass insulation inside the fan housing. Covering internal electrical components traps motor heat and creates an immediate fire hazard.
- Don’t cover the exterior intake grille with fabric. Blocking air intake starves the fan motor, forcing it to spin hotter, louder, and wear out prematurely.
- Don’t use standard duct tape on metal joints. The adhesive dries out and fails under humidity, causing duct pipes to separate and rattle loudly against attic floor joists.
How to stop it happening again
Routine care prevents buildup and keeps mechanical parts working silently.
| If you’re doing this | Do this instead | Why |
|---|---|---|
| Leaving the grille untouched for years | Vacuum the intake vents every six months | Dust buildup throws the blower wheel off balance |
| Running flexible plastic ducting with sharp kinks | Install straight, rigid metal pipe | Smooth walls reduce air turbulence and whooshing sounds |
| Bolting the metal housing straight to joists | Place rubber anti-vibration pads between contact points | Padding stops motor hum from traveling through ceiling wood |
| Running the fan continuously all day | Install a mechanical wall timer switch | Lower total run hours reduces bearing wear and tear |
Frequently asked questions
Can you soundproof an existing bathroom exhaust fan?
Yes. You can lower fan noise by cleaning caked dirt off the blower wheel, placing soft rubber washers behind the mounting screws, and wrapping the ductwork in fiberglass insulation. If the internal bearings are already worn and squeaking, replacing the motor assembly is the only lasting solution.
Why is my bathroom fan so loud all of a sudden?
A sudden jump in sound usually means a foreign object or thick lint clump is hitting the fan blades. Alternatively, the mounting screws worked loose, letting the metal housing vibrate against ceiling wood. Turn off power, unclip the front cover, and inspect the blades for blockages.
How long does a bathroom exhaust fan motor last?
About ten years under typical residential conditions. This varies by model—check the label or manufacturer documentation for specifics. Fans in heavy-moisture bathrooms that run multiple hours daily will wear out their motor bearings sooner, causing a loud, permanent grinding sound that cleaning can’t fix.
Is it safe to leave a noisy bathroom fan running?
No, it isn’t safe if the noise comes from worn bearings or a jammed blade. A fan motor that can’t spin freely builds heat quickly. This mistake people actually make costs them significant money if the motor overheats and trips breakers or melts its internal wiring.
What happens if you block the bathroom fan vent?
Moisture can’t escape your bathroom, which leads to wall mold and peeling paint. Stifling the airflow also forces the exhaust fan motor to work against heavy backpressure. The motor draws extra heat, vibrates much harder against its housing, and burns out significantly faster than normal.
Final Thoughts
Once you’ve finished these adjustments, turn the power back on to enjoy your peaceful, quiet space. If the rattling persists, it’s worth checking if the external vent cover is loose or blocked by debris. You’ll be glad you took the time to fix it, as your bathroom will finally feel like a calm retreat.
Related guides
- How to Pick a Quiet Bathroom Exhaust Fan: Sone and CFM Guide
- How to Install a Bathroom Exhaust Fan Without Attic Access






