
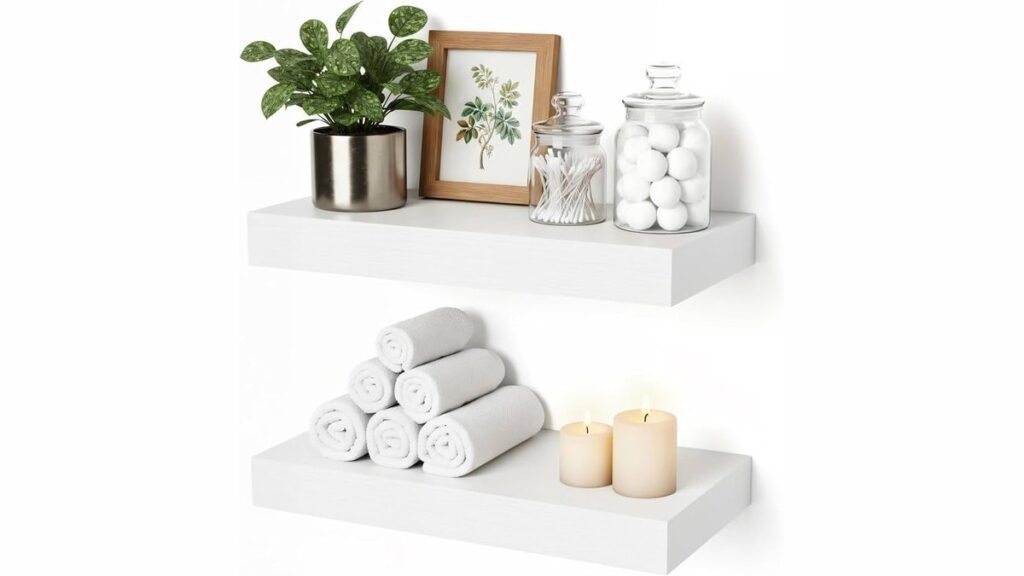
Finish installing floating shelves for bathroom storage step by step by anchoring a metal mounting bracket directly into at least one wall stud with 2.5-inch wood screws, sliding the shelf body over the support rods, and securing the underside with locking set screws. This ensures the shelf holds damp towels safely without pulling out.
The secret to success is hidden pipe awareness. Bathrooms hide vertical vent pipes and water supply lines right behind the drywall, especially between the sink and the ceiling.
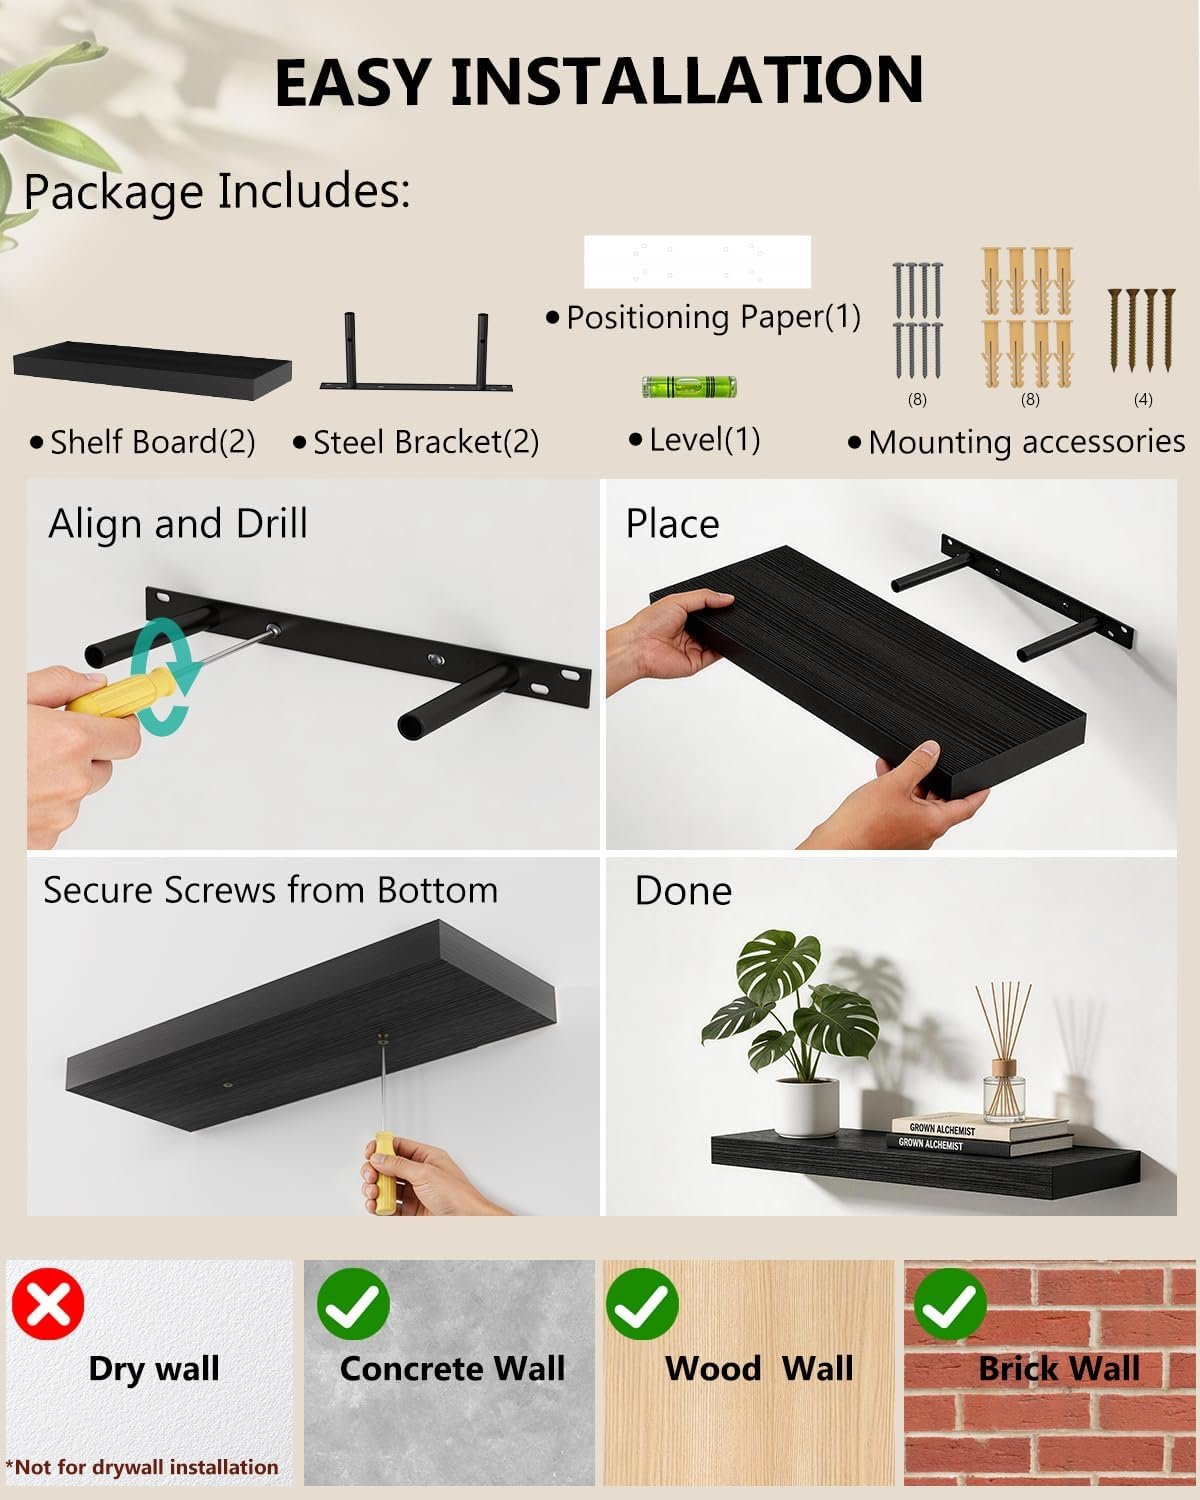
Before starting, map your wall framing. If you hit a wooden stud, screw straight into it; if you must hang on hollow drywall alone, use metal toggle bolts rather than plastic push plugs. This project isn’t for people with tiled shower surrounds, because drilling into wet-zone tile risks water leaks behind the wall.
Table of Contents
Installing your floating bathroom shelves
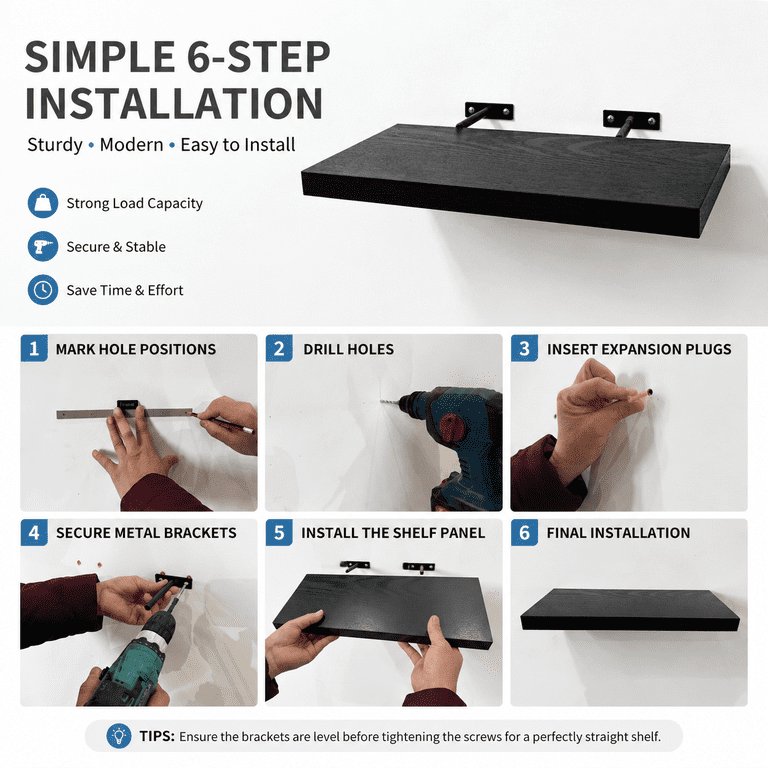
- Locate the wall studs using a magnetic or electronic stud finder, and mark the center line with a pencil at your chosen height.
- Hold the metal bracket against the wall, align its center hole with your stud mark, and balance a 9-inch torpedo level across the top bar.
- Mark every mounting hole onto the wall with a pencil while holding the bracket level.
- Drill pilot holes using a 1/8-inch drill bit for wood studs, or a 1/2-inch spade bit if you’re inserting heavy-duty toggle bolts into hollow drywall. Tip: Wrap a piece of masking tape around your drill bit 2 inches from the tip so you don’t drill too deep into hidden plumbing pipes.
- Fasten the bracket tightly to the wall using 2.5-inch cabinet screws into the studs, or your threaded toggle anchors in the drywall holes.
- Slide the hollow shelf body over the bracket’s steel support rods until the back edge sits flush against the wall.
- Drive the small set screws into the pre-drilled holes on the underside of the shelf using a hand screwdriver to lock it in place. Tip: Don’t use a power drill for the final set screws, as over-tightening can strip the soft wood or particle board inside.
How long it takes
Mounting one shelf typically takes 30 to 45 minutes from layout to clean-up.
| Situation | How long | What changes it | What to watch for |
|---|---|---|---|
| Single stud in drywall | 25–35 minutes | Bracket hole alignment with the wall timber | Hidden electrical wire runs |
| Hollow drywall only | 40–50 minutes | Installing toggle bolts through double-thick boards | Anchor wings catching inside the cavity |
| Over existing wall tile | 60–75 minutes | Drilling slowly with a diamond-tip masonry bit | Cracked glaze from drill heat |
If your drilling takes more than an hour for a single unit, stop and check whether your drill bit has dulled against ceramic backing or metal pipe shields.
How to tell when it’s done

A properly mounted shelf sits completely tight against the drywall with zero visible light showing behind the back edge. When you press down on the front lip with firm hand pressure, the shelf shouldn’t sag or bounce. Check the shelf with a spirit level across both the width and the depth; it must sit flat or tilt up slightly by about one degree toward the wall. Bathroom humidity makes materials swell over time, so ensure your wood is sealed. According to the EPA’s moisture control guidance, bathroom surfaces should dry completely to prevent mold growth, meaning untreated raw timber must not be left unsealed.
Mistakes that ruin it
- Using plastic push-in wall anchors. These pull out quickly when loaded with wet towels and glass jars; switch to metal toggle bolts to distribute the load across the rear drywall surface.
- Skipping the sealant coat on unfinished timber. Steam from daily showers warps unsealed lumber within months; paint the top, bottom, and cut edges with exterior-grade polyurethane before mounting.
- Choosing extra-deep shelves. Deep shelves act as a long lever that rips screws out of hollow walls; stick to an 8-inch depth or accept the trade-off of using exposed bottom brackets for shelves 10 inches or wider.
- Assuming wall studs are spaced evenly. Builders sometimes double up or shift studs around bathroom vents; always scan the wall instead of guessing standard 16-inch centers.
Frequently asked questions
Can floating shelves hold heavy bathroom items?
Yes, but only if they attach directly to wood studs. A shelf fastened to framing can carry 40 to 50 pounds easily. If mounted only into drywall with toggle bolts, keep the weight under 20 pounds to prevent sagging over time.
Why is my floating shelf tilting downward?
The mounting bracket has pulled loose from the drywall, or the internal rods are bent. This happens when the screws lack a solid bite into wood or when the shelf depth is too large for the bracket rods. Remove the shelf and reset the bracket with heavy toggle bolts.
What happens if I hit a metal plate while drilling?
Stop drilling immediately. A steel plate on a stud protects hidden electrical wiring or plumbing lines from puncture. Move your shelf height up or down by at least two inches to clear the protected utility line safely.
Is it safe to install shelves directly over a toilet?
Yes, provided you leave at least 24 inches of clearance above the tank lid. This space allows you to remove the porcelain tank cover easily for plumbing repairs without bumping or damaging the shelf above it.
How do I protect bathroom wood shelves from steam?
Apply two coats of clear water-based polyurethane or marine varnish across all sides before hanging. Seal the cut screw holes with clear silicone during assembly so steam can’t penetrate the core of the shelf.
Final Thoughts
Once everything is secure, wipe away any lingering dust with a soft cloth. You’ll want to let the adhesive or hardware settle for a few hours before loading the shelves with your heavy toiletries. It’s finally time to enjoy your organized space and start planning your next simple home improvement project.






