
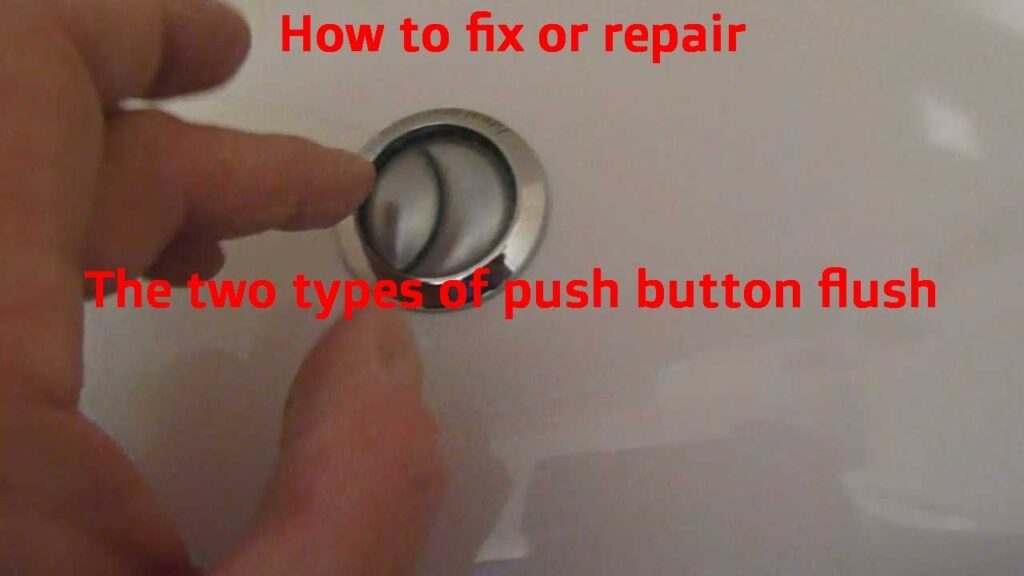
A push button toilet not flushing properly usually means the push rods under the lid are set too short, which stops the flush valve from opening fully. To fix it right away, lift the cistern lid, loosen the plastic locknuts on the underside rods, and twist the rods clockwise until they almost touch the flush buttons.
Table of Contents
Why this happens

Push-button toilets rely on a direct physical link between the buttons and the flush tower inside your tank. When you press a button, a plastic rod pushes down on a lever or cable that lifts a seal at the bottom of the cistern.
Two main issues cause a weak flush or no flush at all. First, the threaded rods loosen over time. When they sit too far from the valve arms, pressing the button only takes up empty space instead of lifting the valve all the way. Second, mineral buildup can coat the valve seal, or the fill valve float can drop too low. If the tank doesn’t fill with enough water, the bowl never gets the rush of water it needs to clear waste.
Adjust the button push rods
This fix is for buttons that feel loose, spongey, or sink halfway down before anything happens. If the buttons feel tight but the bowl still lacks water, don’t adjust the rods; check the tank fill level instead.
- Carefully lift the heavy ceramic tank lid straight up and place it on a soft towel on the floor.
- Turn the lid over to see two threaded plastic rods with locknuts.
- Loosen each nut by hand, turning it counterclockwise.
- Spin the rods to make them longer. You want a tiny gap—about 1 to 2 millimeters—between the tip of each rod and the flush valve pegs when the lid sits back in place.
- Tighten the locknuts against the lid underside to freeze them in position.
- Put the lid back on and test both buttons.
You’ll know it worked when the buttons press firmly and release a complete, forceful flush.
Raise the water level float
This fix is for toilets where the buttons feel firm, but the water leaving the tank isn’t enough to clear the bowl. A low tank level leaves the siphon weak. The EPA WaterSense specifications outline that high-efficiency fixtures need their designed water volume to flush solids reliably, so a dropped float defeats the system.
Find the vertical fill valve on the left side of the tank. Look for a plastic adjustment screw attached to the float arm. Using a screwdriver or your fingers, turn this screw clockwise to raise the resting height of the float. Let the tank refill until water stops running. The water line should sit about 1 inch below the top edge of the overflow tube. This varies by model — check the label or stamped mark inside the tank walls for the exact factory fill line. Flush to see if the extra volume clears the bowl in one push.
Clean or replace the flush valve seal
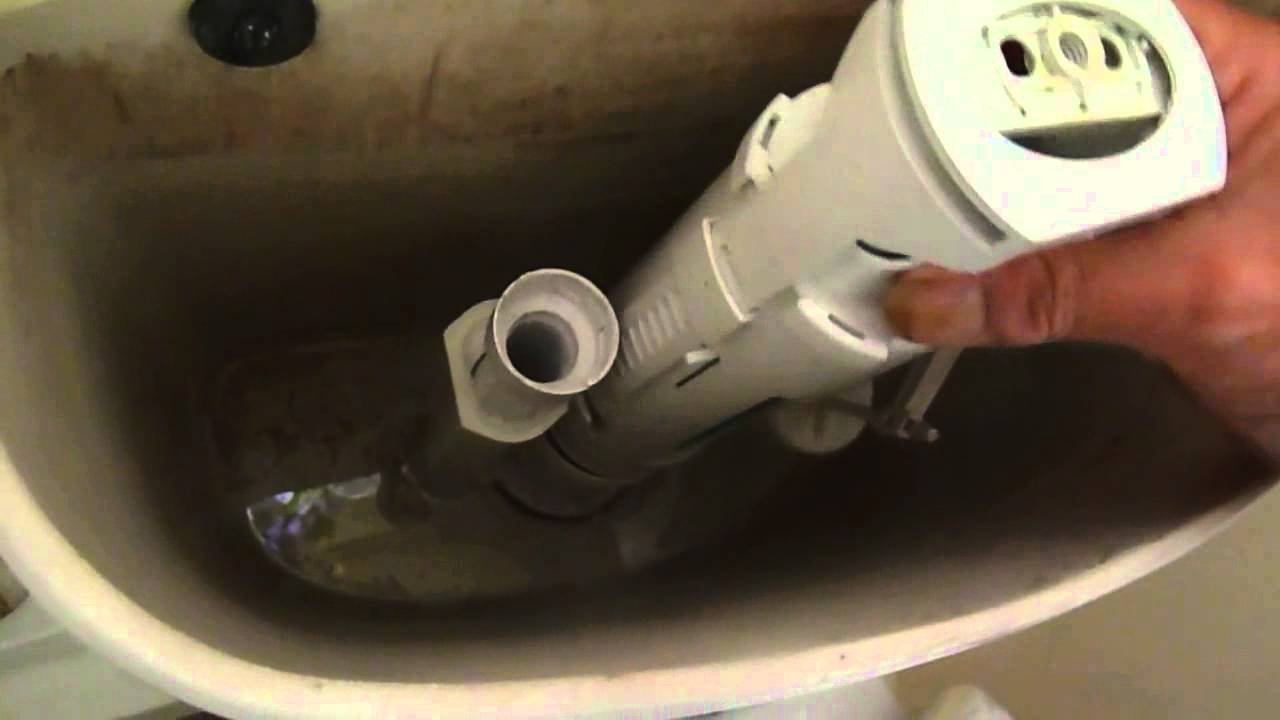
This fix is for older setups where water constantly trickles into the bowl, leaving the tank half-empty when you go to flush. The trade-off here is time and mess: you must reach into the tank and shut off the water supply valve behind the toilet.
Twist the central flush tower a quarter-turn counterclockwise to pop it out of its base. Pull the silicone or rubber seal ring off the bottom edge. If it feels slimy, wash it under warm tap water with dish soap to strip away limescale and algae. If the rubber feels brittle, cracked, or deformed, take the old ring to a hardware store to buy an exact match. Clip the seal back into place and lock the tower into the tank base. Turn the water back on. This job isn’t for people with concealed cisterns built behind tiled walls; you should hire a licensed plumber if your tank is sealed inside wall masonry.
What not to do
- Don’t extend the push rods so far that they press the valve constantly. This causes a permanent, silent leak down the overflow tube that wastes water and runs up your utility bill.
- Don’t drop drop-in chemical bleach tablets into the cistern. The concentrated chlorine rots the thin silicone flush seals and plastic hinges within months.
- Don’t force the lid down if the rods hit the valve. Forcing the heavy ceramic top will snap the plastic rocker arms inside the flush mechanism.
- Don’t yank or bend stiff flush cables with pliers. Stretched or kinked internal wire cables can’t be bent back into shape and must be replaced entirely.
How to stop it happening again
Routine care keeps the internal moving parts aligned and stops parts from wearing out early.
| If you’re doing this | Do this instead | Why |
|---|---|---|
| Pressing the button with heavy force | Press gently and release smoothly | Hard impacts strip the fine plastic rod threads over time |
| Cleaning the tank with bleach blocks | Pour white vinegar into the tank once a year | Vinegar dissolves hard water scale without destroying rubber gaskets |
| Leaving the water valve half-open | Open the supply stop valve fully counterclockwise | Low inlet flow causes very slow tank refills between uses |
| Guessing how long the rods should be | Leave a 1 mm gap beneath the button pins | A tiny gap ensures the seal closes completely after flushing |
Frequently asked questions
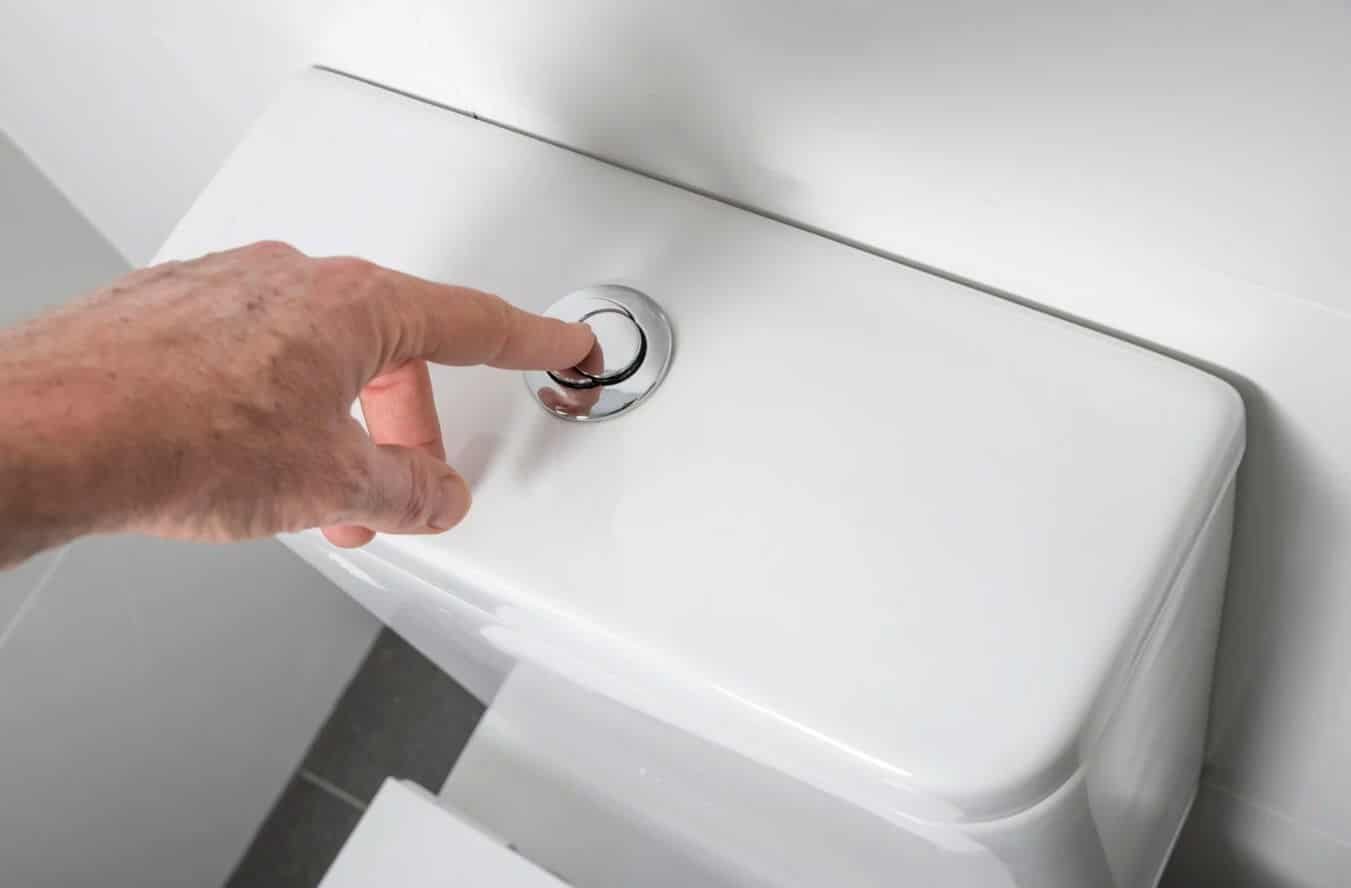
Can you flush a push button toilet with no running water?
Yes. Pour about one gallon of water straight into the toilet bowl from a bucket. Pour it fast and steadily. The sudden rush of water activates the bowl’s natural siphon and flushes the waste down the pipe without needing the cistern buttons at all.
Why does my push button stay stuck down?
Mineral buildup or dirt is jamming the button cylinder inside its housing. Lift the tank lid, unscrew the plastic button assembly from the lid, and soak the buttons in warm water mixed with dish soap. Rinse away the grit so the spring can push the button back up.
How long should a push button flush valve last?
Under normal use with clean municipal water, the unit lasts for several years. Heavy lime content or chemical tank tablets shorten this lifespan significantly. When the plastic catches snap or the valve body warps from age, swap the entire drop-in valve tower for a new unit.
Is it safe to adjust the toilet parts yourself?
Yes, as long as you only adjust the push rods, float screw, or top seal. You don’t touch main water pipes or building drainage for these simple fixes. Just turn off the wall shutoff valve first so you avoid accidental spills on your bathroom floor.
What happens if the flush rods are set too long?
The toilet runs constantly. When the rods are too long, they push down on the flush valve even when no one touches the buttons. This holds the bottom flapper slightly open, letting water drain into the bowl forever while your fill valve continuously hisses.
Final Thoughts
If the problem persists after these adjustments, you might have a buildup of mineral deposits inside the valve. Don’t worry, as a quick soak in white vinegar usually clears those stubborn clogs. You’ll have your bathroom back in perfect working order before you know it, so keep that vinegar handy!
Related guides






