
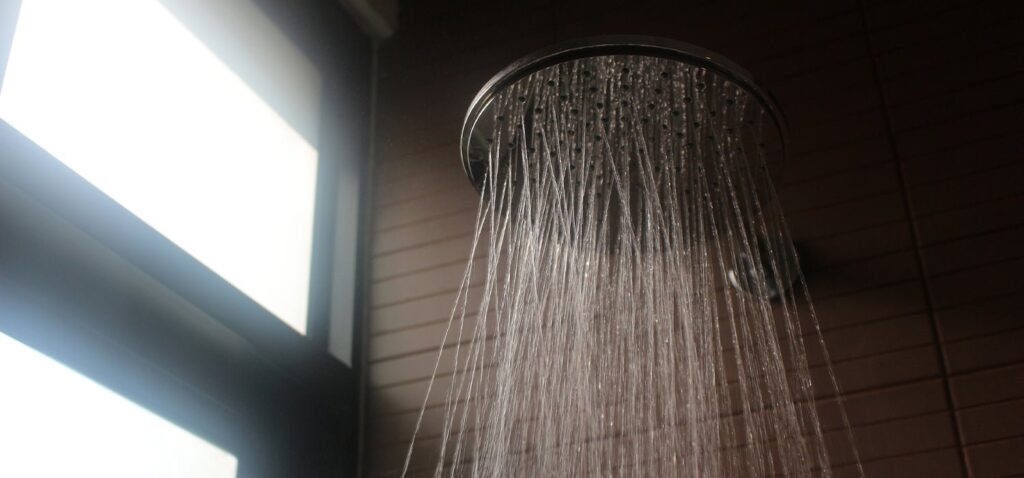
Installing a compact, air-injected rainfall shower head for low water pressure apartments gives you steady spray coverage without needing building pipe upgrades. Standard rain fixtures spread weak water over an 8- to 12-inch face, creating a slow drip. Choosing a 6-inch model with narrower nozzles increases exit velocity at low pressure. Below, you’ll discover size limits, flow restrictions, installation steps, and how air channels change water force.
Table of Contents
How a rainfall shower head manages water pressure
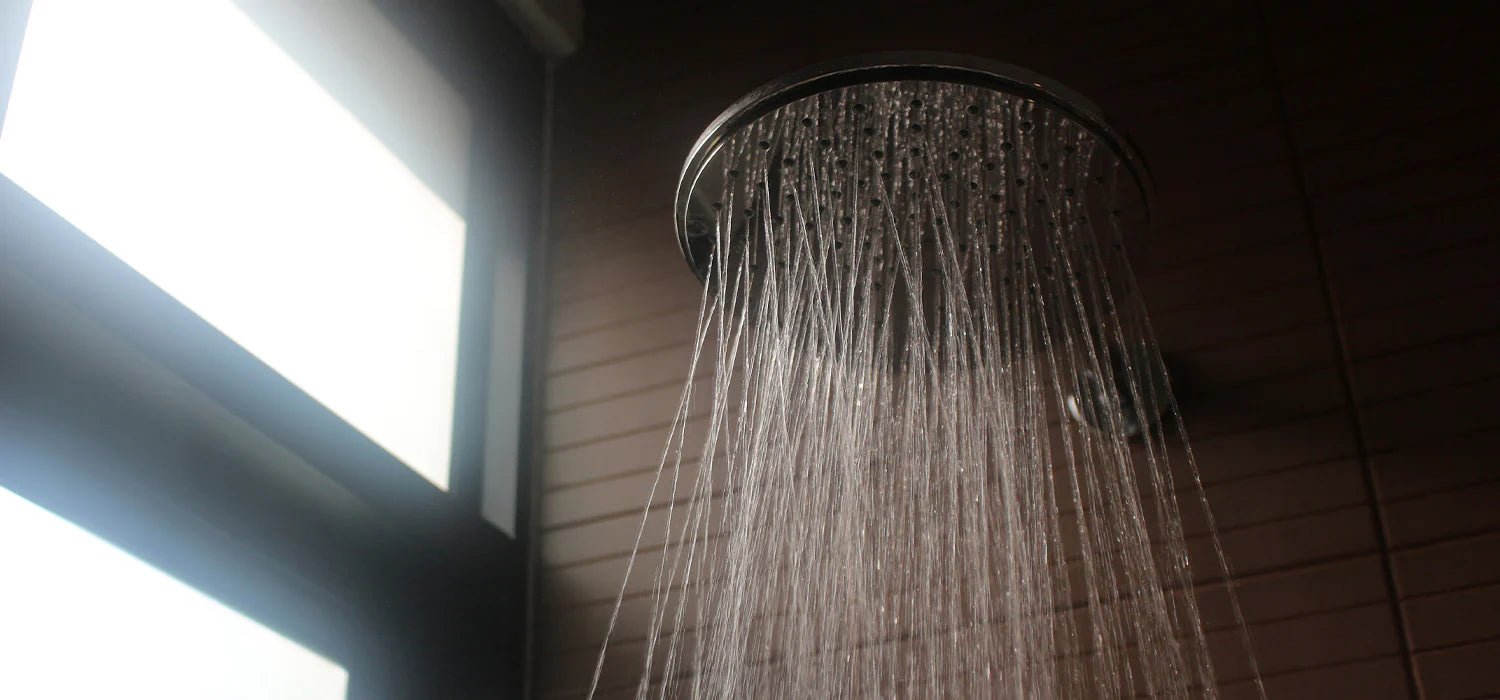
A rain fixture delivers water straight down using gravity and wide plate spacing. In standard homes, high line pressure pushes water through every hole easily. In older rentals or top-floor units, plumbing lines deliver less push. If you put a massive shower fixture on a weak pipe, the water barely trickles out of the center holes.
Air-induction models fix this issue. These units pull ambient air into an internal chamber using a small venturi intake. The air mixes directly into the stream, which builds pressure and shoots out fuller droplets. You get the sensation of a heavy downpour while using less water volume.
The most common misconception is that a wider shower face always delivers a better rainfall experience. A 12-inch plate needs strong supply force to fill its surface. If your water flow is weak, a wide plate simply drops water weakly onto your head. A 6-inch head concentrates that identical volume into fewer nozzles, which gives you real rinsing power.
The basic method
You can change your shower head in about fifteen minutes with basic hand tools.
- Turn off the shower control handle completely. Wrap a cloth around the existing shower arm to protect its finish.
- Place an adjustable wrench over the cloth-covered pipe. Turn the old shower fixture counterclockwise until it threads off.
- Clean the old pipe threads with an old rag. Scrape away any dried white paste or worn tape until the metal threads are clean.
- Wrap Teflon thread-seal tape clockwise around the shower arm threads 3 to 4 times, keeping the wrap flat.
- Check inside your new fixture to confirm the small rubber washer sits flat inside the threaded inlet collar.
- Thread the new head onto the arm by hand until it feels snug.
- Tighten the fixture an extra half-turn using your wrench over a clean rag to avoid scratching the finish.
- Turn on the cold water valve halfway to check for leaks around the pipe joint.
The single judgement call that separates a good result from a bad one is knowing when to stop tightening. Over-tightening cracks the internal rubber washer or splits the shower head collar, which leads to hidden wall leaks. If the connection drips, unscrew it, add 2 more wraps of tape, and thread it on again. If your building’s supply arm feels loose inside the wall, stop right away and notify building maintenance to avoid snapping pipes inside the wall cavity.
Key numbers and settings at a glance
Selecting the right hardware depends on your apartment’s physical setup and water delivery.
| Situation | What to use | How long | What to watch for |
|---|---|---|---|
| Top-floor unit with weak flow | 6-inch air-injected rain head | 15 minutes | Air intake whistle during use |
| Standard ceiling height under 7 feet | Flat direct-mount face | 10 minutes | Headroom clearance for tall users |
| Hard water supply | Silicone rub-clean nozzles | 15 minutes | White mineral crust blocking holes |
| Angled standard wall pipe | 8-inch S-style riser arm | 25 minutes | Arm sagging under the water’s weight |
| Shared multi-family boiler | Flow-compensating rain head | 15 minutes | Temperature swings when flow changes |
What separates good results from bad ones
Preparation and Alignment
Checking your pipe angle before you buy hardware prevents poor spray coverage. Standard wall arms stick out at a 45-degree angle. A true rainfall spray requires a flat 90-degree angle so water drops straight down. If you screw a flat rainfall head onto an angled wall arm, water hits your chest instead of dropping over your shoulders. Experienced renters add a 6-inch solid brass extension arm to place the fixture directly overhead.
Flow Verification
Don’t leave the internal filter screen out of the assembly. People often remove this mesh screen thinking it boosts water force, but loose rust particles from old apartment risers quickly plug the tiny spray nozzles. You’ll spend hours poking pins into blocked holes. If your shower pressure feels weak, look at the supply line first; if water flow is strong everywhere else, check the shower screen for building sediment.
Common problems and quick fixes
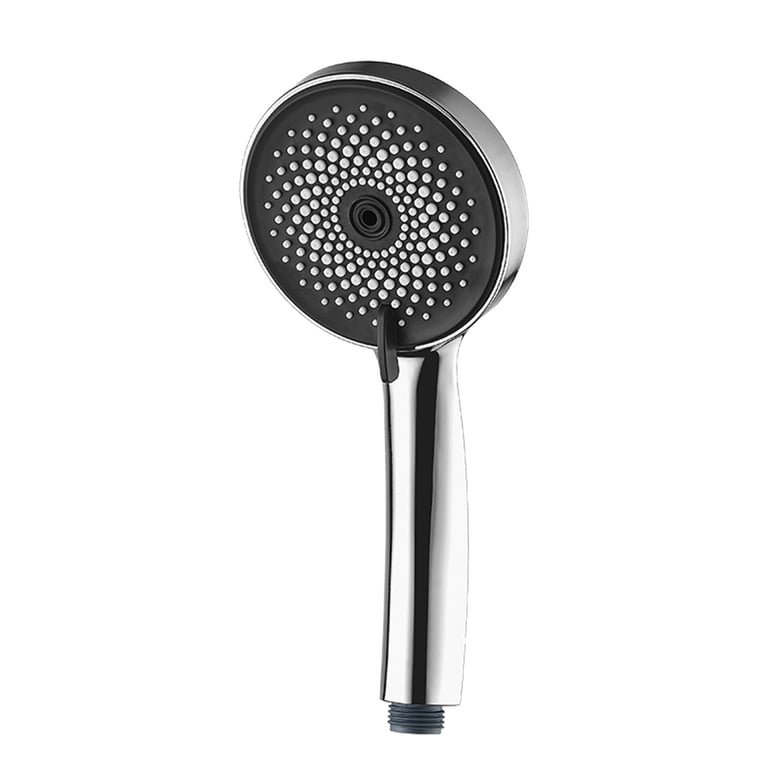
Most issues come down to mineral buildup or joint thread gaps.
| What you notice | What it usually means | What to do first |
|---|---|---|
| Water shoots sideways from holes | Mineral scale inside the nozzle | Rub silicone tips firmly with your thumb |
| Joint drips down the pipe | Loose joint or torn seal tape | Re-tape threads with 4 fresh wraps |
| Low volume out of all nozzles | Clogged intake filter screen | Unscrew fixture and rinse the wire mesh |
| Head droops down on extension arm | Loose pivot ball or wing nut | Hand-tighten the adjustment collar screw |
Federal and Local Flow Limits
Shower fixtures sold across the United States must meet strict water consumption rules. Under federal energy standards enforced by the Department of Energy, standard shower heads can’t exceed a maximum output of 2.5 gallons per minute at 80 pounds per square inch of pressure.
Several regions enforce tighter water conservation limits. The EPA WaterSense program certifies high-efficiency shower heads that use no more than 2.0 gallons per minute while meeting strict spray performance metrics. If you live in California, state building standards limit flow rates to 1.8 gallons per minute under Title 20 appliance standards. Modifying or drilling out internal plastic flow regulators can violate local lease agreements and may unbalance the pressure-balancing valve inside your wall. If you hear water hammer or loud thumping inside your wall after a shower head change, have a licensed plumber inspect the building pressure regulator.
Cleaning and Mineral Maintenance
Over time, calcium deposits will narrow your fixture’s spray openings and reduce flow. You can clean the spray face every 3 to 6 months depending on local mineral levels. If you see white crust on the faceplate, pour 2 cups of plain white vinegar into a plastic bag. Slip the bag over the shower fixture until the nozzles are fully submerged, and secure it with a rubber band.
Leave the bag in place for 60 minutes, remove it, and run warm water for 2 minutes to flush out loosened scale. Avoid leaving vinegar on chrome-plated plastic overnight, as mild acid can strip the decorative finish. Never use harsh bleach or wire brushes on silicone nozzles, because torn tips will spray water erratically.
When to use a different approach
This setup isn’t for households dealing with severe pipe scaling where water volume drops below 1.0 gallon per minute. A wide rain head needs a minimal water volume to function; it can’t create water out of nothing. In that scenario, choose a concentrated 3-inch high-pressure jet head instead.
Rain heads are also poor options for renters who wash long, thick hair daily and want focused rinsing force. Rain designs trade concentrated jet pressure for wider body coverage. For strong rinsing pressure, buy a multi-setting handheld wand with a pulsating massage mode instead of a overhead rain fixture.
Frequently asked questions

Can you use a rainfall shower head with low water pressure?
Yes, you can use one if you pick a model with air-injection technology or a compact face under 8 inches. These designs pressurize the water inside a smaller chamber, which keeps the spray pattern full instead of letting it dribble out.
Is an 8-inch or 12-inch rain head better for low pressure?
An 8-inch model works much better under weak pressure. A 12-inch head spreads weak flow across hundreds of nozzles, cutting droplet speed. An 8-inch face keeps the water concentrated, giving you better coverage and stronger rinsing.
Why does my new rainfall shower head whistle?
Your new rain fixture whistles because air is being drawn through the intake venturi ports. When water rushes through internal chambers, it pulls outside air through tiny holes. This sound is completely normal for air-injected heads.
Will removing the flow restrictor fix my shower pressure?
No, removing the restrictor rarely solves low building pressure. If your pipe supplies less than the regulator’s rated limit, removing the plastic piece changes nothing. It can also cause leaks or void the manufacturer’s warranty.
How high should a rain shower head sit above you?
A rain fixture should sit approximately 6 to 8 inches above the top of your head. If it sits too high, falling water loses its warmth and velocity; if it sits too low, you’ll bump into the faceplate.
Final Thoughts
Upgrading your bathroom doesn’t have to be a complicated renovation. Once you’ve swapped out your old fixture, you’ll enjoy a much more refreshing start to your morning. You shouldn’t settle for a weak stream, so take a look at your current flow rate today and pick out a model that fits.
Related guides
- Low Flow Water Pump Guide: Efficiency and Installation Tips
- How to Save Water With Low Flow Showerheads That Feel Great
- Boosting Water Pressure With the Right Bathroom Faucet Guide






