
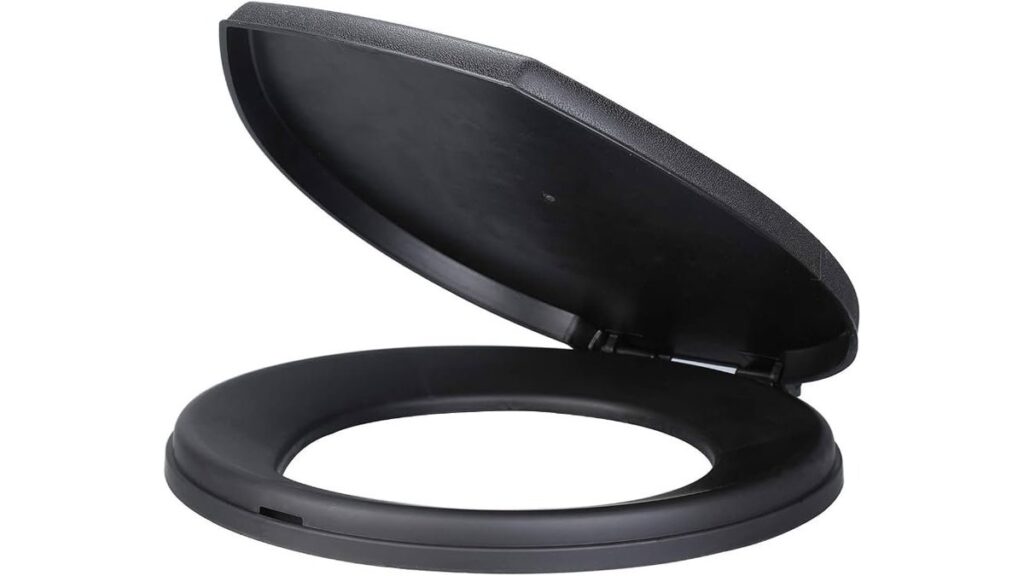
This Luggable Loo 5-gallon toilet review rates the unit at 4 out of 5 stars for camp sanitation. Reliance Products builds this bucket-style seat to hold up to 200 pounds on flat ground, making it a dependable backup for power outages, dispersed car camping, and roadside emergencies. The setup takes under 30 seconds and uses no water or chemicals. You’ll learn how to line the bucket, manage odors safely, and handle waste without spills.
Table of Contents
Reviewing the reliable five gallon Luggable Loo
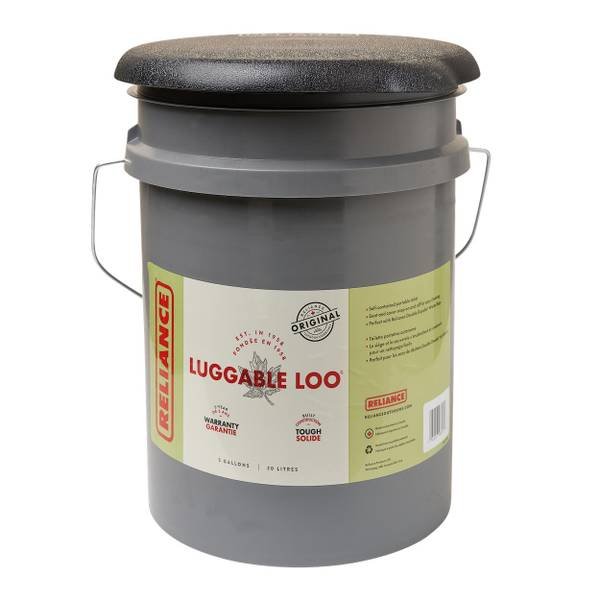
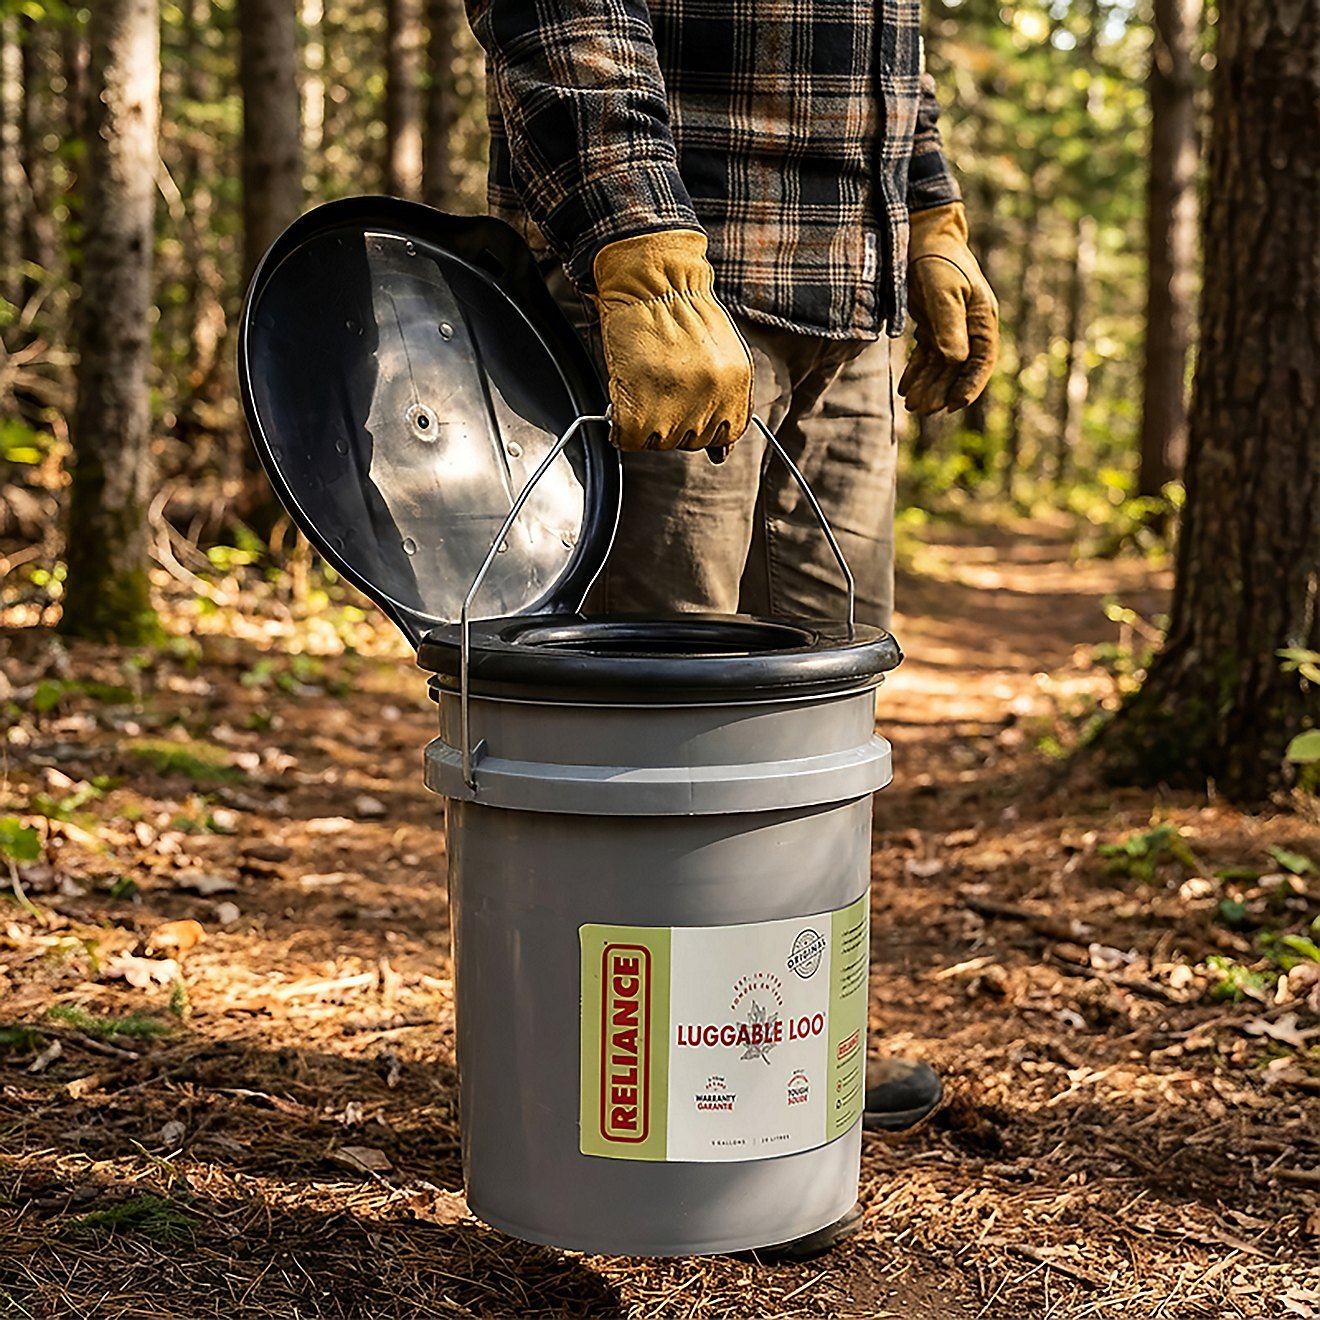
The unit is a standard 5-gallon plastic bucket fitted with a snap-on plastic toilet seat and a hinged cover. Reliance Products designed it for outdoor recreation, emergency readiness, and job sites without plumbing. It’s meant for anyone who wants a simple, mechanical waste collector that won’t leak or break down from freezing temperatures.
A common misconception is that this unit seals out odors on its own. The snap-on lid rests over the seat aperture, but it doesn’t form an airtight or liquid-tight seal. Odor control relies entirely on dry carbon covers like pine shavings or gelling agents added after each use. The plastic structure will flex if set on uneven rocks, so keep the base flat. The factory bucket measures roughly 13 inches tall, which feels lower than a standard household toilet. Because there are no moving mechanical valves, seals can’t jam or dry out in long-term storage.
The basic method
- Place the bucket upright on flat, level ground so the bottom makes full contact with the soil or floor.
- Unsnap the toilet seat ring from the top rim of the bucket.
- Open an 8-gallon heavy-duty waste bag (at least 1.5 to 2 mils thick) and drop it inside.
- Fold the top 3 inches of the plastic bag over the outside rim of the bucket.
- Snap the seat assembly firmly back down over the rim to lock the bag edges in place.
- Pour 1 cup of pine shavings, peat moss, or toilet gelling powder across the bottom of the bag.
- Add 1 cup of your dry cover material immediately after each solid waste use.
- Unclip the seat, pull the bag edges upward, squeeze out trapped air gently, and tie the top into a tight knot for disposal.
Managing liquid separate from solids is the single judgement call that separates a clean setup from a foul one. If your trip lasts multiple days, keep a separate container for urine, or double the dry material to absorb liquid completely. If you must pack waste across public trails, follow pack-it-out standards rather than burying plastic bags in shallow ground.
Key numbers and settings at a glance
The performance of this system changes based on how you load it and the ambient temperature.
| Situation | What to use | How long | What to watch for |
|---|---|---|---|
| Single-day outing | 8-gallon trash bag, 1 cup shavings | 1 to 2 uses | Bag slippage under the seat |
| Weekend car camp | Double 8-gallon bags, 2 cups gelling powder | Up to 2 days | Strong ammonia smells from urine pooling |
| Power outage at home | Heavy contractor bag, pine cat litter | 24 hours per bag | Overfilling past 3 gallons of weight |
What separates good results from bad ones
Proper prep and liner choice
People who get good results never use standard 0.5-mil kitchen trash bags. Thin bags tear on the bottom rim when lifted under the weight of liquid and solid waste. A bag rupture inside a vehicle or camp tent costs hours of difficult cleaning. Always use bags rated at 1.5 mils or thicker, sized at 8 to 10 gallons so excess material rests on the bottom rather than stretching in midair. Press the bag flat against the bottom of the bucket before snapping the seat down; this keeps the weight of the user from dragging the liner edges out of the rim lock.
Odor layering and ventilation
Keep the unit out of direct sunlight. Warm plastics accelerate the release of odor gases, and the loose seat cover lets those smells escape into small spaces. Keep your scoop and dry cover material right beside the bucket so every person covers their waste instantly. Avoid pouring bleach into the bag, as it can react with ammonia in urine to create chloramine gas.
Common problems and quick fixes
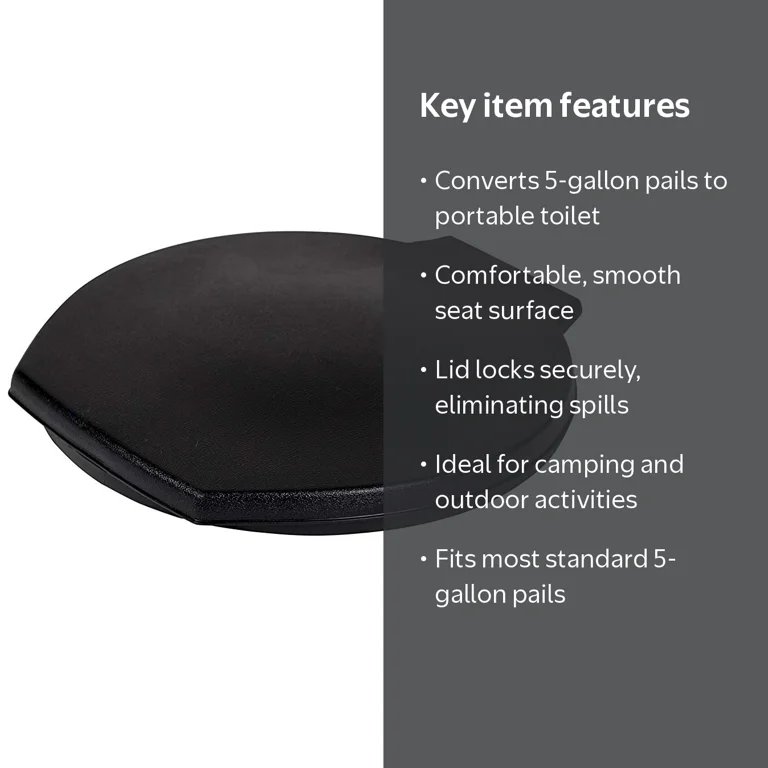
Simple fixes prevent spills, foul odors, and damaged plastic parts during use.
| What you notice | What it usually means | What to do first |
|---|---|---|
| Bag drops into bucket | Seat ring didn’t clamp rim | Pull bag edges over rim and push seat until it clicks |
| Sharp smell inside tent | Lid doesn’t seal airtight | Move bucket outside or add 2 cups of cedar shavings |
| Bucket rocks when sitting | Ground underneath is sloped | Clear rocks and level the dirt before sitting down |
| Seat pops off while carrying | Wire bail pulled against hinge | Carry using the bottom base or swing wire handle clear |
Managing waste legally and safely
Campers must follow regional waste disposal rules whenever plumbed bathrooms are absent. You can check the National Park Service guidelines on leaving no trace to confirm how human waste must be packed out in protected wilderness zones. Many river corridors and high-altitude parks ban plastic bag burial completely.
If a park prohibits standard trash disposal for human waste, you must use approved waste collection kits containing NASA-developed gelling agents, or carry a sealed hard-sided vault. Never dump treated chemical toilet contents or solid camp waste into open storm drains or wild waterways. When public dump stations are unavailable, take bagged waste home and place it directly into regular municipal trash bins only if your local sanitation district permits wrapped human waste.
Cleaning and storing the hardware
Clean the plastic frame after each trip to prevent permanent stains and odors. Wash the bucket and seat with warm water and 2 tablespoons of mild dish soap, then rinse thoroughly. Disinfect the inner surfaces with a 10% household bleach solution, letting it sit for 5 minutes before drying.
Store the bucket in a dry shed or closet away from direct sunlight. Ultraviolet light breaks down polypropylene, causing the bucket rim and lid hinge to become brittle over time. If the plastic hinge feels stiff after months in cold storage, warm it to room temperature before forcing the lid open.
When to use a different approach
This setup is the wrong choice for backpacking trips where you carry gear on your back; a 5-gallon bucket is too bulky and heavy for foot travel. It’s also unsuitable for extended indoor off-grid living where you want a permanent, odor-free bathroom.
If you hike long distances, use a lightweight trowel or approved single-use pack-out bags instead. If you live full-time in a van or cabin, choose a dedicated urine-diverting composting toilet or a plumbed cassette system with sealed vent lines.
Frequently asked questions
Can a heavy person use this safely?
Yes, up to 200 pounds when placed on flat, solid ground. The plastic bucket can deform or tip over if placed on uneven dirt, loose gravel, or soft sand.
Is it safe to empty into a standard toilet?
No, never dump plastic bags or solid absorbent shavings into household plumbing. Gelling polymers and wood shavings expand in water, which blocks sewer pipes and causes expensive plumbing backups.
How long does a waste bag last before smelling?
About 24 hours if you cover waste with dry pine shavings or gelling powder. If the weather is warm or liquid collects at the bottom, odors will escape much faster.
What happens if you sit on the lid?
The snap-on lid can bend or crack along the center crease. Reliance designed the seat ring to support human weight, but the thin flip-top cover is only meant to block bugs and sightlines.
Why does the bucket feel unstable on dirt?
The base measures narrower than the top rim, giving the unit a higher center of gravity. Clear away sticks, dig a slight flat depression, and set the bucket level before using it.
Final Thoughts
Investing in this simple bucket system gives you peace of mind when you’re away from modern plumbing. It’s a sturdy, no-fuss solution that won’t let you down during your next trip. Grab a box of heavy-duty liners today, and you’ll be ready for whatever nature throws your way.
Related guides
- Pros and Cons of Training a Cat to Use Toilet: Expert Verdict
- How to Remove Urine Scale from Toilet Bowls Quickly
- How to Make the Toilet Flush Better: Easy DIY Fixes






