
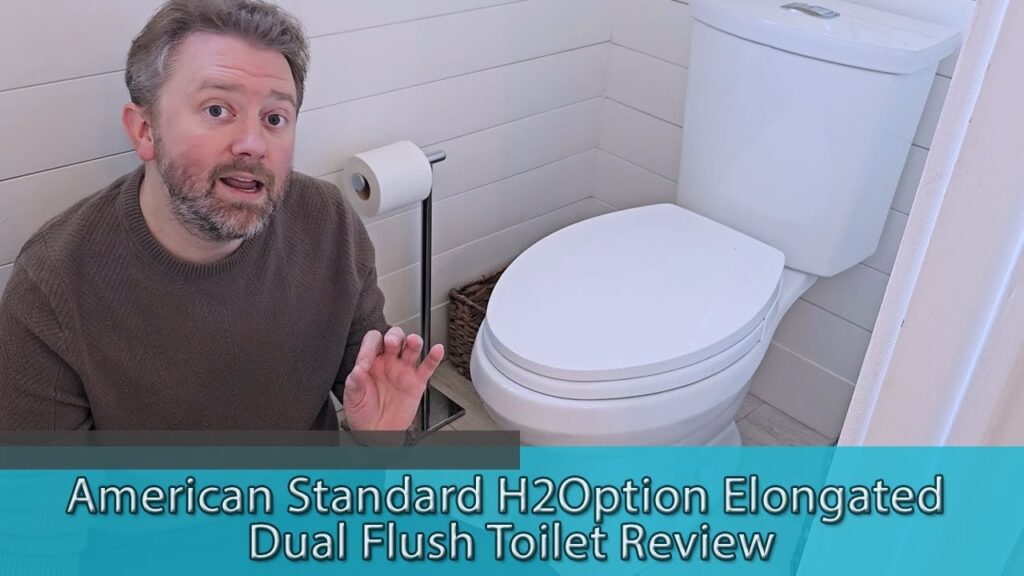
This review american standard h2option dual flush toilet breakdown shows it delivers 1.0 gallon per flush for liquid waste and 1.6 gallons per flush for solid waste using a pressurized siphon jet. The unit clears bowl waste reliably while cutting household bathroom water consumption. You’ll learn the real flush volume measurements, exact installation clearances, leak fixes, and performance limits that short product descriptions leave out.
Table of Contents
How the American Standard dual flush works

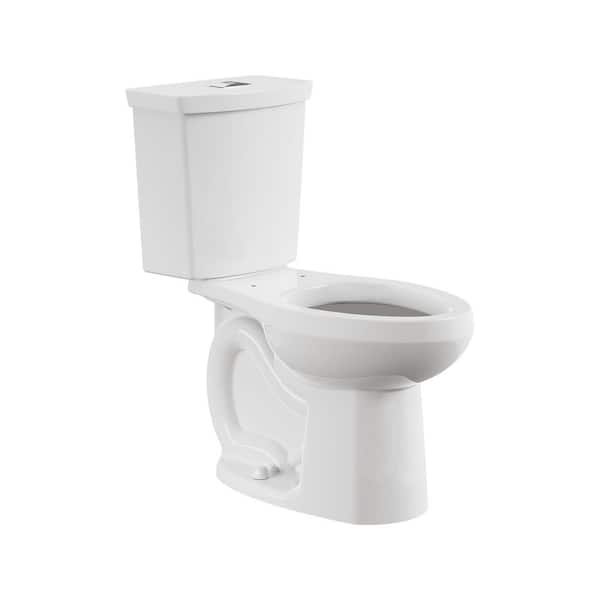
The American Standard H2Option is a two-piece vitreous china toilet designed for residential bathrooms. It features two top-mounted push buttons that control water volume based on the type of waste. People often assume dual-flush fixtures lack bowl-clearing power, but this fixture pushes water through a dedicated jet at the bottom of the bowl while powerwash rims scrub the sides.
A central misconception is that dual-flush units require two flushes every time you use them. The light flush handles liquid waste completely using 1.0 gallon, while the heavy button uses 1.6 gallons to clear bulk solids. If your household wants lower utility bills, this unit helps; if your plumbing line has recurring root clogs downstream, high-efficiency fixtures can struggle to carry waste through flat sewer pipes. This fixture isn’t for commercial restrooms where users abuse exposed push buttons.
The Basic Method
Installing and setting up this toilet requires standard household tools and careful handling of heavy porcelain.
- Turn off the wall water supply stop valve completely, flush the old toilet to empty it, and sponge out the remaining water from the tank and trapway.
- Disconnect the flexible supply line, remove the floor bolt nuts with an adjustable wrench, lift the old bowl away, and scrape the old wax ring off the floor flange using a putty knife.
- Place a new wax ring centered on the floor flange, set new brass closet bolts upright in the flange slots, and lower the H2Option bowl straight down over the bolts.
- Press down firmly with your body weight to seat the wax seal, slide plastic washers over the bolts, and tighten the nuts alternately to 30 to 40 inch-pounds until snug; stop turning before the porcelain cracks.
- Place the rubber tank-to-bowl gasket onto the flush valve base under the tank, align the tank onto the rear bowl deck, and tighten the two tank bolts evenly until the tank touches the bowl’s raised contact points.
- Connect a braided steel 3/8-inch compression supply line to the plastic fill valve shank, turn the shutoff valve counterclockwise, and let the tank fill with water.
- Adjust the threaded actuator rods underneath the tank lid push buttons until they rest about 1/16-inch above the flush valve levers.
The single judgement call that separates a tight seal from a broken base is bolt tension. If a floor bolt feels loose, tighten it by quarter-turns; if you wrench hard on the nut, you’ll snap the vitreous china flange instantly. If your cast iron waste pipe sits cracked below the subfloor, stop work immediately and hire a licensed plumber to rebuild the drain stack.
Key numbers and settings at a glance
The table below shows operational settings, measurements, and physical limits for this model across common home setups.
| Situation | What to use | How long | What to watch for |
|---|---|---|---|
| Liquid waste disposal | Short button (1.0 GPF) | 3-second cycle | Incomplete rinse on back wall |
| Solid waste disposal | Long button (1.6 GPF) | 4-second cycle | Bulk paper clearing trapway |
| Floor rough-in check | Tape measure from wall studs | 2 minutes | Distance under 12 inches |
| Supply line hookup | 3/8-inch braided stainless hose | 5 minutes | Cross-threading plastic shank |
| Tank bolt leveling | Flathead screwdriver and wrench | 10 minutes | Overtightening tank corners |
| Water line pressure check | Pressure gauge on hose bib | 5 minutes | Supply pressure below 20 PSI |
What separates good results from bad ones
Hardware Alignment and Torque
Achieving good performance depends on aligning the flush valve rods and balancing the tank bolts before filling the system. Level the tank by turning each brass nut two turns at a time, moving back and forth between sides. If the tank tilts forward, water sloshes past the flush seal; if it tilts backward, the tank lever binds against the ceramic lid. Check the gap beneath the tank lid buttons before you put away your tools. The push rods must never press down on the flush valve while at rest, or water will trickle into the bowl continuously.
Water Line Preparation
Inspect your supply stop valve and clear line sediment before attaching the supply hose. Old galvanized lines often break loose flakes of rust when shut off, and that debris clogs the diaphragm inside the fill valve. Flush 2 gallons of water into an open bucket through the bare supply valve before connecting it to the toilet. This prevents valve sticking, preserves normal refill speeds, and stops slow tank leaks before they start.
Common problems and quick fixes

Dual-flush mechanisms rely on silicone seals and push rods that occasionally need adjustment to keep the bowl cycling properly.
| What you notice | What it usually means | What to do first |
|---|---|---|
| Water trickles into the bowl | Flush valve seal is misaligned or dirty | Wipe silicone seal ring clean of grit |
| Buttons feel loose or do nothing | Actuator rods are unscrewed too short | Thread rods downward closer to valve levers |
| Tank takes minutes to refill | Fill valve inlet screen is clogged | Turn off water and rinse fill valve screen |
| Tank rocks when touched | Tank bolts are unevenly torqued | Tighten the looser side nut one half-turn |
| Weak flush clears nothing | Tank water level sits below water line mark | Spin fill valve adjustment screw clockwise |
Clean Water Standards And Codes
The United States Environmental Protection Agency sets strict efficiency targets for modern bathroom fixtures through its EPA WaterSense program, which requires dual-flush certified models to use no more than 1.28 gallons per flush across an average household cycle. The American Standard H2Option qualifies by pairing its 1.6-gallon heavy cycle with its 1.0-gallon light cycle.
Plumbing installations must also comply with the Uniform Plumbing Code or the International Plumbing Code, depending on local town rules. These codes require a finished 15-inch clearance from the center of the drain to any side wall or vanity cabinet. If you fail to verify these rough-in boundaries before placing the bowl, the toilet will violate local housing code and crowd your bathroom door frame.
Routine Cleaning And Long-Term Care
Clean the porcelain bowl surfaces regularly using mild liquid dish soap and a soft-bristle nylon brush. Harsh chemical drop-in bleach tablets placed directly in the tank will eat through the silicone flush seals, crack the plastic valve brackets, and ruin your warranty coverage. Check the tank components as part of your usual clean by lifting the ceramic lid to look for chemical deterioration.
Wipe down the chrome push buttons on top of the lid with warm water, as abrasive cleaners will strip the metallic finish down to bare plastic. If your house runs on mineral-heavy well water, iron and calcium scale will slowly coat the siphon jet nozzle in the bowl’s throat. Clear these ports using white vinegar and an old toothbrush whenever the swirl action slows down.
When to use a different approach
Choose a different toilet model if your bathroom needs to meet commercial Americans with Disabilities Act (ADA) requirements, because the top-mounted push buttons demand fine finger pinch pressure rather than an easy-throw side trip lever. For users with arthritis or limited hand strength, buy a lever-operated toilet instead.
If your bathroom rough-in measures 10 inches or 14 inches from the bare wall, this model won’t fit without expensive floor tear-outs; this varies by model — check the label on your existing rough-in box first. If you buy the wrong size, you’ll end up paying return freight fees or hiring a contractor to offset your floor flange.
Frequently asked questions
Can you change the flush volume on an H2Option?
No, the factory pre-sets the flush volume chambers to meet federal conservation limits. You can only adjust the overall tank fill height using the fill valve screw, which must line up directly with the water line stamp marked on the inside porcelain wall.
Why does my H2Option keep running after a flush?
The silicone seal at the bottom of the flush canister has gathered mineral grit, or the push rods under the lid are screwed too far down. Loosen the push rods to give the buttons slight play, or wipe off the rubber canister gasket.
Is the toilet seat included in the box?
No, American Standard sells the H2Option bowl and tank without an included toilet seat. You must buy an elongated or round-front seat separately to match the specific bowl shape stamped on the outside of the carton.
How long does the flush cycle take to complete?
A full flush cycle empties and refills the tank within 30 to 45 seconds, assuming your home water supply line provides standard household water pressure between 35 and 60 pounds per square inch at the wall shutoff valve.
What happens if you push both flush buttons at once?
The valve defaults to the heavy 1.6-gallon solid flush cycle. Pushing both buttons lifts the entire canister assembly, discharging the full water reservoir into the bowl without damaging the internal mechanical linkage inside the tank.
Final Thoughts
If you’re ready to upgrade your bathroom, this model is a solid choice that won’t let you down. It’s built to last, so you won’t have to worry about constant repairs. Before you buy, double-check your floor space to ensure a perfect fit. You’ll be glad you made the switch.






