
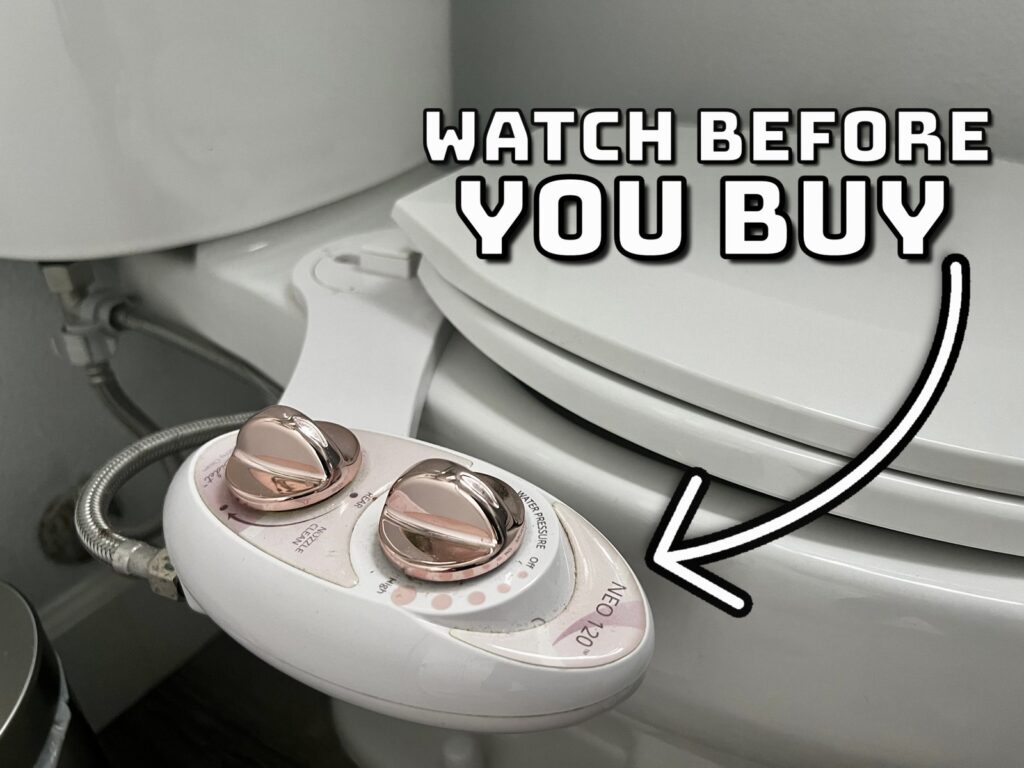
A honest review luxe bidet neo 120 reveals that it’s a dependable, non-electric wash attachment that cuts toilet paper use by over 70% while running entirely on your home’s water pressure. You’ll get clean with a quick turn of a dial, taking about 15 to 20 minutes to mount using basic household tools. The unit avoids complex wiring, but it brings cold water only, which creates trade-offs you must weigh before installing one.
Table of Contents
How the Luxe bidet operates
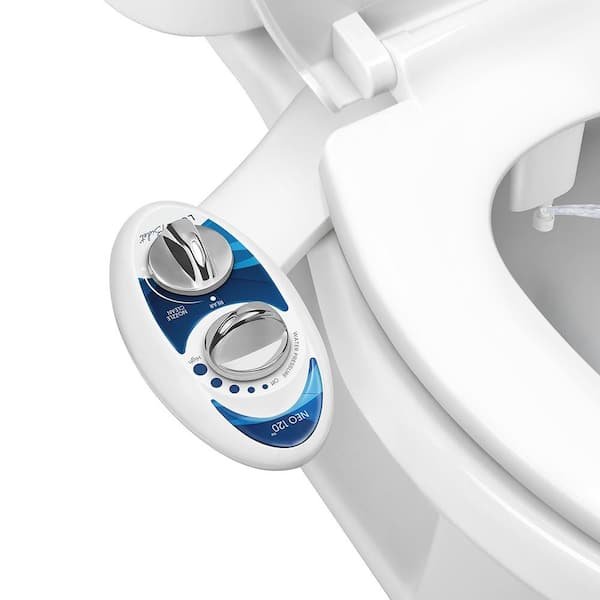
This attachment mounts between your current toilet bowl and seat. It features a single retractable nozzle, a protective splash guard gate, and a side control panel with two simple dials. You don’t need an electrical outlet or batteries. Turning the lower knob directs household cold water directly through the internal valves, pushing the nozzle down to spray a steady stream.
The main use is personal hygiene after using the restroom. People switch to it to feel cleaner, save paper, and help family members who struggle with mobility. A common misconception is that it warms the water or requires extra tank heating. It doesn’t. The unit connects straight to the clean freshwater supply line beside the wall, spraying at room or pipe temperature. The internal mechanical valve relies on physical water pressure alone to open, aim, and retract the nozzle automatically whenever you shut the dial off.
The basic method
- Shut off the water supply valve clockwise beside your wall, then flush the toilet tank completely and hold down the lever until the tank is empty.
- Remove your current toilet seat by loosening the two mounting bolts underneath the bowl rim using a standard screwdriver or wrench.
- Place the attachment flat over the bowl holes, set the circular adjustment plates into place, and reattach your toilet seat bolts over the top without fully tightening them yet.
- Unscrew the existing flexible water line from the base of your toilet tank fill valve, catching any residual water with a small towel.
- Thread the included metal T-adapter onto the bottom of the toilet tank fill valve, ensuring the rubber washer sits flat inside the connection.
- Connect the main water supply hose to the bottom of the T-adapter, and attach the braided bidet hose between the side outlet of the T-adapter and the bidet body.
- Hand-tighten all connections firmly, add a quarter-turn with a wrench, turn the wall shut-off valve counterclockwise, and check for any moisture over 5 minutes.
The single judgement call that separates a clean setup from a cracked fitting is how much force you use on the plastic fill valve threads. If you overtighten metal onto plastic, the valve cracks and causes a slow flood. If the connection feels loose or drips, remove it and re-seat the washer rather than forcing the metal threads further with heavy tools.
Key numbers and settings at a glance
Pressure changes depending on how far you rotate the dial and your home’s baseline plumbing strength.
| Situation | What to use | How long | What to watch for |
|---|---|---|---|
| First-time use | Self-cleaning mode first, then lowest wash notch | 10 to 15 seconds | Sudden high spray pressure hitting sensitive skin |
| Standard daily wash | First or second dial mark beyond nozzle cleaning | 15 to 30 seconds | Spray alignment shifting forward or backward |
What separates good results from bad ones
Proper alignment and spacer placement
Good installations start with bowl geometry. Toilets curve differently, and this attachment adds about a quarter-inch of plastic under the rear hinges. If you bolt the seat straight down, it often slopes downward toward the front. That bend puts continuous stress on the seat hinges until they snap. Experienced installers place small rubber bumpers under the front edge of the seat to keep the surface level. Align the nozzle assembly centrally inside the bowl rim before tightening the bolts, leaving enough clearance so the drop-down nozzle clears the porcelain without scraping.
Measured tightening and leak checks
Water damage happens when users rush the plumbing connections. The supplied T-adapter uses a rubber cone washer that creates a watertight seal through gentle compression, not raw torque. Hand-tighten the joints first. If a connection drips after turning the water back on, don’t keep cranking the wrench. Turn the water off, check that the hose isn’t cross-threaded, and verify the rubber gasket didn’t twist out of position. A simple mistake people actually make is wrapping excessive Teflon tape over washer-sealed joints; the tape prevents the gaskets from seating flat, costing them hours of troubleshooting leaks.
Common problems and quick fixes

A few simple mechanical checks solve most operational issues.
| What you notice | What it usually means | What to do first |
|---|---|---|
| Water leaks from T-valve | Rubber washer is missing or sitting crooked | Disassemble, seat the flat gasket flat, and re-tighten by hand |
| Spray aims too far forward | Attachment sits too far back on the rim | Loosen seat bolts and slide the mounting brackets forward |
| Nozzle stays down after wash | Mineral buildup or low return-spring tension | Clean the nozzle track with vinegar or flick the self-clean dial |
| Spray feels painfully sharp | Home plumbing runs above standard pressure | Turn down the wall shut-off valve slightly to restrict incoming flow |
The rules that apply
Plumbing fixtures attached directly to household potable water lines must protect against cross-contamination and backflow. The Uniform Plumbing Code standards require devices connected to clean water systems to avoid back-siphonage into the municipal supply. The unit uses a check valve or similar backflow prevention mechanism to help protect the clean supply line.
If your home uses rigid copper or chrome riser pipes between the shut-off valve and the toilet tank, you can’t bend them into the T-adapter. Modifying rigid metal risers requires cutting tools or professional replacement with a flexible braided line. If you aren’t comfortable replacing rigid pipe, hire a licensed plumber to avoid flooding your bathroom floor.
Keeping it clean and maintained
Regular upkeep prevents hard water deposits from clogging the tiny spray holes. Run the dedicated nozzle-cleaning mode for 5 seconds once a week to rinse the outer casing and clear loose debris. Wipe down the external control dials and the guard gate using mild dish soap and warm water on a soft microfiber cloth.
Avoid harsh chemical cleaners, abrasive scouring pads, or bleach-based sprays directly on the bidet body. Strong chemicals degrade the ABS plastic housing over time, making the dials brittle and prone to cracking under water pressure. If mineral deposits slow the spray stream, soak a paper towel in distilled white vinegar and wrap it around the lowered nozzle for 30 minutes to dissolve the scale naturally.
When to use a different approach
This unit isn’t for people living in regions with freezing winters if their bathroom lacks tempered water lines. Cold well water in January causes painful shocks to sensitive skin. If warm water is a requirement for your comfort, choose an electric bidet seat or a dual-temperature model that hooks directly into your bathroom sink’s hot water valve.
This product is also the wrong choice for curved French-curve toilet tanks or one-piece toilets with limited bolt clearance. The side control panel requires several inches of horizontal space. If your toilet sits tightly squeezed between a wall and a vanity cabinet, look for an external handheld sprayer or a slim electronic seat with a remote control instead.
Frequently asked questions

Can the Luxe Bidet Neo 120 connect to hot water?
No. This model connects only to the cold water supply line beside your toilet. If you want warm water, you must choose a dual-temperature model like the Neo 320, which includes a secondary hose that runs across your bathroom floor to tap into the hot water line under your sink.
Is it safe to leave the water supply on constantly?
Yes, the internal valves are built to withstand continuous municipal pressure. However, if you plan to travel away from home for more than a week, turn off the wall shut-off valve beside the toilet. That simple step completely protects your bathroom against surprise pressure surges while you’re away.
What happens if my toilet seat doesn’t sit flat?
Your seat will bend slightly, placing heavy stress on the plastic hinges. This happens because the mounting plate adds height under the rear hinge. You can solve this uneven gap immediately by sticking raised rubber toilet seat bumpers onto the underside of your seat’s front rim to restore a level balance.
How long does the internal nozzle last?
The mechanical assembly lasts several years under standard conditions, but this varies by model and local water hardness. Heavy mineral content in hard water creates lime scale over time. Regular monthly vinegar cleaning clears the internal passages, extending the operational lifespan and keeping the return springs working smoothly.
Can renters install this without losing their security deposit?
Yes. The entire setup is non-permanent and uses your existing toilet fittings. You don’t need to cut any pipes or drill into the bathroom floor. When your lease ends, simply disconnect the hoses, remove the attachment, put the original seat back on, and take the unit with you to your next home.
Final Thoughts
If you’re ready to upgrade your bathroom routine, this simple addition is a great place to start. It doesn’t cost much, and you’ll likely wonder why you didn’t switch sooner. Check your toilet’s dimensions today to ensure a perfect fit, then enjoy the refreshing change once it’s finally installed.






