
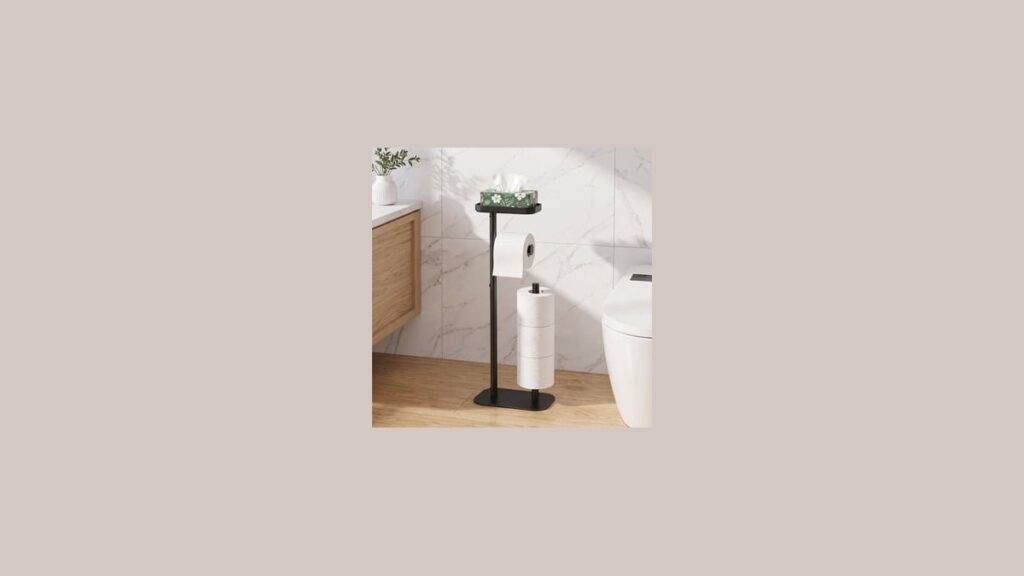
Finding the right toilet paper holder with shelf and phone holder your ultimate review depends on choosing solid metal over plastic, mounting it 26 inches above the floor, and picking a ledge with an upward rim. Most units support 2 to 5 pounds when screwed into drywall anchors. This guide walks through installation clearances, wall materials, weight limits, and moisture risks that simple packaging details leave out.
Table of Contents
Benefits of a toilet paper holder with shelf
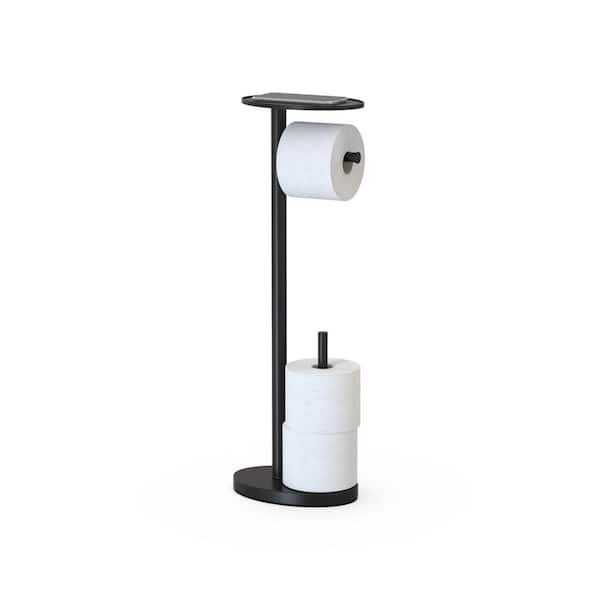
A combined toilet paper holder and storage shelf gives you a flat resting place for your smartphone, wet wipes, or keys right beside the toilet. It serves renters, homeowners, and guests who want to keep expensive mobile devices off wet sink counters or the bathroom floor.
A frequent mistake is assuming that any metal fixture handles heavy bathroom humidity without rusting. Cheap chrome-plated zinc alloys often pit or blister when exposed to daily shower steam. A reliable unit relies on 304-grade stainless steel or space aluminum with an anodized coating, which resists corrosion by forming a natural, non-reactive barrier against moisture and air. The flat surface should measure at least 5.5 inches long to hold modern smartphones securely. A small raised lip at the front edge prevents items from vibrating off the metal top when a call comes in.
The basic method
Installing this fixture requires a steady hand, basic tools, and correct wall anchors.
- Measure exactly 26 inches from your finished bathroom floor to the target wall spot, placing it 8 to 12 inches forward from the toilet bowl rim.
- Hold the mounting bracket against the wall and level it using a small torpedo level.
- Mark the two screw holes on your wall surface using a sharp pencil.
- If you have drywall, use a drill bit sized specifically for your chosen anchor; if you have tile, drill slowly with a 1/4-inch carbide masonry bit.
- Tap two plastic wall anchors fully flush into the holes with a rubber mallet.
- Line up the fixture base over the anchors, insert two 1-inch steel screws, and tighten them firmly with a hand screwdriver.
- Slide the main shelf body onto the base bracket and tighten the small bottom hex screw using the included Allen wrench.
The single judgement call that separates a solid installation from a loose one is anchor selection. If the fixture hits a wooden wall stud, drive your screws directly into the wood without plastic anchors; if you only hit hollow drywall, discard flimsy ribbed anchors and use threaded drywall anchors instead. When drilling through thick porcelain tile or natural marble, hire a licensed contractor to avoid cracking an expensive wall surface.
Key numbers and settings at a glance
The performance of your shelf depends directly on your bathroom wall material and chosen mounting style.
| Situation | What to use | How long | What to watch for |
|---|---|---|---|
| Hollow drywall | Threaded plastic anchors | 15 minutes | Anchors spinning freely in soft plaster |
| Ceramic tile wall | Carbide-tipped drill bit | 25 minutes | Tile cracking from high drill speeds |
| Solid wood stud | Direct 1.5-inch wood screws | 10 minutes | Stripping the screw head with excess torque |
| Painted plaster wall | Toggle bolts | 20 minutes | Large blowout holes behind the plaster |
What separates good results from bad ones
Preparation and hardware choice
A solid installation starts with inspecting what lies behind the wall paint. Cheap kits ship with generic plastic plugs that slide out of drywall under regular pulling force. Swapping those included plugs for self-drilling metal anchors creates a firm grip that handles daily roll tugging. Before marking your holes, wipe the wall area clean to remove soap film or grease that might cause your level to slip.
Alignment and mechanical balance
A shelf requires strict horizontal alignment so phones don’t slide off its flat edge. Keep your torpedo level centered on the shelf top while tightening the primary screws. Tighten each screw halfway first, check the bubble again, then finish tightening both. Never over-tighten the tiny set screw on the bottom; turning it with too much force strips the threads and causes the shelf to tip forward whenever you rest a phone on it.
Common problems and quick fixes
When a shelf tilts or shakes, simple mechanical issues are usually the cause.
| What you notice | What it usually means | What to do first |
|---|---|---|
| Shelf sags forward | Bottom hex set screw is loose | Tighten the Allen screw beneath the unit |
| Fixture pulls away from wall | Drywall anchors have stripped out | Replace with larger toggle bolts |
| Roll flies off the arm | Open end faces the toilet seat | Flip the holder arm to point away from the seat |
| Surface shows red rust spots | Surface contamination or pitting | Clean with a stainless steel cleaner and soft cloth |
Standard clearance and safety heights
Placement isn’t just about personal comfort; it follows clear building guidelines. The Americans with Disabilities Act standard for toilet paper dispensers sets the dispenser outlet between 15 inches minimum and 48 inches maximum above the finished floor, with a forward distance between 7 and 9 inches measured from the front of the water closet to the dispenser centerline. In standard private residential homes, standard trade practice places the shelf height around 26 inches above the floor for easy reach from a seated posture. If you need to drill near bathroom plumbing pipes or behind hidden electrical conduits, consult a licensed tradesperson with a stud finder to prevent water leaks or shock hazards.
Maintaining the metal finish
Wipe down the metal shelf regularly with a soft microfiber cloth dipped in warm water and mild dish soap. Never use acidic cleaners, bleach, or abrasive scouring pads on stainless steel or matte black powder coats, as harsh chemicals break down the protective layer and cause permanent pitting. Check the small underside hex screw whenever you notice it, tightening it if repeated phone placement creates slight movement. A properly cleaned metal shelf stays rust-free for the entire life of your bathroom fixtures.
When to use a different approach
A shelf-mounted dispenser is the wrong choice for tight spaces where the wall sits less than 6 inches from the toilet bowl edge, as your leg or hip will continuously bump the metal shelf corner. It’s also unsuitable for rental apartments with strict lease rules against wall drilling, where adhesive brackets rarely hold on humid painted walls. In those situations, use a freestanding floor stand with a weighted base instead.
This product isn’t for homes with curious toddlers who tend to pull down on fixtures to stand up, because drywall-mounted shelves bend under body weight.
Frequently asked questions
Can this hold a large smartphone with a heavy case?
Yes, standard shelf models hold large phones up to 7 inches tall. If your phone uses an extra-thick protective case, choose a shelf with a width of at least 3.8 inches to prevent the edge from hanging over the side.
Is an adhesive mount strong enough for heavy items?
No, adhesive strips often fail in humid bathrooms when holding weighted items. While adhesive tape easily holds an empty metal frame, the steam from hot showers degrades the glue, causing the shelf and your phone to drop.
What happens if the mounting screws hit a pipe?
Hitting a water pipe will cause an immediate wall leak and costly structural damage. Always tap the wall lightly or use a digital stud finder with pipe detection before drilling near the water supply line behind your toilet.
Why does the roll arm rattle when I pull paper?
The internal set screw connecting the roller arm to the backplate has loosened. Tighten the small screw located beneath the mounting arm with your Allen wrench, or check that the internal spring washer is seated flat.
How much weight can the shelf hold safely?
Most units hold between 2 and 5 pounds when properly anchored into standard drywall. The honest limit comes down to your wall anchors rather than the metal itself, so always check the hardware rating on your anchor packaging.
Final Thoughts
Once you’ve picked your favorite design, take a moment to double-check your wall type before drilling. A little preparation ensures your new fixture stays sturdy for years to come. You’ll be glad you didn’t rush the process when you’re finally enjoying the extra convenience in your bathroom. It’s worth the effort!
Related guides
- Cheapest Place to Buy Toilet Paper Near Me: Where to Save
- How to Make the Best Toilet Paper Wedding Dress: Expert Tips
- Can Toilet Paper Be Used as Hamster Bedding? The Safe Answer






