

A complete fixture package includes a rough-in mixing valve, a tub spout, a showerhead, and trim handles, which is why a tub and shower faucet combo your ultimate buying guide explains what parts fit your existing wall before you buy. Choosing the wrong valve body forces you to cut open tile behind the shower wall. The details below show valve compatibility, diverter mechanics, and water regulations that direct specifications don’t show.
Table of Contents
Choosing your ultimate faucet combo parts
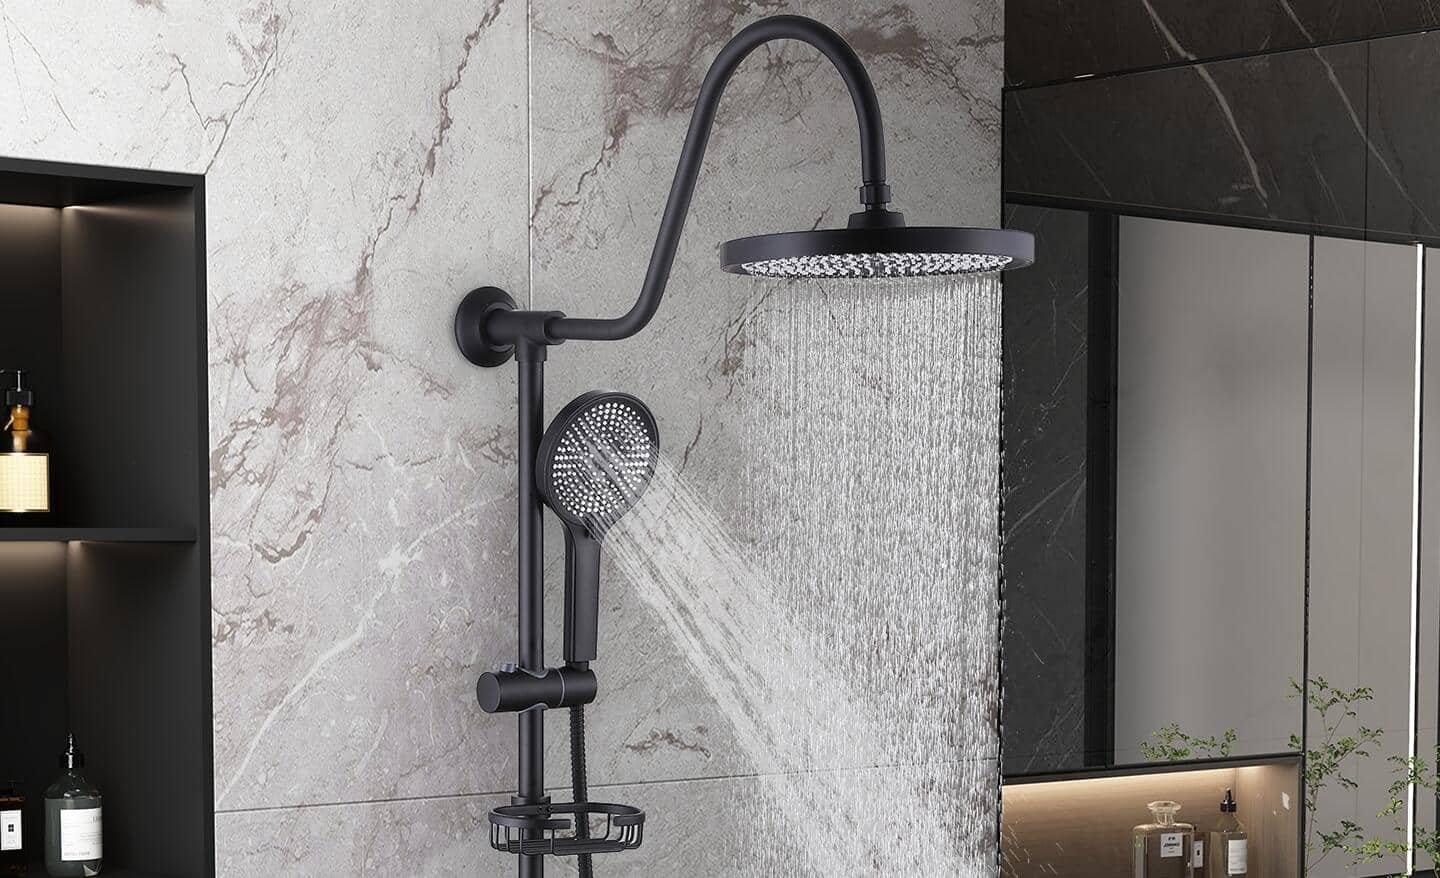
A combo set controls both water temperature and flow direction between your tub spout and showerhead. It serves anyone remodeling a combined bath area or replacing corroded fixtures. Many buyers wrongly assume that any new handle fits their old valve inside the wall.
A rough-in valve houses the cartridge that blends hot and cold lines, and its internal splines and depth vary by manufacturer. You can’t pair a trim kit from one brand with a rough-in valve from another. If you only want to change the visible trim, you must find trim designed for your exact valve brand and model series. If you want a new style with an incompatible valve, you’ll need access to open the wall and replace the rough-in unit itself.
The basic method
- Turn off your home’s main water supply, open a sink faucet to drain residual line pressure, and allow 5 minutes for water to stop dripping.
- Remove the old trim handle using a 1/8-inch hex wrench on the set screw, then unscrew the faceplate screws.
- Measure the distance from the finished tile surface to the center of the valve body; you need at least 1.5 to 2 inches of clearance behind the wall for modern rough-in valves.
- Unscrew the old tub spout counterclockwise by hand, or loosen the hidden underside hex screw if it uses a slip-on connection.
- Apply 3 full wraps of PTFE thread tape clockwise onto all 1/2-inch male NPT shower arm and tub pipe threads.
- Install the new rough-in valve, keeping the “UP” stamp pointed directly toward the showerhead pipe riser.
- Slide the new cartridge into the valve sleeve, tighten the retaining nut by hand or with a wrench until snug per manufacturer instructions, and attach the trim plate.
- Turn on the main water supply and check all joints for leaks for 10 minutes before sealing the trim edges with silicone.
The primary judgement call involves balancing the cartridge depth against your finished wall surface. If you push the rough-in valve too deep into the wall framing, the handle stem won’t reach the trim handle; if you set it too far forward, the trim plate will leave a wide gap against the tile. When your setup involves cutting copper water supply lines or sweating joints with an open flame, hire a licensed plumber to prevent fire risks and hidden leaks.
Key numbers and settings at a glance
Every bathroom installation features different pipe setups and framing depths that dictate your hardware choice.
| Situation | What to use | How long | What to watch for |
|---|---|---|---|
| Standard 1/2-inch copper lines | Sweat or press-fit rough-in valve | 2 to 3 hours | Heat damage to internal rubber seals |
| Existing PEX water piping | PEX crimp or cold-expansion valve | 1 to 2 hours | Reduced inner diameter restricting flow |
| Finished tile without back access | Brand-specific retrofit trim kit | 30 to 45 minutes | Spline count matching your old cartridge |
| High household water pressure | Pressure-balancing valve cartridge | 1 to 2 hours | Sudden temperature drops during toilet flushes |
| Independent temperature control | Thermostatic valve with dual handles | 2 to 4 hours | Separate volume and temperature stop alignments |
What separates good results from bad ones
Valve Placement and Pipe Sizing
Experienced installers always rough in the tub spout line using rigid 1/2-inch copper or brass pipe rather than flexible PEX tubing. PEX insert fittings feature a smaller internal diameter that restricts water exiting the spout. This backpressure forces water upward to drip from the showerhead while the tub fills. Plumbers check the drop-ear elbow behind the tub spout to ensure it’s firmly secured to solid wood blocking. Leaving that elbow loose causes the tub spout to wobble against the wall every time you lift the diverter gate.
Depth Verification and Seal Checks
Careful preparation includes checking wall thickness before soldering. A common mistake involves ignoring the mud ring guard included with the valve. If you discard this plastic guide, you won’t know where your finished tile surface will land, costing you a complete teardown later. Make a decision rule before assembling: if your wall studs measure 2×4 inches, use a standard-depth valve body; if your bathroom shares a thin chase wall, select a compact thin-wall valve. Check line pressure before mounting the finished decorative plate so you don’t seal a slow drip behind wet drywall.
Common problems and quick fixes

Plumbing issues usually stem from debris in the lines or worn internal seals.
| What you notice | What it usually means | What to do first |
|---|---|---|
| Water drips from showerhead while filling tub | Restricted spout line creating backpressure | Replace PEX tub drop pipe with smooth copper |
| Handle turns but water temperature doesn’t change | Stripped cartridge stem or cracked cam | Remove handle and inspect cartridge teeth |
| Water leaks from behind the round trim plate | Torn O-ring inside the valve body | Shut off water and replace cartridge O-rings |
| Shower head hums or chatters during use | Pressure balancing spool is stuck with mineral grit | Soak the cartridge in white vinegar for an hour |
Water conservation and safety standards
Water flow and shower temperature are strictly controlled by federal standards to prevent burns and save water. The US Department of Energy sets showerhead flow limits under the Energy Policy Act, while the EPA WaterSense program certifies fixtures that use no more than 2.0 gallons per minute at 80 psi of water pressure.
Safety codes like ASSE 1016 mandate anti-scald protection in all modern combo valves. These pressure-balancing mechanisms automatically adjust hot and cold flow to prevent water temperatures from fluctuating more than 3.6 degrees Fahrenheit when household water demand shifts suddenly. When updating older plumbing systems without internal scald guards, local building codes generally require you to upgrade to an ASSE-certified valve. If you aren’t comfortable checking these pressure guidelines, hire a licensed tradesperson to keep your home up to code.
Long-term fixture care
To protect the factory finish on matte black, chrome, or brushed nickel trim, wipe the fixtures dry with a soft microfiber cloth after use. Hard water minerals erode valve seals over time; this varies by model — check the label on your product for approved cleaners. Avoid using bleach, ammonia, or abrasive scrubbing pads, which strip the protective clear-coat seal.
When your water flow drops or the spray pattern becomes irregular, clear the showerhead nozzles by gently rubbing the silicone jets with your thumb. If mineral buildup hardens inside the valve cartridge, you’ll feel resistance when turning the handle. Soak the metal components in a mild citric acid solution to dissolve scale without ruining the internal brass workings.
When to use a different approach
A standard combo kit is the wrong choice for standalone walk-in showers that lack a bathtub. Installing a combo kit there leaves you with an unnecessary tub spout outlet that must be capped behind the tile. Choose a dedicated shower-only valve package instead.
This hardware is also not for homeowners who want to change their handle style without opening a tiled wall when their old valve brand is discontinued. A trade-off here is clear: choosing a full combo upgrade offers modern anti-scald safety, but it requires cutting drywall or hiring a professional if your access is blocked. In that scenario, use an external universal repair kit to refresh the surface without cutting wall studs.
Frequently asked questions
Can I use my old valve with a new trim kit?
No, trim kits only fit rough-in valves from the same brand and product line. The internal cartridge stems, screw hole positions, and wall depths differ across every manufacturer. If you want a new brand, you must replace the valve body inside the wall.
Why does my new tub spout leak around the wall?
A loose connection at the pipe threads or a missing bead of caulk causes this leak. Water splashes behind the spout during showers and seeps through the wall opening. Thread the pipe tightly and seal the top and sides of the spout with silicone.
How long does a shower cartridge last?
Between 5 and 10 years depending on your local water hardness and usage habits. Heavy mineral deposits cause rubber O-rings to crack and plastic stems to stick. You’ll notice stiff handle movement or small drips when the internal cartridge needs a replacement.
Is it safe to install a combo valve without anti-scald protection?
No, modern residential building codes ban standard valves without scald guards. Non-balanced valves expose bathers to extreme burns if someone flushes a toilet nearby. You must use an ASSE 1016 certified pressure-balanced or thermostatic valve in home bathrooms.
What happens if I use PEX for the tub spout pipe?
Water will back up and drip out of your showerhead whenever you run the tub faucet. PEX insert fittings have a narrower inside diameter than copper pipes, which slows tub flow. That friction pushes water up the shower riser instead.
Final Thoughts
Before you start your renovation, take a clear photo of your current plumbing setup or bring your old trim pieces to the local hardware store. Getting expert advice on your specific wall depth will save you a headache later. You’ll be enjoying that relaxing, warm shower in no time.






