
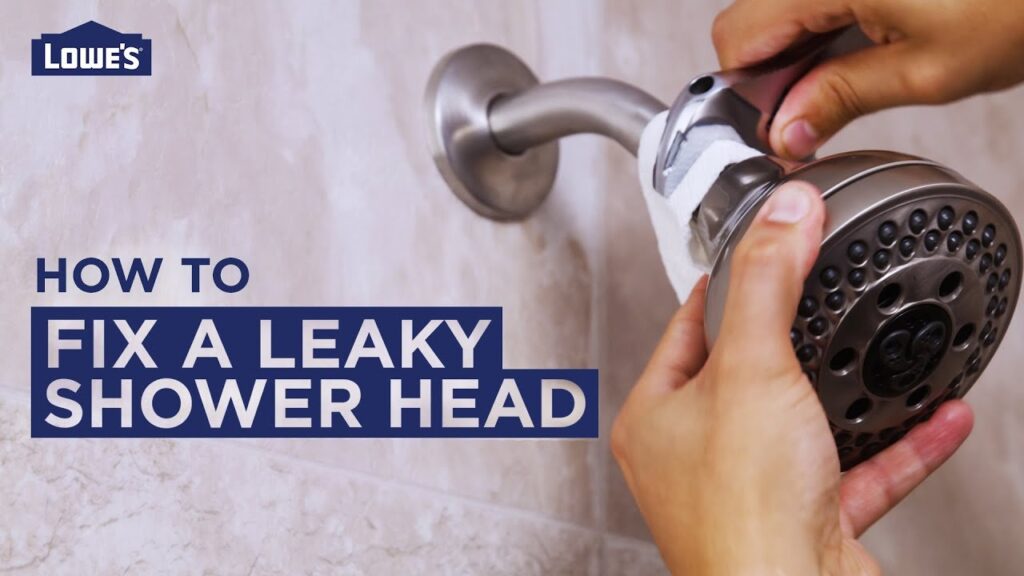
To resolve a shower head leaking from connection how to fix it usually comes down to unscrewing the joint, clearing old debris, and adding fresh thread tape or a new rubber washer. The most common cause is a worn, flattened washer inside the swivel collar that can’t seal against water pressure anymore.
Table of Contents
Why the shower head connection is leaking
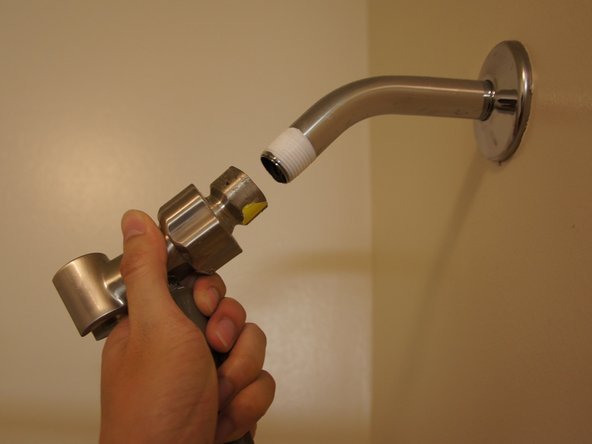
Water sprays from the connection point because the seal between the metal shower arm threads and the shower head collar has failed. Most modern heads use an internal rubber O-ring or flat washer to block pressurized water, while thread seal tape fills microscopic gaps between the threads.
Over time, minerals in hard water build up along the grooves. This grit prevents the two metal surfaces from sitting flush against each other. Hot water cycles also cause rubber washers to dry out, crack, or flatten out. If the collar was cross-threaded or over-tightened during installation, the rubber cuts open under the force. Once the seal tears or the threads don’t bite evenly, escaping water forces its way past the collar and drips down your wall.
Replace the worn rubber washer
This fix is for connections that drip steadily around the base collar while the water runs. Unscrew the head by hand, turning it counterclockwise. If it’s stuck, grip the collar with slip-joint pliers over a thick rag to protect the finish. Look inside the threaded intake of the shower head to find the black rubber ring. If it’s rock-hard, split, or flattened, pull it out with a small flathead screwdriver.
Press a new rubber washer of matching diameter flat into the base of the inlet. Screw the unit back onto the shower pipe until it’s hand-tight, then add a quarter-turn with your hand. Turn the shower on to test. You’ll know it worked when the connection stays completely dry while the spray runs at full force. This fix isn’t for shower arms that show hairline metal splits.
Re-wrap the pipe threads with tape
This fix is for joints that leak between the metal thread lines rather than around the swivel ball. Unscrew the head and scrape off all shredded, yellowed, or crusted sealant using an old toothbrush. Clean threads are critical because fresh tape won’t sit flat over old tape ridges.
Take standard white PTFE thread tape, wrap it clockwise around the shower arm threads 3 to 4 times, pulling gently so the tape sinks into the thread grooves. Wrapping clockwise stops the tape from unravelling as you thread the shower head on. Thread the fixture back on by hand. The trade-off with thread tape is that more isn’t better; adding 6 or more layers bunches the tape up and forces the collar out of alignment. If you see water weeping down the threads after turning the shower on, re-wrap using one fewer or one extra layer.
Clear mineral scale with warm vinegar
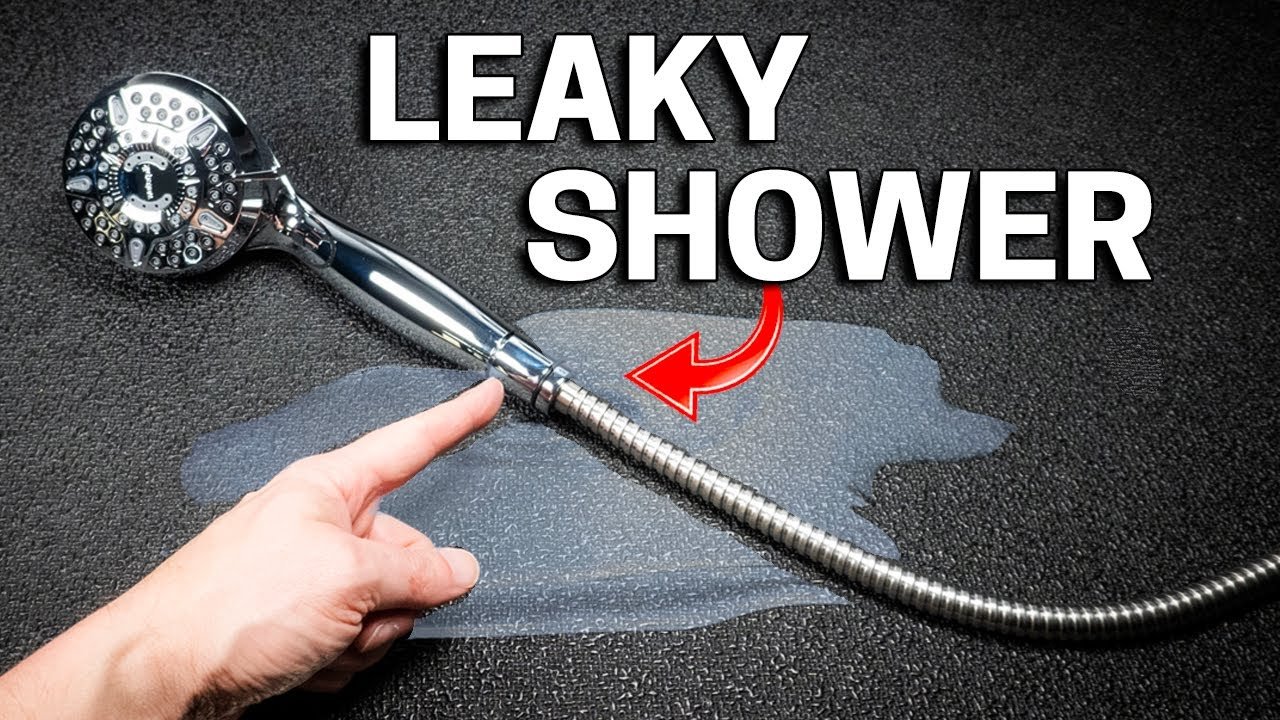
This fix is for older heads spraying sideways from the joint due to heavy limescale buildup.
Soak the removed head in a bowl of warm, distilled white vinegar for 2 to 3 hours to break down calcium deposits. Scrub the nozzles with a stiff nylon brush until every hole is clear, rinse thoroughly with fresh water, and reinstall. This extra effort isn’t worth the time if the fixture’s internal plastic housing is cracked; in that case, buy a new unit instead. According to the EPA WaterSense showerhead specification, replacing an inefficient or damaged fixture with a certified model keeps flow rates under 2.0 gallons per minute without sacrificing pressure.
What not to do
- Don’t crank the connection tight with bare metal wrenches, because you’ll crush the rubber washer and crack thin plastic collars.
- Don’t apply liquid pipe joint compound (pipe dope) to plastic shower head threads, since the chemicals often weaken the plastic and make it brittle.
- Don’t wrap tape counterclockwise around the arm, which pushes the tape backward into a useless ball as you twist the head on.
- Don’t ignore a drip that runs behind the wall escutcheon plate, as hidden leaks can rot wall framing over several months.
How to stop it happening again
Proper assembly and regular descaling stop joint leaks before they damage your bathroom walls.
| If you’re doing this | Do this instead | Why |
|---|---|---|
| Cranking the joint with heavy wrenches | Tighten by hand, then use a rag with pliers for just 1/4 turn | Crushing the joint tears the rubber washer and cracks plastic threads |
| Piling on thick bundles of thread tape | Use exactly 3 to 4 clockwise wraps of PTFE tape | Excess tape prevents the threads from seating deep enough to seal |
| Waiting until water sprays sideways | Mineral clogs create high backpressure that blows out connection seals | |
| Reusing an old, squashed washer on a new head | Put a brand-new rubber washer into the collar | Old, hardened rubber can’t expand to form a watertight seal |
| Forcing the head on when it feels crooked | Back off immediately and align threads straight | Cross-threading strips the brass grooves and permanently ruins the pipe |
Frequently asked questions
Can you fix a leaking shower head without tape?
Yes, if the shower head relies strictly on an internal rubber washer. Many modern heads seal entirely by compressing this washer against the end of the shower arm. If that washer is brand new, clean, and seated flat, you don’t need thread tape to get a watertight seal.
Why does my shower head leak after replacing the washer?
The washer is either seated crooked, the wrong size, or crushed from over-tightening. This also happens if old, crusty mineral buildup on the pipe end cuts into the new rubber. Take the head off, clean the rim of the shower pipe flat, and check the washer placement.
How long does thread seal tape last on a shower pipe?
It lasts for years if the joint stays undisturbed, but it only works for one installation. Once you unscrew the shower head to clean or adjust it, the tape shreds. You must clean off the old residue and apply fresh wraps every single time you detach the head.
Is it safe to use pliers directly on the shower connection?
No, bare plier teeth will gouge chrome finishes and easily crack thin plastic fittings. If hand-tightening still leaves a slight leak, wrap a thick rag or several layers of masking tape around the collar first. Grip over the padding gently to turn the fixture just a quarter-turn.
What happens if the shower pipe inside the wall is leaking?
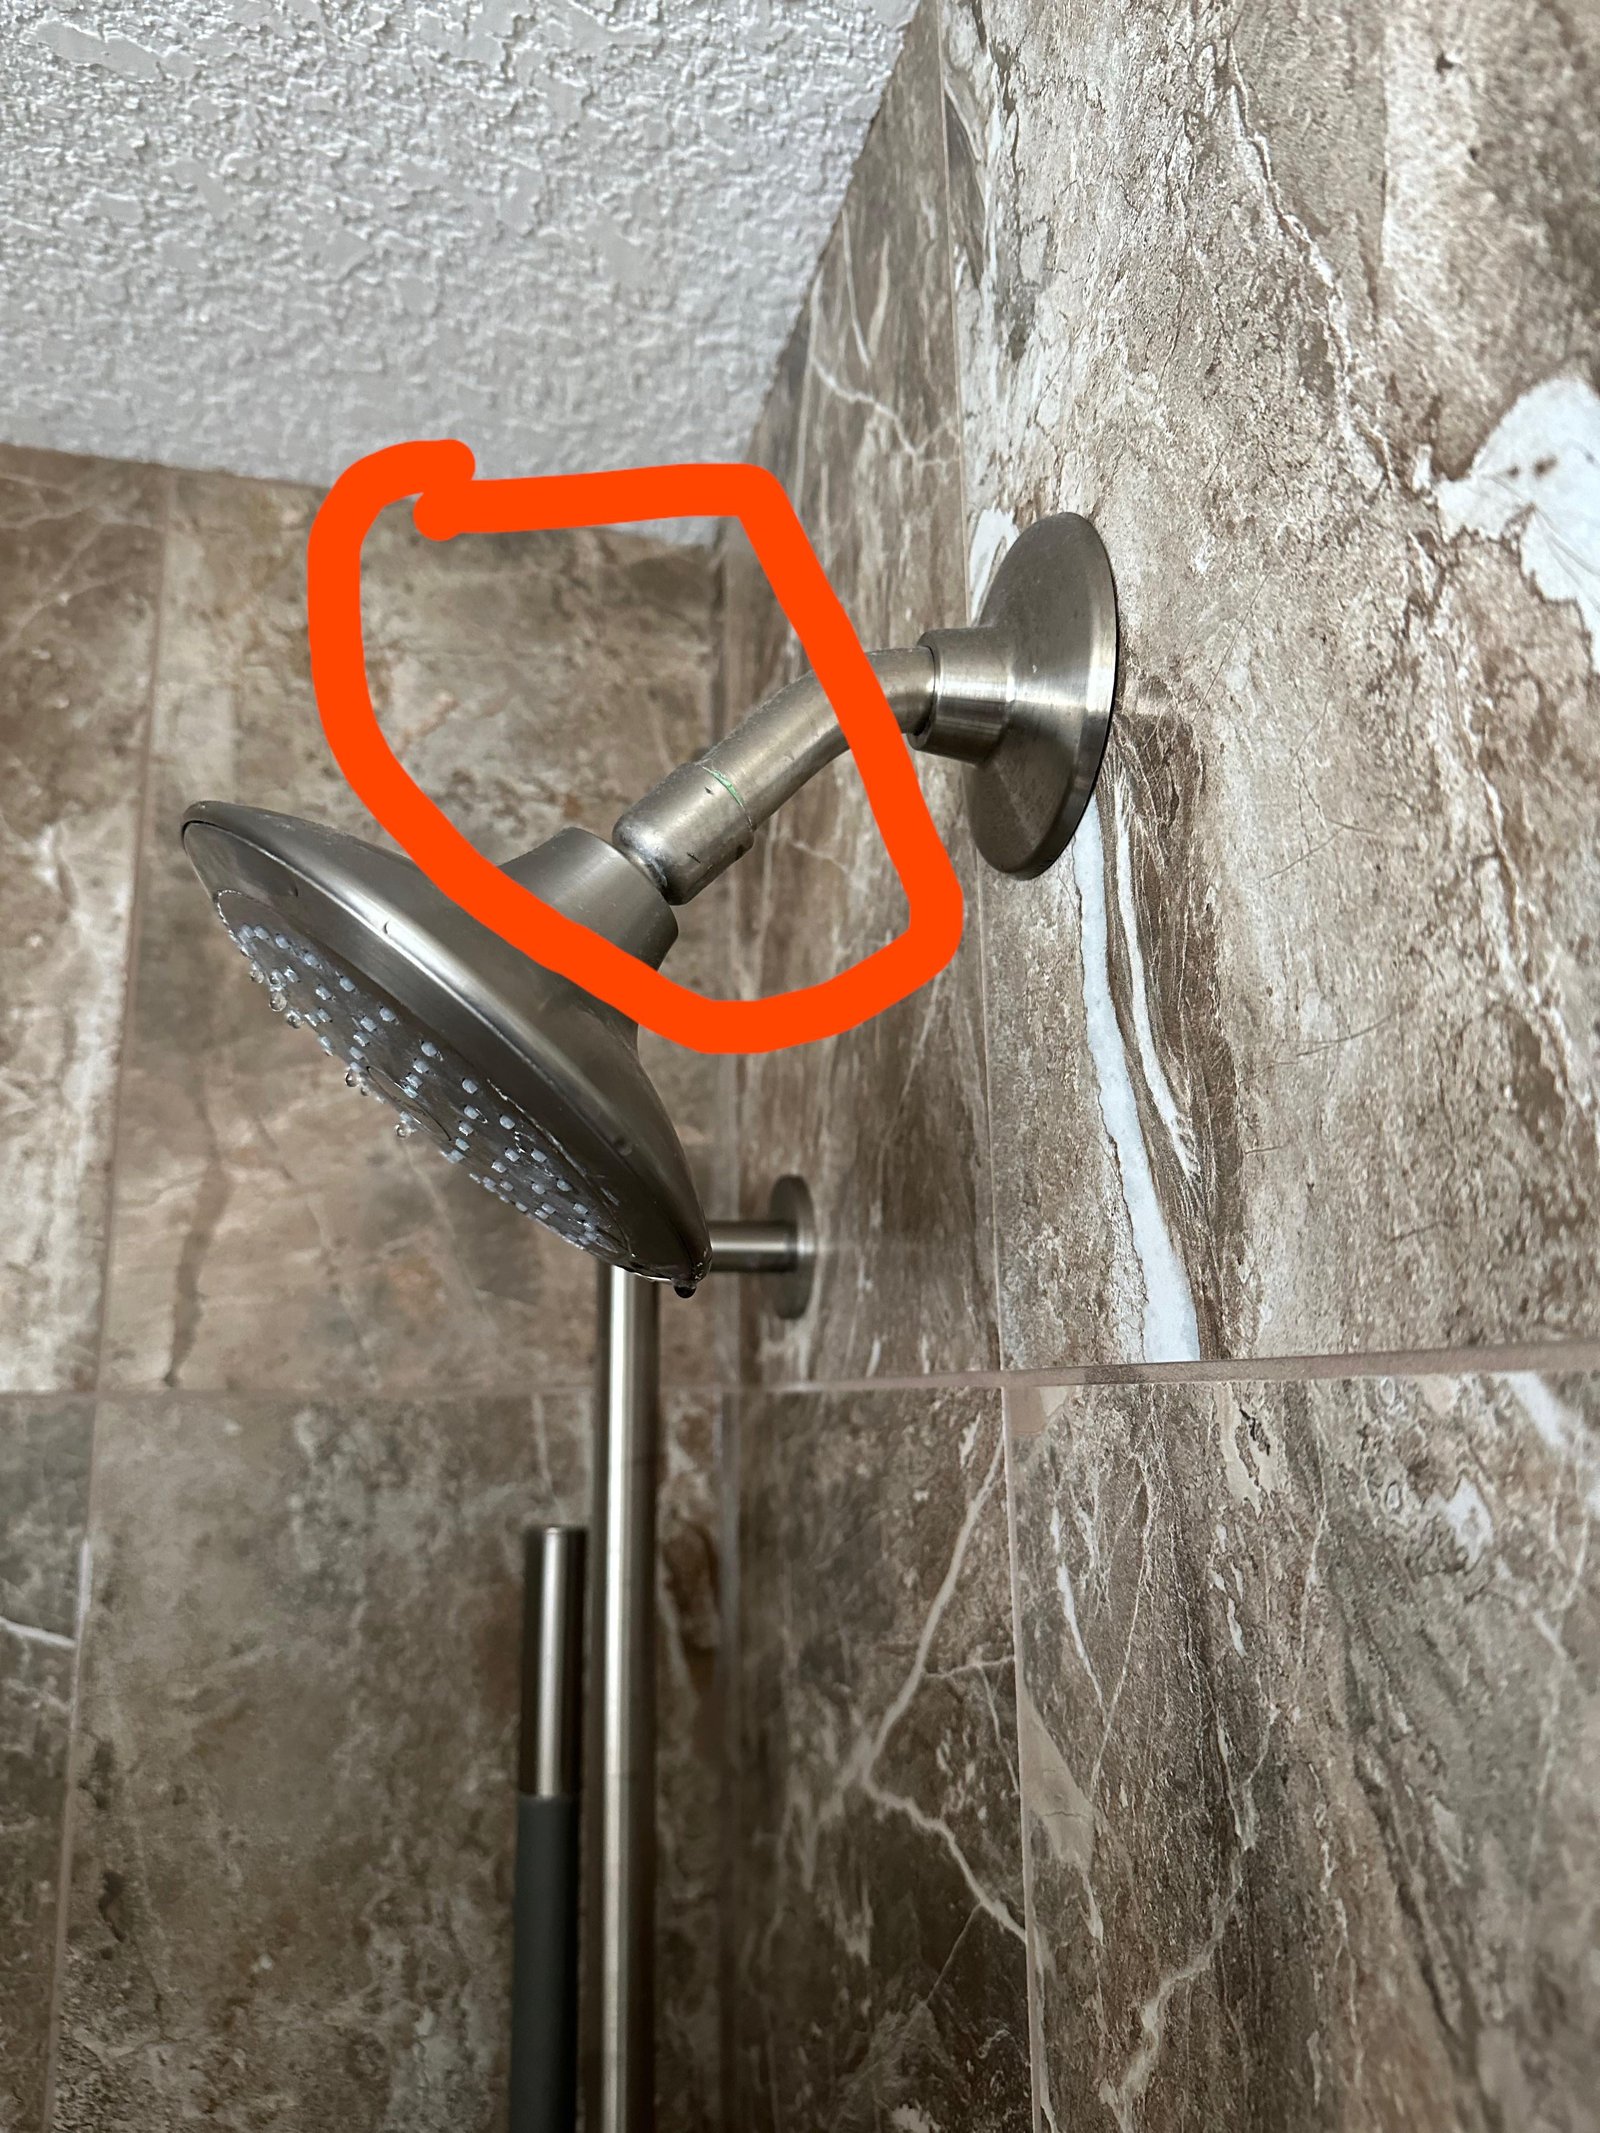
Stop immediately and call a licensed plumber to open the wall panel. This diagnostic guide is only for leaks at the exposed swivel connection. If water drips from behind the decorative round cover plate against the tile, the pipe inside the wall may be fractured or loose.
Final Thoughts
If the dripping persists after you’ve tightened everything, don’t worry. You might have a tiny crack in the pipe or the shower arm itself. It’s a good idea to inspect those parts for damage next. If they look fine, replacing the entire unit is an easy upgrade that’ll keep your bathroom dry.
Related guides
- Rainfall Shower Head for Low Water Pressure: Fix Your Flow
- Do Massage Shower Heads Really Work: Pros and Cons Explained
- Handheld Shower Head With on off Switch Your Ultimate Guide to Showering Bliss






