
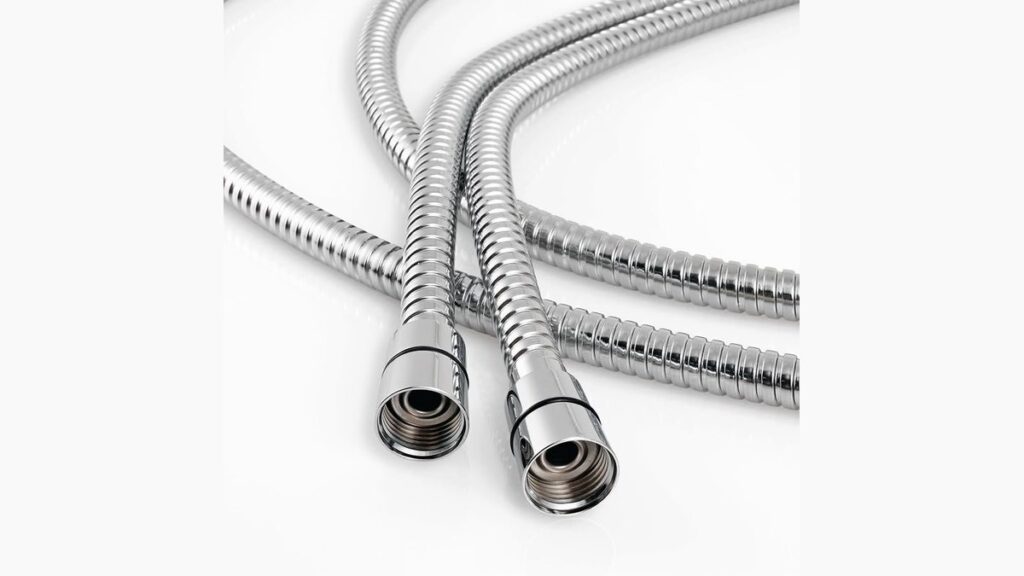
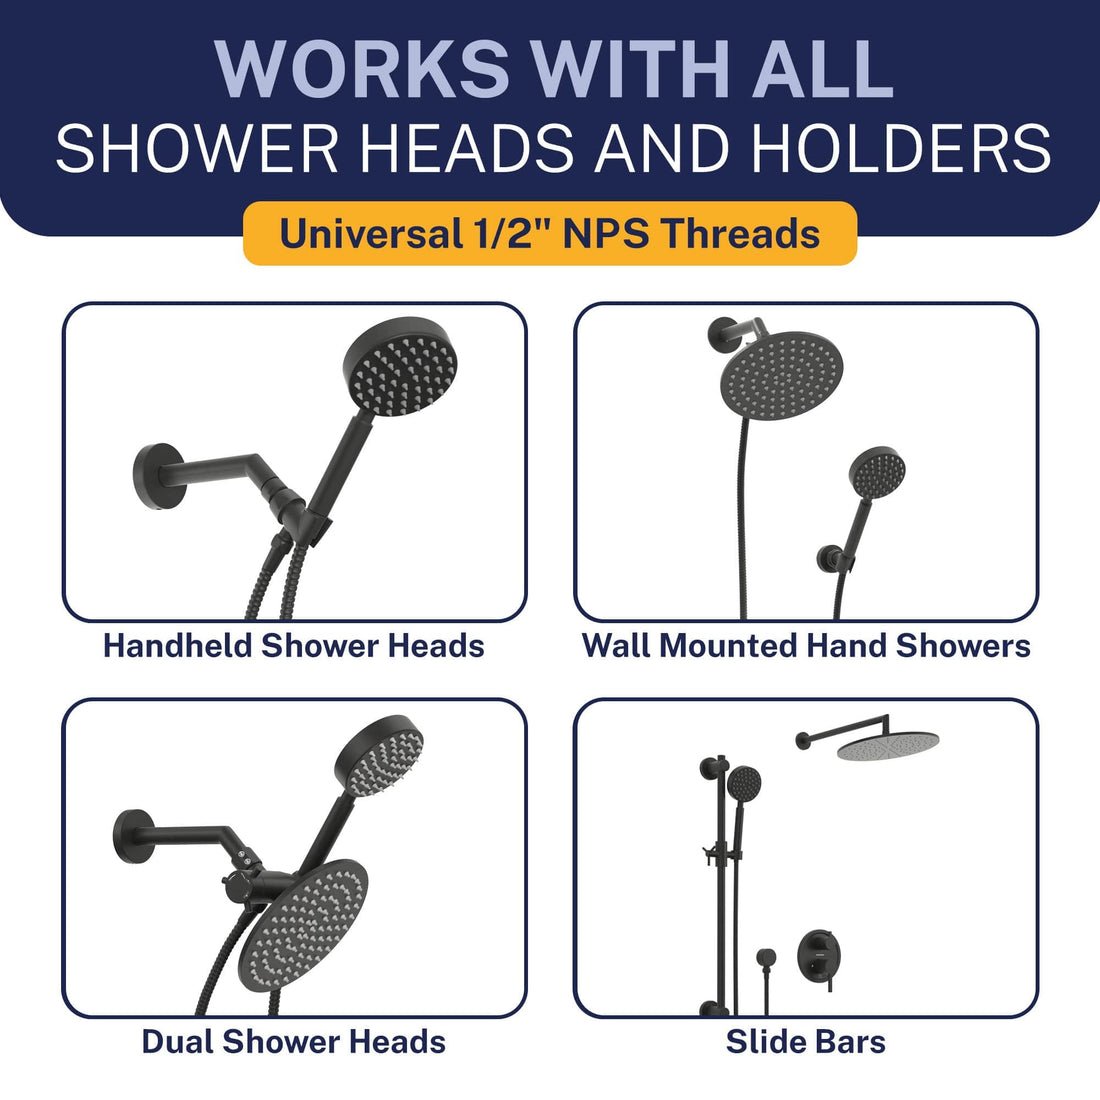
Standard replacement shower hoses for handheld shower heads measure 60 inches long and feature universal 1/2-inch IPS female fittings on both ends to connect directly to standard supply pipes. Most bathroom setups work well with this size, but taller family members or deep soaking tubs need a 72-inch or 84-inch line for full reach. This guide clarifies connection sizes, internal tubing materials, and practical attachment methods so you avoid leaks and weak water flow.
Table of Contents
Understanding Flexible Shower Lines
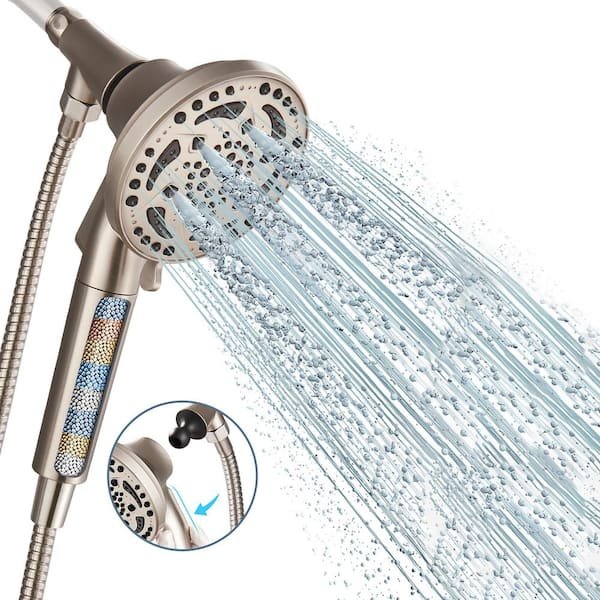
A handheld line connects your shower diverter valve to a portable wand. It lets you direct water anywhere in the stall, which makes rinsing walls, washing pets, and assisting children easy. Many shoppers assume all plastic lines are low-quality, yet smooth vinyl lines resist dirt build-up and wipe clean much faster than linked metal spirals. Inside the outer cover, water flows through an inner tube made from PVC or EPDM rubber.
Water seals securely because a flat rubber washer presses against the flat rim of the pipe nipple. If you see water dripping after hand-tightening, the inner washer didn’t seat flat inside the coupling. This upgrade isn’t for fixed overhead rainfall fixtures that drop straight from a ceiling flange, as those require rigid, permanent piping instead of a hanging flex line.
The basic method
- Shut off the shower faucet handles completely and clear any shampoo bottles from your tub ledge.
- Unscrew the old hose counterclockwise by hand from the wall elbow and the handheld wand.
- Clean any crusty mineral buildup off the wall bracket threads using an old toothbrush and plain tap water.
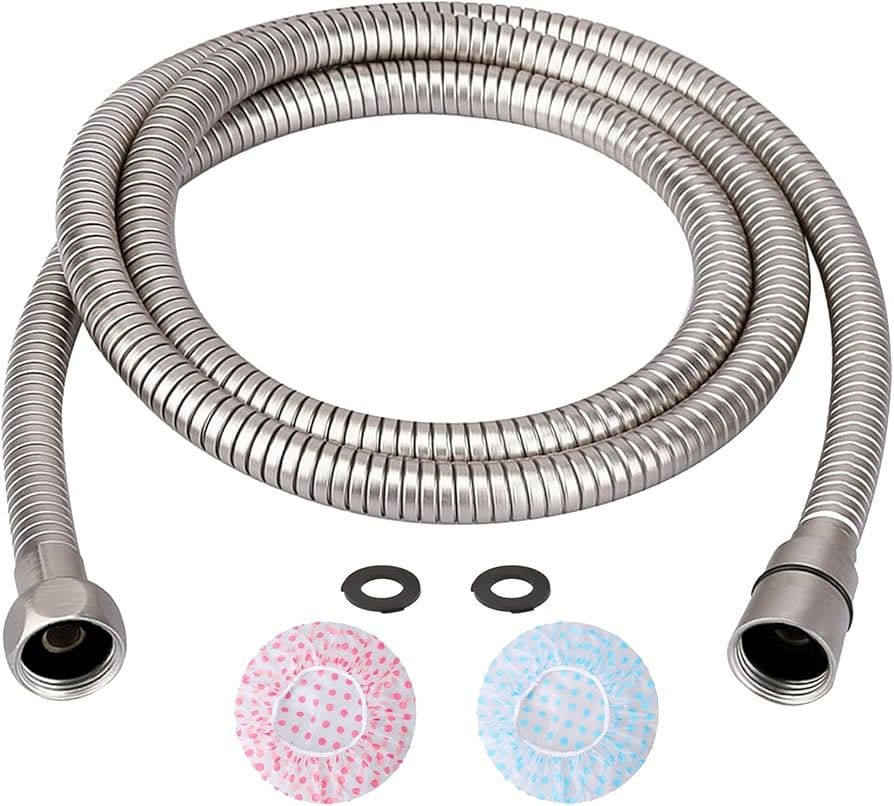
- Check that a fresh, flat rubber washer sits fully inside each end fitting of the new hose.
- Thread the knurled hex nut onto the wall supply elbow, turning clockwise until it’s hand-tight.
- Thread the smooth, conical nut onto the handheld wand until snug by hand, then set the wand in its bracket.
- Turn the shower faucet halfway on to run warm water through the line for 30 seconds while checking both ends for drips.
A light touch makes all the difference when tightening these fixtures. Metal couplings crush thin internal washers when forced with big wrenches, which splits the rubber and causes stubborn leaks. If your wall pipe feels loose inside the drywall, don’t twist it further; hire a licensed plumber before you risk snapping a hidden supply joint.
Key numbers and settings at a glance
Choose your hose configuration using this quick hardware reference:
| Situation | What to use | How long | What to watch for |
|---|---|---|---|
| Standard tub enclosure | 60-inch stainless steel hose | 60 inches | Hose loop dragging on the tub floor |
| Washing pets or rinsing corners | 72-inch double-lock metal hose | 72 inches | Excess hose tangling around your legs |
| Hard water with high mineral content | Smooth anti-microbial PVC hose | 60 inches | Stiff bending when the bathroom is cold |
| Modern concealed supply union | Reinforced metal hose with brass nuts | 60 inches | Cracking decorative chrome plating on fittings |
What separates good results from bad ones
Hardware Preparation and Connection Order
Careful installers inspect the threaded brass ends before touching any plumbing. They never reuse old, hardened washers from the previous hose because compressed rubber can’t reshape itself to form a fresh seal. Always attach the supply end at the wall bracket first. Letting the hose hang down naturally before securing the handheld wand untwists the internal core, which stops the line from coiling against your arm while you wash.
Washer Seating Over Thread Sealant
Skipping thread tape on straight shower threads saves money and prevents joint failure. Plumber’s tape costs very little, but applying it to straight 1/2-inch mechanical threads actually pushes fittings out of square and stops the inner gasket from seating flat. If you notice a leak, adjust the washer position; if the leak persists, replace the rubber washer entirely. Remember that this varies by model — check the label on your product packaging for specific gasket instructions.
Common problems and quick fixes
Use this breakdown to troubleshoot leaking or stiff hardware:
| What you notice | What it usually means | What to do first |
|---|---|---|
| Water squirts from the wall connection | Rubber washer slipped sideways or is missing | Unscrew nut and place washer flat against the base |
| Wand sits loose and spins in the bracket | Conical nut installed backwards on the wall pipe | Swap hose ends so the tapered nut holds the wand |
| Water flow feels very weak | Flow restrictor screen caught loose pipe debris | Rinse the mesh filter screen inside the inlet nut |
| Hose stays stiff and refuses to drape | Cold bathroom temperatures stiffened outer vinyl |
Standards and Water Regulations
Residential shower hardware must satisfy strict flow and plumbing safety standards. The EPA WaterSense showerhead specification sets maximum flow limits at 2.0 gallons per minute to cut household utility waste. A hose itself doesn’t control flow volume directly, but using high-friction narrow tubing reduces water velocity before it reaches your showerhead nozzles.
Plumbing codes like the Uniform Plumbing Code require backflow prevention on handheld units. When a handheld wand drops below the tub rim into dirty standing bathwater, sudden water pressure drops can draw wastewater back into home drinking pipes. If your shower setup lacks a built-in vacuum breaker, building codes require adding one to the supply elbow. Installing extensive behind-the-wall plumbing changes requires a licensed tradesperson to maintain safety and comply with local municipal codes.
Routine Cleaning and Care
Wipe down your shower hose regularly with a damp microfiber cloth to stop soap scum from hardening. High-mineral tap water leaves white crust inside the small grooves of metal spiral lines. To clear this buildup safely, remove the hose as part of your usual clean and submerge it in a bowl containing a mix of half warm water and half white vinegar for 20 minutes.
Never use harsh chemical bleaches or abrasive scouring pads. Strong acids pit bright chrome coatings and make inner rubber linings brittle, which leads to sudden line bursts under standard pressure. You’ll know it’s time for a new hose when the metal coils pull apart to show the inner rubber core, or when continuous kinks block normal water flow.
When to use a different approach
A flexible shower hose is the wrong choice for outdoor showers exposed to freezing winter temperatures. Trapped water freezes inside the inner rubber sleeve, which splits the lining and ruptures the metal braiding. Install rigid copper or stainless pipe with an automatic drain valve for outdoor stalls instead.
Commercial gyms and rental properties should avoid standard residential flexible hoses as well. Public users pull, twist, and drop wands constantly, which quickly damages flexible links. Rigid vandal-resistant brass shower arms mounted directly to the wall survive high-abuse public restrooms much better.
Frequently asked questions
Can I connect two shower hoses together to make a longer line?
Yes, you can join two hoses by using a 1/2-inch male-to-male brass pipe nipple. However, joining multiple lines creates an awkward, heavy joint that snags on tub edges. Buying a single 84-inch hose prevents leaks and looks much tidier.
Why does my new shower hose feel extremely stiff?
New hoses feel stiff because internal vinyl tubes harden during factory packaging and cool storage. The heat softens the synthetic core, letting the hose hang straight and move smoothly.
How long do flexible shower hoses typically last?
Quality shower lines usually last for several years under normal household use. Lifespans drop quickly if your water supply contains high chlorine levels, or if family members regularly pull the hose to its mechanical limit while bathing.
Is plumber’s tape required on shower hose threads?
No, you shouldn’t use thread tape on standard handheld shower connections. These units rely on flat rubber washers inside the nuts to seal water. Adding thread tape blocks proper threading and prevents the pipe from compressing the washer evenly.
What happens if I install the hose ends backwards?
The shower wand won’t fit into the wall cradle if you swap the ends. Handheld lines feature a straight hex nut for the water supply pipe and a tapered conical nut designed specifically to rest securely inside standard wall-mounted shower brackets.
Final Thoughts
Before you tighten that final connection, check your existing rubber washers to ensure they aren’t cracked or worn out. Replacing them while you’re at it’s a smart way to prevent annoying drips. You’ll enjoy a much more reliable spray once everything is sealed up tight and ready for use.






