When your upstairs bathroom floods and water starts leaking through the ceiling below, it can be both alarming and damaging. Whether it’s a burst pipe, faulty plumbing, or a failed seal, a bathroom leak can cause significant water damage to your home if not addressed quickly. The urgency of fixing the problem can’t be overstated because water damage can lead to mold, rotting wood, and expensive repairs if left unresolved.
The good news is that most of the issues causing the leak can be identified and fixed with proper troubleshooting and immediate action. By following the right steps, you can minimize the damage, fix the problem, and restore your home to its original condition.
Table of Contents
Possible Causes of the Problem
1. Burst or Leaking Pipes
Why Pipes Burst or Leak:
Pipes can burst or leak for several reasons, including corrosion, wear and tear, freezing, or poor installation. Over time, old pipes weaken, or new pipes may not be properly installed, which can lead to leaks or even bursts. If the water is coming from a specific area of the bathroom, the cause could be a problem with the pipes.
Signs of Leaking Pipes:
-
Dampness Around Walls: If you notice a damp or wet area on the bathroom wall, it’s likely that a pipe behind the wall is leaking.
-
Water Stains: Look for water stains on the ceiling or walls below the bathroom.
-
Low Water Pressure: A drop in water pressure could indicate a pipe leak.
Solution:
-
How to Locate and Fix Leaking Pipes:
-
Shut off the water supply: Turn off the main water supply to stop the flow of water.
-
Check for visible leaks: Inspect under the sink, around the toilet, and in the walls (if accessible) for visible signs of leaking water.
-
Use a pipe repair kit: For small leaks, use a pipe repair kit to seal the crack or hole temporarily.
-
Replace damaged sections of pipe: For burst or severely damaged pipes, you may need to replace the affected section of the pipe.
-
-
When to Call a Plumber: If the leak is in a difficult-to-reach area or if you’re unsure how to repair the pipe safely, it’s best to call a professional plumber. They will have the right tools and expertise to handle the job.
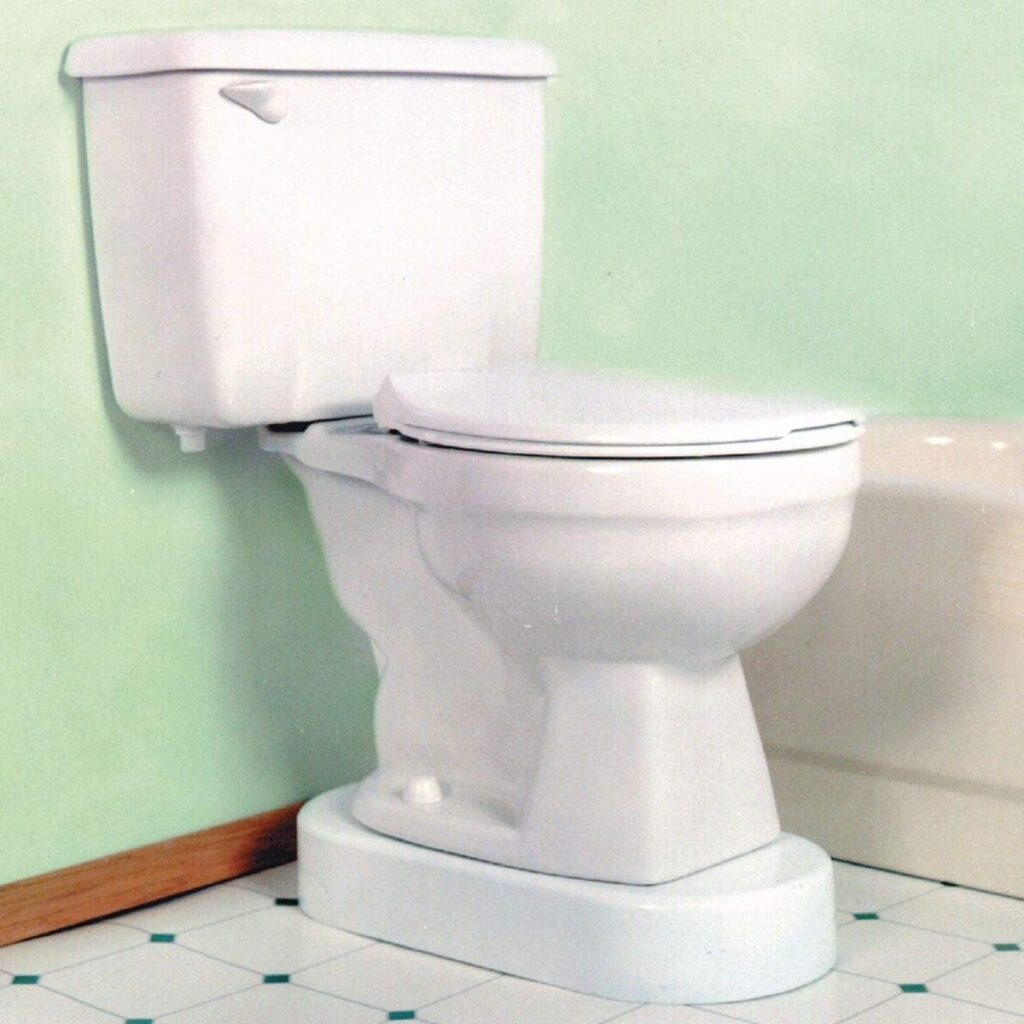
2. Faulty or Broken Toilet Seal
How Toilet Leaks Cause Flooding:
A toilet leak is often caused by a damaged wax seal or faulty installation. The wax seal creates a watertight connection between the toilet and the floor drain, and if this seal fails, water can seep around the base of the toilet, causing flooding. Over time, wear and tear or improper installation can cause the seal to break down.
Signs of a Faulty Seal:
-
Water Around the Base of the Toilet: This is the most common sign that the wax seal has failed.
-
Visible Cracks in the Seal: Sometimes, the seal becomes cracked or deteriorates, leading to water leakage.
Solution:
-
How to Replace the Wax Seal or Toilet Flange:
-
Turn off the water supply to the toilet and flush to remove excess water from the tank and bowl.
-
Remove the toilet: Unscrew the bolts holding the toilet to the floor and lift it off the flange.
-
Inspect and replace the seal: Remove the old wax seal and clean the flange. Place a new wax seal on the flange and reinstall the toilet.
-
Secure the toilet: Tighten the bolts back into place, ensuring the toilet is level and firmly in place.
-
-
When to Consult a Professional for Toilet Repairs: If the toilet base is cracked, the flange is damaged, or you’re unsure about handling the repairs yourself, it’s best to consult a plumber. They can ensure proper installation of the new seal or flange and prevent further leaks.
3. Shower/Tub Leaks
Why Shower/Tub Leaks Occur:
Leaks from showers or tubs are usually caused by caulking failure, cracked grout, or broken seals around the tub or shower base. Over time, the materials used to seal the tub or shower can degrade, allowing water to seep out and eventually cause leaks through the ceiling below.
Signs of Leaking Showers/Tubs:
-
Water Pooling Around the Bathroom Floor: If water is frequently pooling around the shower or tub, it’s a sign that water is escaping.
-
Visible Water Damage on the Ceiling Below: If the ceiling under the bathroom shows signs of staining or peeling paint, the shower or tub could be leaking.
Solution:
-
How to Reseal or Re-Caulk the Shower or Tub Area:
-
Remove old caulking: Use a utility knife or scraper to carefully remove the old caulking around the tub or shower base.
-
Clean the area: Wipe down the area to ensure it’s free of soap scum, dirt, and moisture.
-
Apply new caulk: Apply a fresh bead of silicone caulk along the edge of the tub or shower base and smooth it with a caulking tool or your finger.
-
Allow it to cure: Let the caulking cure for at least 24 hours before using the shower or tub again.
-
-
Inspecting the Water Drainage System:
-
Check for cracks in the shower or tub that could be allowing water to escape.
-
Examine the plumbing connections for leaks or loose fittings.
-
4. Faulty Water Supply Line
How a Water Supply Line Leak Can Cause a Flood:
A burst or loose connection in the water supply line can cause large amounts of water to flood the bathroom. Water supply lines are responsible for bringing water to fixtures like the toilet, shower, or sink. If any part of the supply line becomes damaged, broken, or improperly connected, water can escape and spread, causing significant flooding. This can be particularly problematic because the leak may not be immediately visible, allowing water to accumulate behind walls or under flooring, leading to ceiling damage below.
Solution:
-
Inspecting and Repairing the Water Supply Line:
-
Shut off the water supply: Before inspecting the water supply line, turn off the main water valve to stop the water flow.
-
Check for leaks: Look for any visible leaks along the pipes or at the connections between the pipes and fixtures. Pay close attention to areas near elbows, joints, or fittings.
-
Tighten connections: If you find loose connections, use a wrench to tighten them. Make sure the fittings are secure and leak-free.
-
Inspect for cracks or damage: If there are any cracks or visible damage to the pipes, they may need to be replaced. For small cracks, pipe repair kits can provide a temporary fix.
-
-
When to Replace Old or Damaged Supply Lines:
-
Signs You Need Replacement: If the pipe is severely damaged, corroded, or continues to leak despite tightening the connections, it’s time to replace the pipe.
-
Material Considerations: Older homes may have galvanized steel pipes that are more prone to corrosion and leaks. Consider upgrading to more durable materials, such as PEX or copper, to prevent future issues.
-
5. Clogged Drains
How Clogged Drains Lead to Flooding:
Clogged drains can lead to water backup, causing the water to overflow onto the floor. In bathrooms, this is particularly common in sinks, showers, and tubs where hair, soap scum, and other debris can easily accumulate and block the pipes. When the water can’t flow through the pipes as intended, it backs up and may flood the bathroom. If this happens in an upstairs bathroom, the water can also leak through the ceiling below, leading to additional damage.
Solution:
-
How to Clear Clogged Drains (Plunger, Drain Snake, etc.):
-
Use a Plunger: For a simple clog, a plunger can be an effective solution. Create a tight seal around the drain and plunge forcefully to dislodge the clog.
-
Try a Drain Snake: If the plunger doesn’t work, a drain snake (also called an auger) can be used to break up and remove clogs deep within the pipes. Insert the snake into the drain and turn it to catch and pull out the debris.
-
Use a Chemical Drain Cleaner (as a last resort): If the clog is stubborn, you can use a chemical drain cleaner. However, be cautious as these chemicals can be harsh on pipes and harmful to your health if used incorrectly. Always follow the instructions carefully.
-
-
Preventive Tips for Keeping Drains Clear:
-
Install Drain Covers: Use mesh drain covers or hair catchers to prevent hair and debris from going down the drain in the first place.
-
Avoid Flushing Non-Degradable Items: Never flush items like paper towels, cotton balls, or feminine hygiene products, as they can cause blockages.
-
Use Baking Soda and Vinegar: Once a month, pour half a cup of baking soda followed by half a cup of vinegar down your drains, followed by hot water. This can help clear minor buildups and keep the pipes running smoothly.
-
Regularly Clean Drains: Even without major clogs, it’s a good idea to periodically clean out your drains using a plunger or snake to prevent small blockages from turning into major problems.
-
Troubleshooting and Immediate Actions
Step-by-Step Guide:
-
Shut off the Water Supply:
-
The first thing you need to do is turn off the water supply to prevent further flooding. Locate the main shut-off valve in your home and turn it off immediately to stop the flow of water into the affected bathroom.
-
-
Inspect the Area:
-
Examine the bathroom to identify the source of the leak. Check areas around the toilet, tub, shower, and sink for visible water, cracks, or dampness. Use a flashlight if needed to inspect hard-to-reach areas, including behind fixtures or under the floorboards.
-
-
Remove Excess Water:
-
Once the water supply is turned off, use towels, a mop, or a wet vacuum to soak up as much standing water as possible. This will help minimize the damage to the floors and prevent mold growth from setting in.
-
-
Inspect the Ceiling Below:
-
Go to the room directly below the bathroom and check the ceiling for signs of water damage. Look for discoloration, sagging, or water stains, which are indicators of where the water is leaking through.
-
-
Dry the Area:
-
Once you’ve cleared the water, use fans, dehumidifiers, or a hairdryer to dry the affected area. Drying out the area quickly can help prevent mold and mildew growth and minimize long-term damage.
-
When to Call a Professional
Signs You Need Professional Help:
-
Extensive Water Damage: If the ceiling below is significantly damaged or if you cannot locate the source of the leak, it’s time to call a professional. Hidden leaks can cause substantial structural damage that may not be visible immediately, and a professional can help detect the source of the problem.
-
Inability to Fix the Issue: If you’ve tried troubleshooting the problem and the leak persists or seems beyond a simple DIY repair, it’s best to call a professional plumber or contractor. Sometimes leaks are more complicated than they appear, and an expert will have the proper tools and knowledge to handle them.
-
Electrical Issues: If electrical components, like wiring or light fixtures, are near the water damage, it’s essential to call a professional immediately to avoid electrical hazards. Water and electricity don’t mix, and professional help is necessary to ensure safety during repairs.
Why You Shouldn’t Delay:
-
Water damage can cause structural issues and mold growth: If not addressed quickly, water damage can compromise the integrity of your home’s structure and lead to mold, mildew, and rot. Mold, in particular, can cause health problems and lead to expensive remediation costs.
-
Prompt repairs prevent long-term problems: The sooner you address the source of the leak, the less likely it will cause lasting damage. Delaying repairs can lead to the need for more extensive work, such as replacing damaged ceilings, flooring, or plumbing.
How to Find a Reliable Professional:
-
Look for a licensed plumber or contractor with good reviews: Start by researching local professionals with good customer feedback. Check online reviews, testimonials, and ask for referrals from friends or family to ensure you’re hiring a reputable contractor.
-
Consider getting multiple quotes before committing to the repair: It’s a good idea to get estimates from several professionals to compare pricing, services, and warranties. This will help you make an informed decision and avoid overpaying.
Preventing Future Leaks and Flooding
1. Regular Plumbing Inspections:
-
Schedule annual inspections to check for any signs of wear or leaks in your plumbing system: Even if you don’t notice any issues, it’s a good idea to schedule regular plumbing checkups to catch small problems before they become big issues. A professional inspection can identify areas that need attention, preventing leaks from happening in the future.
-
Regularly check the seals around toilets, tubs, and showers to ensure they remain intact: The seals around plumbing fixtures can degrade over time, leading to leaks. Make it a habit to inspect these seals periodically and replace them if necessary.
2. Maintaining Proper Ventilation:
-
Ensure your bathroom is well-ventilated to prevent excess moisture buildup: Proper ventilation is key to maintaining a dry bathroom and preventing water damage. Moisture from showers, baths, and even daily use can lead to mold and mildew growth if the room is not ventilated properly.
-
Install or maintain an exhaust fan to control humidity levels: An exhaust fan helps remove moisture from the air, keeping your bathroom dry and preventing water damage to walls, ceilings, and floors. Ensure the fan is working properly, and clean it regularly to maintain its efficiency.
3. Install Leak Detection Devices:
-
Consider installing a leak detection system in your bathroom to catch leaks early before they cause significant damage: Leak detection devices can alert you when there’s a small leak, allowing you to take action before the problem escalates. These devices are especially useful for preventing water damage from hidden leaks that are not immediately visible.
4. Preventing Clogs:
-
Be mindful of what goes down your bathroom drains: Avoid flushing anything other than toilet paper down the toilet and make sure that hair, soap, and debris do not go down the shower drain. Clogged drains can lead to water backup and flooding, especially if the clog worsens over time.
-
Use drain covers: Install mesh drain covers or hair catchers to prevent hair and debris from entering the drain. This simple measure can help keep your plumbing system clear and reduce the chances of clogs.
When to Replace Bathroom Fixtures
1. Replacing Old or Faulty Plumbing Components:
-
If pipes are corroded or fixtures are outdated, it’s better to replace them before they cause more damage: Old, corroded pipes can cause leaks that lead to water damage in your home, and outdated fixtures may be prone to failure. Replacing these components proactively can help avoid costly repairs in the future and ensure the safety of your home.
-
Consider upgrading to newer, more durable plumbing materials such as PEX pipes or high-quality fixtures: PEX pipes are a popular choice due to their flexibility, resistance to corrosion, and long lifespan. If your home still has old galvanized steel or copper pipes, upgrading to PEX or other modern materials can improve water flow, reduce the risk of leaks, and enhance the overall durability of your plumbing system.
2. Upgrading to Modern Bathroom Fixtures:
-
Upgrade your bathroom with modern fixtures that are more reliable and efficient: If your bathroom fixtures are outdated, it might be time to replace them. Newer fixtures are often designed to be more water-efficient, energy-efficient, and long-lasting. For example, replacing an old bathtub, toilet, or shower with a more modern model can improve functionality while saving water and energy in the long term.
-
For example, replace old bathtubs, toilets, or showers with newer, more durable models: Modern toilets are built to be more water-efficient, and new shower systems may include features like low-flow technology, anti-scald controls, or improved drainage systems. Replacing these fixtures will not only improve the overall bathroom experience but can also add value to your home.
Conclusion
In this article, we explored the common causes of upstairs bathroom flooding and leaks, including issues like burst pipes, faulty seals, clogged drains, and more. Immediate action and troubleshooting can help minimize damage, but don’t hesitate to call a professional if the problem persists or if the damage is extensive. Regular maintenance, inspections, and timely repairs will help prevent future flooding incidents, protecting your home from costly water damage.
By staying vigilant and addressing plumbing issues as soon as they arise, you can avoid larger, more costly problems. Proper maintenance and timely repairs not only protect your bathroom but also ensure that your entire home remains safe and dry.
Frequently Asked Questions (FAQs)
1. What should I do immediately after my bathroom floods?
-
Shut off the water supply, remove excess water, and inspect the area for damage. If the source of the leak is unclear, it’s best to call a professional plumber for help.
2. How can I prevent water damage to the ceiling below?
-
Act quickly to address the leak, dry the affected area, and consider installing a leak detection system. This will help catch leaks early and prevent further damage to ceilings or other parts of your home.
3. How often should I inspect my bathroom for plumbing issues?
-
Conduct a simple visual inspection every few months. Look for any signs of wear, such as stains, leaks, or corrosion around pipes, faucets, and fixtures.
4. Should I replace old pipes or wait for them to break?
-
It’s best to replace aging or corroded pipes before they break to avoid significant water damage. Proactively replacing old pipes can prevent major plumbing disasters in the future.
5. Can I fix a leaking toilet or shower myself?
-
Many minor issues, like a faulty wax seal or a clogged drain, can be fixed DIY. However, for more significant plumbing issues, such as a leaking pipe or malfunctioning water supply line, it’s recommended to call a professional plumber.