

The aggregate score from woodbridge ebt700 smart bidet toilet reviews stands at 4.2 out of 5 stars across major retail platforms, because buyers praise its strong pump-assisted flush and sleek tankless profile. It falls short for people who lack an outlet nearby, since retrofitting a dedicated electrical line adds steep unexpected labor fees.
Table of Contents
Comparing Woodbridge smart bidet toilet features
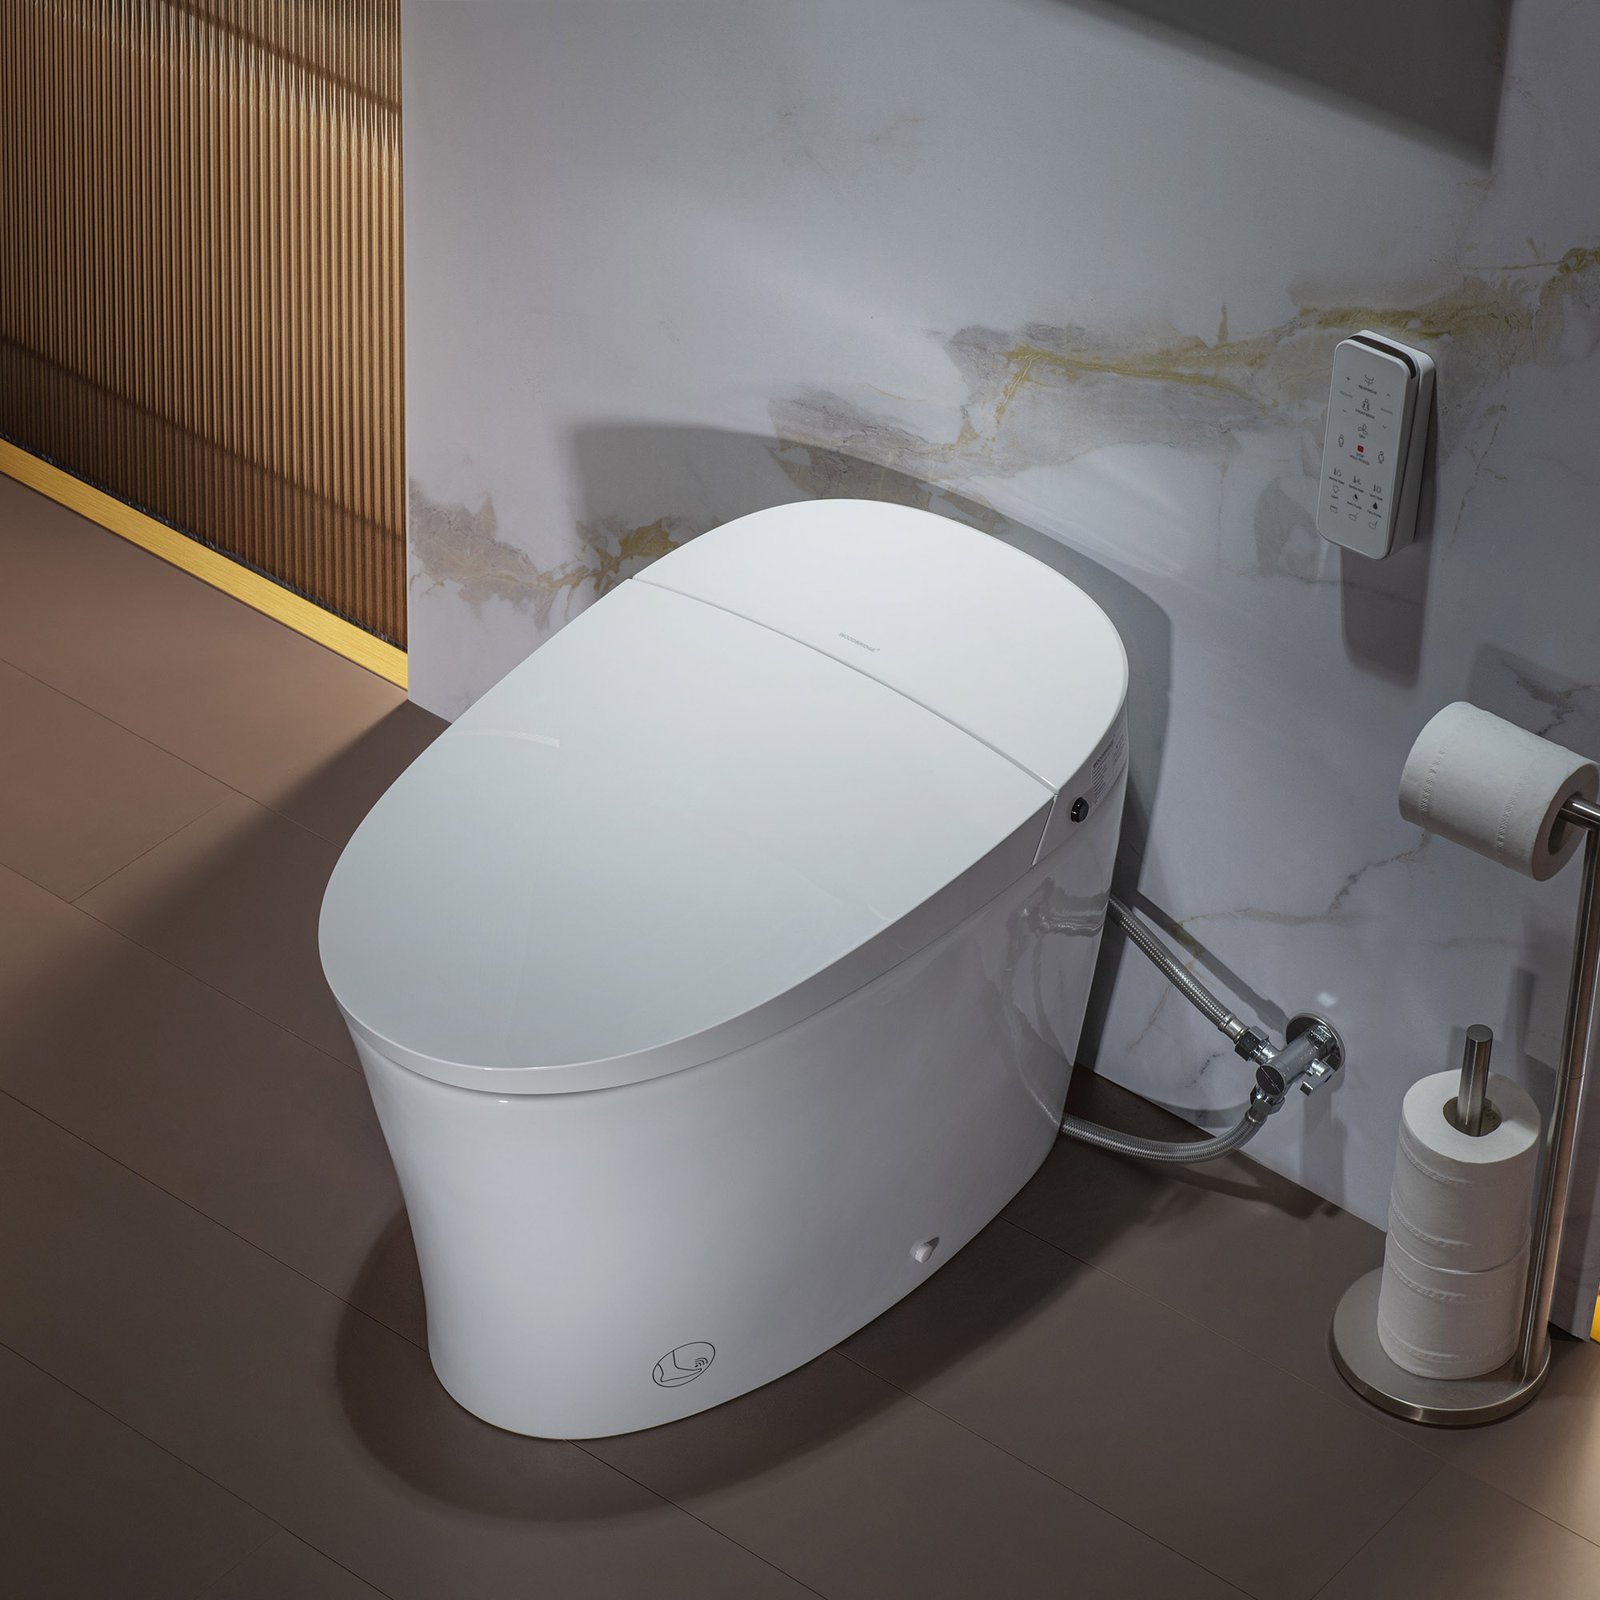
Choosing how to set up or buy this fixture comes down to three practical paths: buying the full unit with professional setup, self-installing it, or choosing a simpler add-on seat instead.
| Method | How long | Effort | Cost | Best for |
|---|---|---|---|---|
| Full unit professional install | 2 to 3 hours | Low | High | Homeowners needing electrical work |
| Full unit DIY install | 3 to 4 hours | High | Medium | Confident DIYers with a close GFCI |
| Bidet seat attachment only | 45 minutes | Low | Low | Renters keeping their old bowl |
Professional install with a dedicated line
Hiring a licensed plumber and electrician ensures you meet local building codes without risking water or shock damage.
- Have an electrician run a dedicated 120-volt GFCI circuit within 3 feet of the toilet base.
- Shut off the bathroom water stop valve completely.
- Remove the old ceramic fixture and clear away the old wax ring.
- Let the plumber bolt down the heavy skirted ceramic base and seal the waste pipe.
- Connect the braided water line, open the valve to test pressure, and plug in the power cord.
This route minimizes physical strain and ensures professional-grade sealing of the waste pipe. It also protects your home insurance coverage if a pipe joint ever slips. The obvious downside is high overall installation expense. If you must add a breaker, hire an electrician; this isn’t work for beginners due to high-voltage shock risks in wet areas.
DIY installation on an existing outlet
Handling the setup yourself keeps expenses down if your bathroom already has an approved electrical receptacle near the floor.
- Turn off your main water valve and drain the supply line into a small bucket.
- Scrape away the old wax residue from your floor flange and set the new rubber seal.
- Carefully lift the heavy skirted bowl over the closet bolts, tightening the nuts evenly on both sides until snug.
- Thread the Woodbridge water inlet hose to the shutoff valve, ensuring the rubber gasket is seated correctly.
- Plug the unit into your GFCI outlet, turn on the supply, and test the wand controls with the remote.
You save money and set your own timeline without waiting on busy local contractors. But skirted toilets hide the bolt holes, making hand access frustrating and tight. One mistake people actually make is overtightening the floor bolts, which cracks the brittle ceramic base and ruins the entire toilet instantly.
Retrofitting a standalone bidet seat

Skipping the integrated tankless toilet in favor of a standalone smart seat saves effort while keeping most wash functions.
- Unscrew the two mounting bolts holding your existing standard toilet seat.
- Slide the universal mounting bracket over the bolt holes and secure it flat.
- Click the electronic bidet seat onto the bracket until it snaps firmly.
- Install the metal T-valve between your wall supply stop and the standard toilet tank.
- Attach the seat’s water tube to the T-valve, check for drips, and connect the power plug.
This method costs very little and takes under an hour with a basic wrench. The weakness is that you lose the auto-opening lid and the sleek tankless look of the integrated Woodbridge bowl. A fourth method uses a non-electric mechanical attachment with cold water only. It works without electricity, but lack of water heating makes winter use uncomfortable for most households.
Which one should you use?
If you’re in a hurry, choose a standalone bidet seat because it installs in under an hour without lifting heavy porcelain. If you’re doing this for the first time, choose professional installation so you don’t risk water damage behind your finished drywall. If you want the best possible result whatever it takes, install the full integrated toilet using licensed trades to get clean hidden lines and code-compliant power.
Here is the decision rule: if your bathroom lacks a three-prong GFCI outlet within 36 inches of the drain, hire a professional; if an outlet already sits right there, a careful DIY install works fine. The trade-off comes down to labor versus money. A full unit looks custom and cleans thoroughly, but it demands precise rough-in measurements and heavy lifting. This unit isn’t for renters, because moving it out later is difficult and risks breaking the internal valves.
The rules that apply whichever way you choose
Every electronic bidet must plug into a ground-fault circuit-interrupter outlet tested under UL 1431 safety standards for personal hygiene appliances.
Before lifting anything, measure your rough-in distance from the finished wall to the center of the floor bolts. The Woodbridge requires a true 12-inch clearance. Partway through the process, turn on your water supply slightly before plugging in the cord. Check every brass coupling for micro-leaks with a dry paper towel. At the end, verify your home’s water pressure; tankless booster systems need adequate pressure to clear waste properly.
This varies by model — check the label on your specific carton for exact amperage requirements before running wire. If electrical work is required, hire a licensed tradesperson rather than altering your breaker panel yourself.
Frequently asked questions

Does the toilet work during a power outage?
Yes, you can flush the bowl using the manual emergency battery backup system. The warm water wash, heated seat, and warm air dryer won’t operate until normal power returns. Keep fresh batteries on hand so the flush valve functions during electrical blackouts.
Can you install it on a 10-inch rough-in?
No, this unit requires a standard 12-inch distance from the finished wall to the floor drain center. Attempting to force it onto a 10-inch rough-in leaves the base hitting the back wall, which prevents the waste outlet from sealing safely against the floor flange.
How much water pressure does it need?
It requires a minimum dynamic water pressure of 30 pounds per square inch to flush cleanly. If your home uses a low-yield well system, the tankless flush cycle might not clear solids properly. Test your bathroom’s water flow rate with a bucket before purchasing this model.
Is the bidet wand self-cleaning?
Yes, the wand cleans its own stainless-steel nozzle with fresh water before and after every use. You can also press the manual clean button on your remote control to extend the wand for periodic wiping with a soft microfiber cloth and mild soap.
What happens if the remote control batteries die?
You can trigger a standard bowl flush using the manual side buttons built into the porcelain base. You won’t have access to custom water temperature or nozzle position settings until you replace the remote’s AAA batteries.
Final Thoughts
If you’re ready to upgrade your bathroom, don’t forget to check your wall space first. You’ll need a grounded outlet within reach for the seat’s features to work. Once you’ve confirmed the power supply, you’re all set to enjoy a much cleaner, more comfortable daily routine in your own home.






