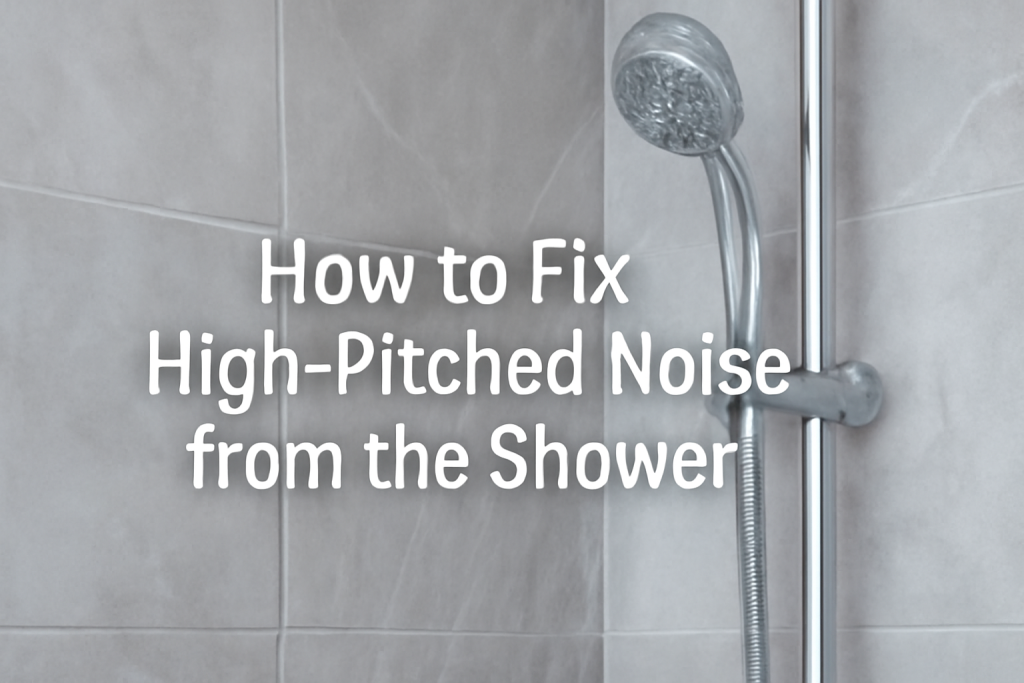
 A high-pitched noise coming from your shower can be annoying and disruptive, but it’s not something you need to live with. Often, this noise is a sign of an underlying issue with the plumbing or shower components. Fortunately, fixing the problem is usually straightforward, and this guide will take you step-by-step through the process.
Table of Contents
Common Causes of High-Pitched Noise in the Shower
Before you start fixing the issue, it’s important to understand what could be causing the high-pitched sound.
1. Water Pressure Issues
One of the most common causes of high-pitched noise is high water pressure. When the pressure in your shower system is too high, it can cause water to move through the pipes too quickly, creating a whistling or squealing sound.
2. Faulty Shower Valve
A damaged or worn-out shower valve can also be to blame. Over time, the valve may become faulty due to age or mineral buildup, causing irregular water flow and leading to high-pitched noise.
3. Mineral Buildup
If your water is hard, mineral buildup can accumulate inside the pipes or showerhead. These deposits can clog the flow of water, leading to pressure changes and creating a squealing or whistling sound.
4. Loose or Worn-Out Components
Loose parts like a showerhead, pipe fittings, or other fixtures can vibrate when water flows through, resulting in a high-pitched sound. Worn-out washers or seals can also contribute to the noise.
5. Pipe Resonance
In older plumbing systems, the pipes themselves may vibrate when water flows through them, creating a resonant sound. This is especially common in metal pipes that aren’t properly insulated.
Tools and Materials You’ll Need
Before diving into the fixes, gather these basic tools and materials:
-
Wrench: To loosen or tighten components.
-
Pipe Insulation: To dampen any pipe vibrations.
-
Limescale Remover: To clean your showerhead and pipes.
-
Pressure Regulator (Optional): If your water pressure is too high.
-
Shower Valve Replacement Kit: For replacing any faulty valve components.
Step-by-Step Guide to Fixing High-Pitched Noise in the Shower
Step 1: Check Water Pressure
First, measure your water pressure. The ideal water pressure for a shower is between 45-60 psi (pounds per square inch). If your pressure is higher than this, it could be causing the noise.
How to fix:
-
Install a pressure regulator to reduce the water pressure.
-
If you don’t have a regulator, you can get a gauge and regulator kit at most hardware stores and easily install it yourself.
Step 2: Clean the Showerhead
Mineral buildup inside the showerhead can restrict water flow, which often results in a high-pitched sound as the water squeezes through the blockage.
How to clean:
-
Remove the showerhead from the pipe.
-
Soak it in a solution of equal parts vinegar and water for about 30 minutes to dissolve mineral deposits.
-
After soaking, use a soft brush (like an old toothbrush) to scrub away any remaining buildup.
-
Rinse the showerhead thoroughly and reattach it.
Step 3: Inspect the Shower Valve
A worn-out or damaged shower valve can cause irregular water flow, leading to high-pitched noise.
How to fix:
-
Turn off the water supply to the shower.
-
Remove the valve cover and inspect the valve for any signs of wear, such as cracks or mineral buildup.
-
If you find damage, replace the valve or its internal components. You can buy a replacement valve kit from a local hardware store.
-
Reinstall the valve and test the shower.
Step 4: Check for Loose or Worn-Out Parts
Loose components or worn-out washers can cause vibrations, contributing to the high-pitched sound.
How to fix:
-
Inspect the showerhead, faucet knobs, and pipe fittings to ensure everything is securely tightened.
-
Replace any worn washers, seals, or other parts. Be sure to tighten everything back in place using a wrench.
Step 5: Insulate the Pipes
If the noise is coming from vibrating pipes, it could be due to resonance as water moves through them. Adding pipe insulation can dampen the vibrations and reduce noise.
How to fix:
-
Locate the exposed pipes that lead to the shower.
-
Use foam pipe insulation or pipe sleeves to cover the pipes, especially where they may come into contact with hard surfaces.
-
Insulating the pipes helps to reduce vibration and the associated noise.
Step 6: Test the Shower
Once you’ve gone through the steps above, turn the water back on and test the shower. The high-pitched noise should be significantly reduced or completely gone. If the noise persists, you may need to repeat some of the steps or look for any overlooked issues.
Preventive Measures
To prevent future high-pitched noises, here are some additional tips:
1. Regular Maintenance
Clean your showerhead every few months to remove any mineral buildup. Regularly check for leaks or wear in the valve and replace washers or seals as needed.
2. Install a Pressure Regulator
If your water pressure is consistently high, installing a pressure regulator will prevent future pressure-related noise issues and extend the life of your plumbing.
3. Use Anti-Vibration Pads
For homes with older plumbing, consider installing anti-vibration pads on your pipes to further reduce the likelihood of resonant sounds.
Conclusion
High-pitched noise from the shower is usually caused by common plumbing issues such as high water pressure, mineral buildup, or faulty components. By following the steps outlined above—checking your water pressure, cleaning the showerhead, inspecting the valve, and adding pipe insulation—you can easily fix the issue and restore peace and quiet to your bathroom.
Regular maintenance and preventive measures will help you avoid this annoying problem in the future, ensuring a smooth and silent shower experience every time.