
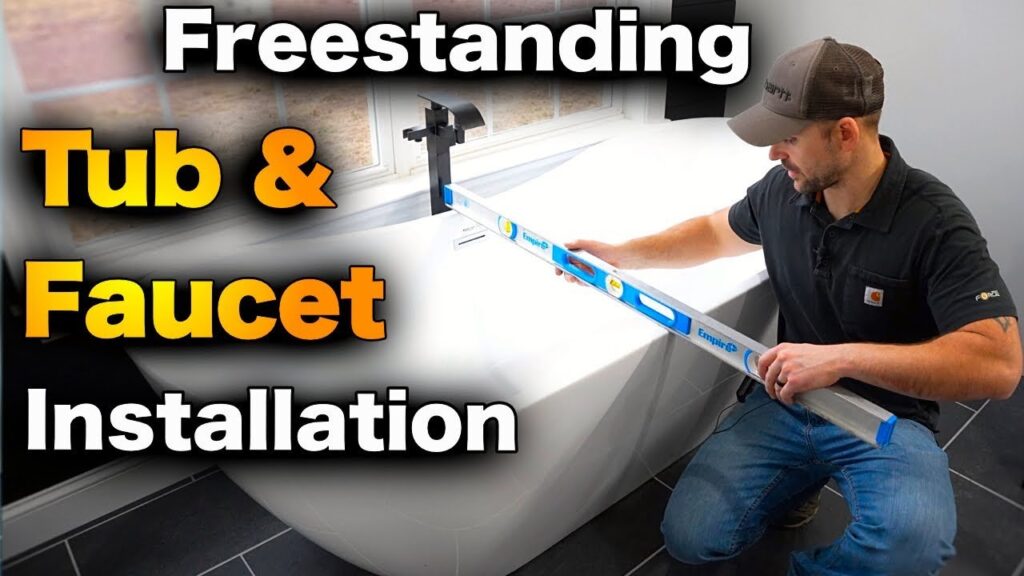
Installing a freestanding bathtub faucet takes about two to three hours for an existing rough-in, costs modest plumbing supply fees, and needs care because floor leaks quickly damage subflooring. You’ll need open access to the water lines directly below the finished floor before you begin. If you’re on a solid concrete slab without pre-installed pipes, stop here; this job isn’t for homes without subfloor access or dedicated rough-in boxes.
Table of Contents
Tools for your freestanding bathtub faucet installation

| Item | How much | Why it’s needed | A substitute |
|---|---|---|---|
| Floor mounting bracket | 1 unit matching faucet | Secures body to floor | none — don’t swap this |
| Flexible water supply lines | 2 lines, 1/2-inch | Connects rough plumbing to faucet | none — don’t swap this |
| Thread seal tape | 1 roll PTFE tape | Seals male threaded fittings | Pipe thread sealant paste |
| Adjustable wrench | 1 10-inch tool | Tightens floor bolts and nuts | Open-end wrench set |
| Power drill and bits | 1 set with masonry/wood | Drills mounting holes into floor | none — don’t swap this |
| Torpedo level | 1 9-inch magnetic level | Confirms vertical alignment of standpipe | 12-inch spirit level |
Before you start
- Turn off the main water shut-off valve and open a lower faucet to drain line pressure completely.
- Clear a 5-foot working circle around the tub area and lay down a heavy blanket to protect floor tiles.
- Inspect the subfloor below; if lines are copper and need sweat soldering, hire a licensed plumber unless you’re trained in open-flame work.
- Confirm your rough-in pipes match local code; the International Code Council model codes specify backflow and support rules for residential fittings.
- Skipping the dry fit test causes most alignment trouble, so set the bare trim over the stub-outs to verify reach before drilling.
Step by step
-
Position the mounting tripod or rough-in base plate over the water supply stubs exiting your floor. Mark the three or four mounting hole locations onto your finished floor with a pencil.
-
Drill pilot holes through the floor marks using a 5/16-inch carbide bit for tile or a standard wood bit for plywood. Clean out dust completely so anchors seat flush.
-
Insert floor anchors into the drilled holes, tapping them gently with a rubber mallet until they sit level with the floor surface. A flush anchor prevents the faucet base from wobbling later.
-
Wrap male pipe threads on your supply stubs with two to three clockwise wraps of PTFE tape. If you wrap counter-clockwise, the tape unravels when you thread on the supply lines.
-
Thread the flexible supply lines onto the hot and cold floor stubs using an adjustable wrench. Tighten them firmly past hand-tight until the rubber gaskets compress, but don’t twist the braided metal.
-
Fasten the mounting base plate securely to the floor anchors using the included lag bolts. Check with your torpedo level across two angles; tighten individual bolts slightly more to adjust for any floor slope.
-
Slide the decorative floor escutcheon ring onto the faucet riser tube before making upper connections. Forgetting the ring means taking the entire faucet off the floor again later to hide the bolts.
-
Connect the internal riser lines from the faucet body to your floor lines inside the standpipe housing. Hand-tighten the brass nuts, then turn one quarter-turn with a wrench to secure the seal.
-
Lower the faucet body onto the secured floor plate, aligning the mounting holes. Drive the set screws into the base with a hex key until the column resists all sideways rocking.
-
Slide the decorative escutcheon down to the floor, then attach the hand shower hose to the diverter outlet. Tighten the hose coupling hand-tight to protect the small internal rubber washer.
How to know it worked

You’ll know the install succeeded when the faucet body stands plumb and rigid against a firm hand push. Turn on the main water supply slowly while a helper watches the floor plate below. Run hot and cold lines for three full minutes to flush manufacturing debris from the aerator. Check the subfloor or access space beneath with a dry paper towel; it must show zero moisture spots. Water should flow smoothly from the tub spout at full pressure without rattling in the floor bracket. Switch the diverter valve to the hand shower; water should redirect instantly without dripping around the floor base or the hose connections.
If something goes wrong
| What happened | Why | What to do |
|---|---|---|
| Standpipe column wobbles | Floor bolts are loose | Tighten mounting bolts evenly |
| Water leaks under escutcheon | Supply nut missing washer | Shut water and replace seal |
| Hand shower drips steadily | Diverter cartridge unseated slightly | Unscrew and reseat cartridge |
| Low flow from spout | Debris clogging aerator screen | Unscrew aerator and rinse |
| Supply line kinked inside | Standpipe twisted during install | Pull riser and untwist |
| Base rocks on tile | Uneven grout line underneath | Shim base before tightening |
How often to do this
A quality freestanding tub faucet installation lasts ten to fifteen years before mechanical parts fail. You won’t need to repeat this full installation unless you remodel the room or replace the tub. The two things that change this schedule most are local water hardness and floor stability. Mineral-heavy water degrades internal ceramic cartridges and diverter valves over time, requiring valve rebuilds rather than full replacement.
Frequently asked questions

Can I install a freestanding faucet on a concrete slab?
No, not without an existing built-in rough-in box or cutting a trench into the slab. Freestanding faucets require water lines tucked beneath the finished floor surface. If you don’t have existing stub-outs in your slab, you’ll need to hire a contractor to jackhammer concrete channels for plumbing.
How far should the faucet be from the bathtub?
About two to four inches from the tub rim is best. This gap allows the spout to clear the tub lip by at least two inches while leaving enough room to wipe down the exterior surfaces. Always measure your spout’s reach before drilling any mounting holes into your floor.
Is it safe to mount the faucet directly to tile?
Yes, but you must anchor through the tile directly into the wooden subfloor or slab below. Tile alone is brittle and cracks under the lever force of a tall, heavy faucet. If your subfloor joists don’t align with the base, add wooden blocking between joists from underneath first.
Why is my new freestanding faucet shaking?
The mounting bolts aren’t seated tightly or the subfloor flexes under weight. Tall faucets act like long levers, magnifying even small floor movements. If your bolts are tight, go into the basement or crawlspace and reinforce the subfloor with two-by-eight wood bracing directly beneath the faucet base.
What happens if the supply lines cross inside the pipe?
The hot and cold water supplies will emerge from the wrong valve handles. Switching the supply connections at the lower shut-off valves fixes the issue immediately. Always check line tags before lowering the faucet column over the floor base to avoid doing the job twice.
Does it matter if the faucet stands slightly crooked?
Yes, an unlevel faucet puts continuous sideways stress on the mounting bracket and supply joints. Over time, that constant tilt pulls the floor anchors loose and causes hidden leaks inside the escutcheon. Adjust your mounting screws or use thin brass shims under the base until it’s completely vertical.
Final Thoughts
Once everything is secure, turn your water supply back on slowly to check for any hidden drips. Don’t rush this part, as catching a tiny leak now will save you a major headache later. You’ve done the hard work, so go ahead and fill the tub for a well-deserved, relaxing soak.
Related guides
- How to Install a Bathroom Exhaust Fan Without Attic Access
- How to Install a 30 Inch Towel Rack Brushed Nickel Correctly






