 Removing a pivot shower door might seem like a job for a contractor, but with the right tools and a little know-how, it’s totally DIY-friendly. Whether you’re replacing the door, upgrading your bathroom, or just doing a deep clean, this guide will show you exactly how to remove a pivot shower door safely and efficiently.
Let’s walk through it step by step using common tools and a method that’s easy to follow, even if it’s your first time.
Table of Contents
What Is a Pivot Shower Door?
Quick Overview
A pivot shower door is a type of door that swings open on pivoting hinges mounted at the top and bottom. Unlike sliding doors that move along a track, pivot doors rotate on a fixed axis, much like a regular door. These are common in frameless and semi-frameless shower enclosures and offer a clean, modern look.
Why You Might Need to Remove It
- You’re upgrading to a frameless system or sliding door
- The hinges or glass are damaged
- You’re resealing or repairing grout and caulk
- You want easier access for deep cleaning or mold removal
Tools and Supplies You’ll Need
Basic Tool Checklist
- Phillips and flathead screwdrivers
- Allen wrench (often required for pivot hinges)
- Drill (optional for stubborn screws)
- Utility knife (for cutting sealant)
- Painter’s tape (optional)
- Safety gloves and goggles
- Plastic putty knife
- Towels or blanket (to rest the glass door safely)
Optional Cleanup Supplies
- Silicone caulk remover
- Bathroom cleaner or degreaser
- Caulk gun and waterproof silicone (if reinstalling or replacing)
How to Remove a Pivot Shower Door: Step-by-Step
Step 1 – Protect the Area
Start by placing a towel or blanket inside the shower to catch debris and cushion the door when you remove it. If you plan to reinstall the door later, use painter’s tape to mark the current hinge placement.
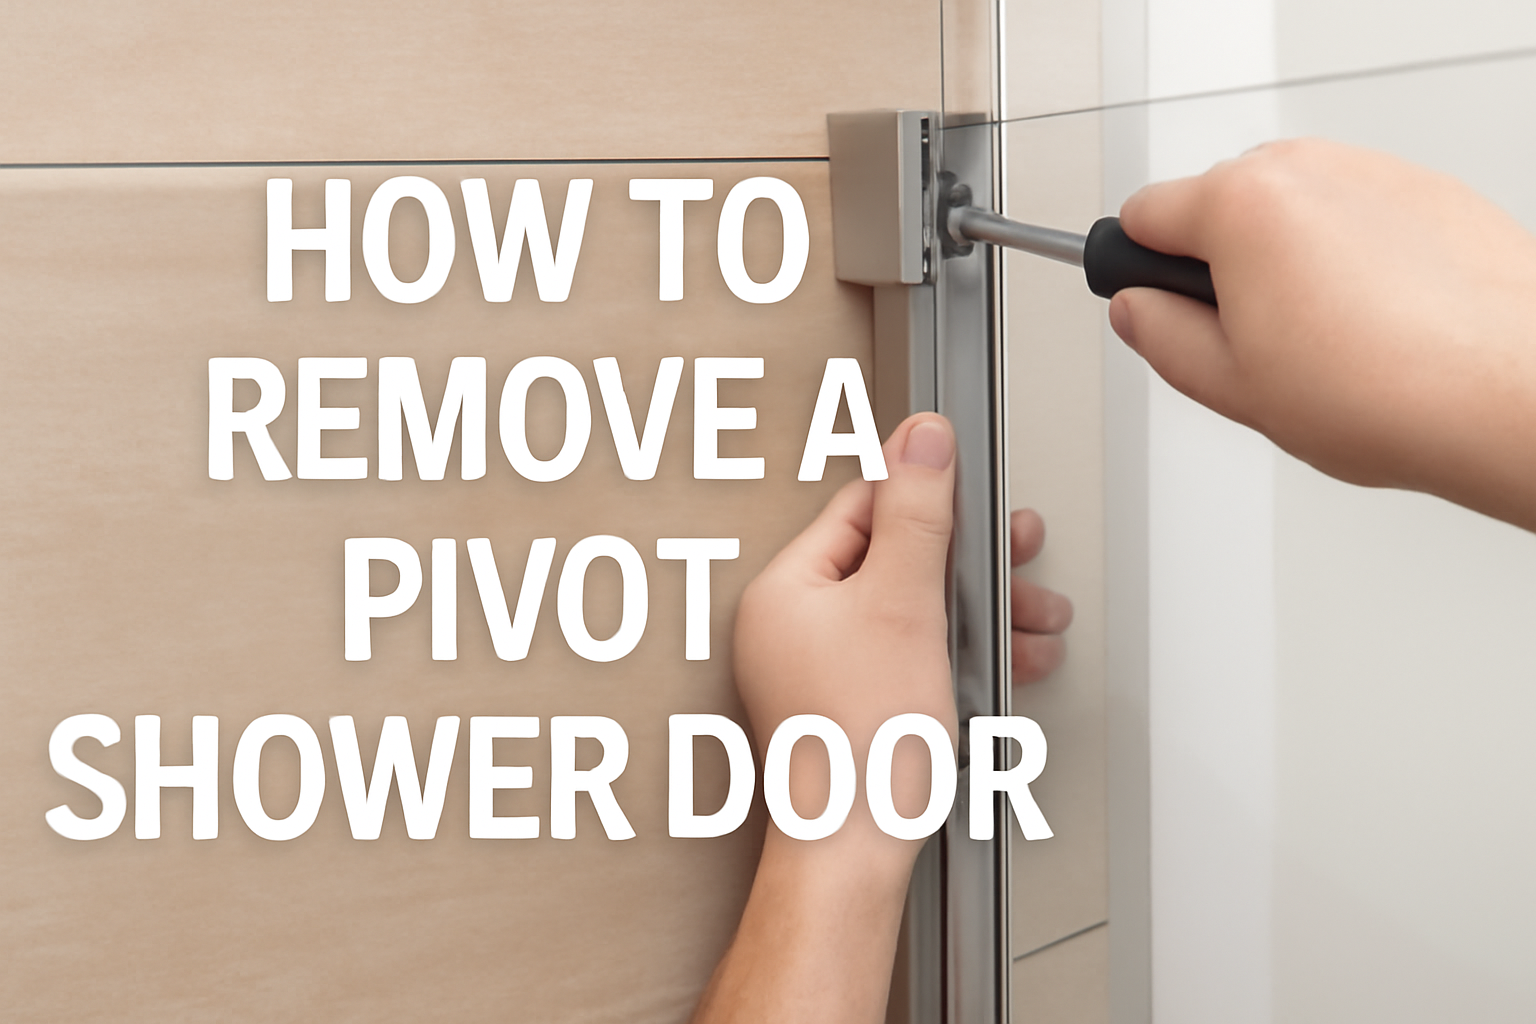
Step 2 – Remove Pivot Screws or Hinge Pins
Inspect the top and bottom pivot hinges. Most will have small screws or Allen bolts holding the pivot in place. Use the correct tool to loosen them while someone supports the door to avoid tipping or falling.
Tip: Some doors also have pivot clips that need to be pried loose with a flathead screwdriver.
Step 3 – Gently Lift Out the Door
Once the pivot hardware is free, lift the shower door upward to remove it from the bottom hinge. You might need to angle it slightly or slide it out of a retaining bracket. Lay it gently on a towel-covered surface.
Step 4 – Remove the Frame (If Applicable)
If you want to take out the full frame (common with semi-frameless setups):
- Unscrew all visible screws along the side rails or top track
- Use a utility knife to cut through any silicone caulk holding the frame to the wall or shower base
- Pry gently with a plastic putty knife to avoid scratching tile or fiberglass
Step 5 – Clean the Area Thoroughly
Use a caulk remover or mild solvent to scrub off old silicone, grime, or mildew. Then wipe the entire area with a bathroom-safe cleaner.
LSI tip: This is a great time to do any DIY bathroom updates, like replacing cracked tile, resealing seams, or installing new shower hardware.
Common Mistakes to Avoid
Lifting Without Support
Pivot doors are heavier than they look. Always have a second person help support the door when loosening the hinges.
Damaging Surrounding Surfaces
Use plastic tools or rubber-tipped pry bars. Avoid metal scrapers that can chip tile, scratch your tub, or ruin finishes.
Missing Hidden Screws
Some models have screws under plastic caps or decorative covers. Inspect carefully before forcing anything loose.
What to Do After Removing Your Shower Door
Ready for a New Install?
If you’re installing a new pivot, sliding, or frameless shower door, make sure:
- Surfaces are clean and dry
- You measure the opening accurately
- You use a level to ensure the new door will sit straight
Recaulking and Sealing
If you’re not replacing the door immediately, reseal any exposed seams with waterproof bathroom-grade silicone to prevent mold or water leaks.
Reuse or Recycle
Tempered glass should not go in the trash. Many recycling centers accept it, or consider donating reusable parts to a local building materials reuse store.
Final Thoughts: Remove It Right the First Time
Removing a pivot shower door is a great beginner-level DIY bathroom project that can be done in under an hour with the right preparation. By following these steps, you avoid damage to your tiles and give yourself the flexibility to upgrade your space.
Whether you’re tackling a full remodel or just maintaining what you have, knowing how to safely remove a pivot hinge shower door is a skill every homeowner should keep in their back pocket.