
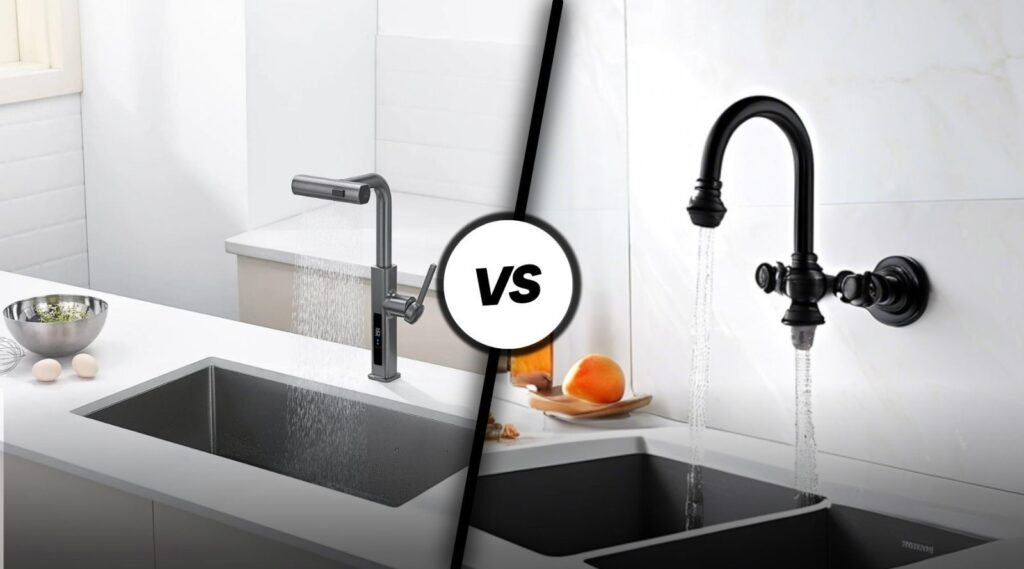
Deck mounted faucets fit most homes best because they install directly through the counter with standard, accessible plumbing lines. When comparing wall mounted vs deck mounted faucets, the wall design wins only during a full wall-open remodel where you want clear counter space beneath the spout. If your wall is already closed with tile, open supply lines through the counter save hours of labor.
Table of Contents
Comparing wall mounted and deck mounted faucets
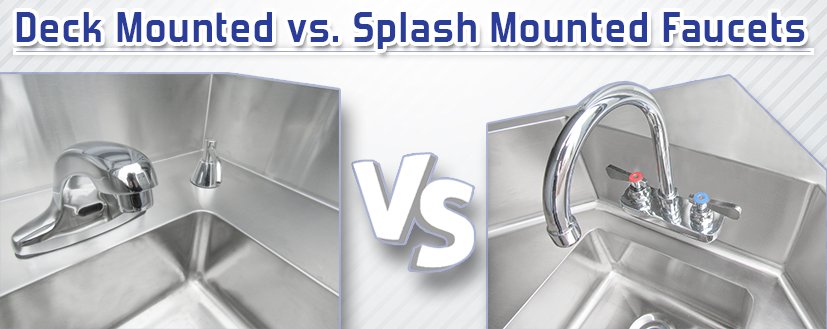
Choosing a mounting style changes your plumbing layout, labor time, and total project budget.
| Method | How long | Effort | Cost | Best for |
|---|---|---|---|---|
| Deck mounted installation | 1 to 2 hours | Low | Low | Quick replacements and standard pre-drilled sinks |
| Wall mounted installation | 4 to 8 hours | High | High | Deep sink basins and complete wall-open bathroom remodels |
| Vessel-height deck installation | 2 to 3 hours | Medium | Medium | Above-counter bowl sinks without opening finished walls |
Standard deck mounting
- Slide the rubber sealing gasket over the faucet shank and lower the assembly down through the pre-cut sink hole.
- Thread the mounting nut onto the threaded shank from underneath the counter, turning it clockwise until it sits snug against the basin underside.
- Tighten the two brass tension screws on the nut using a Phillips screwdriver to lock the fixture firmly in place.
- Thread the hot and cold supply lines to the shut-off valves using an adjustable wrench, tightening until snug and checking for leaks.
This design keeps all supply connections directly below the sink basin where anyone can reach them with a standard wrench. It also fits standard pre-drilled countertops straight out of the box. The main drawback is the tight gap behind the spout base, which catches splashing water and grows hard-water mineral rings quickly.
Wall rough-in mounting
- Shut off the home water main, strip the drywall down to open wall studs, and secure a 2×4 wood brace between the studs.
- Fasten the brass rough-in valve to the wood brace so the front edge lines up flush with your planned finished tile surface.
- Sweat half-inch copper lines into the hot and cold valve ports, extending the runs down to your household water supplies.
- Thread a temporary test plug into the spout outlet, turn on the water main, and check the joint connections for leaks under full pressure.
- Hang your cement backer board, lay the wall tile around the rough-in stem, and screw the trim plate and spout over the finished wall.
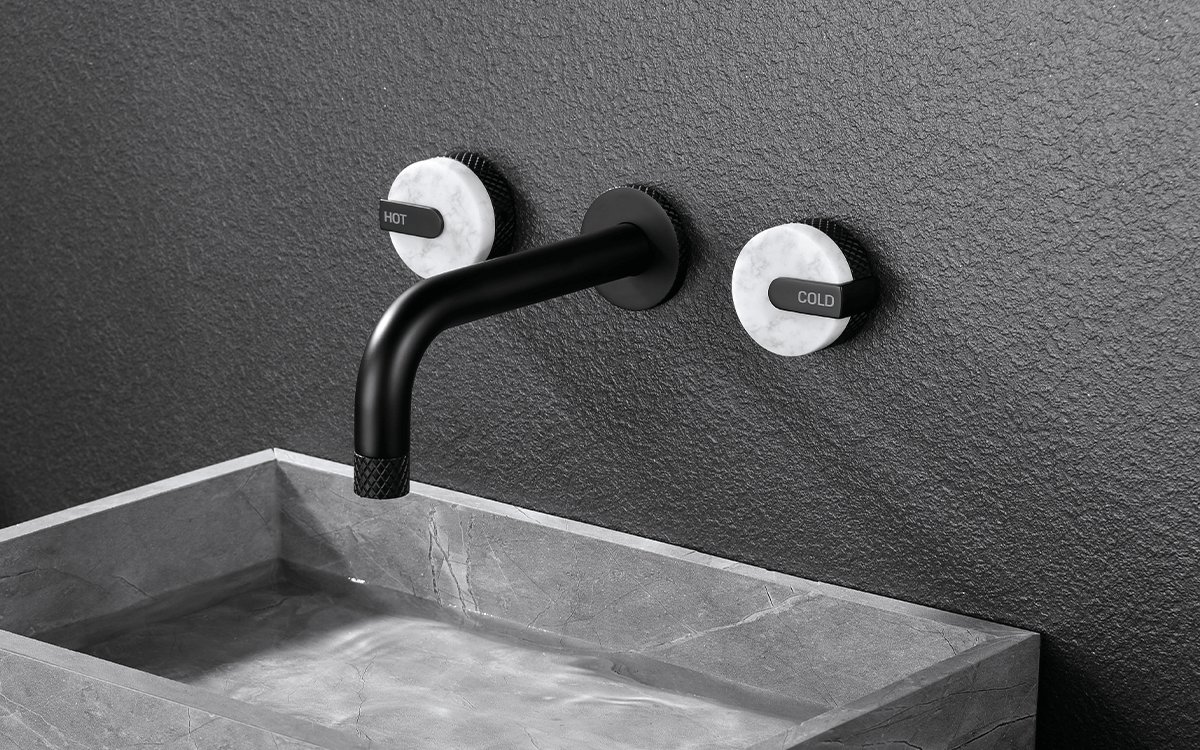
This mounting style frees up your entire countertop surface, so wiping around the sink bowl takes seconds. It also pairs cleanly with deep utility basins or shallow stone troughs. However, its major weakness is long-term access: fixing a leaking internal valve body later requires cutting open finished tile. Because running supply lines through framing requires soldering, hire a licensed plumber if your local building code restricts unpermitted hidden pipe alterations.
Tall vessel deck mounting
- Measure your bowl sink height to confirm your tall spout clears the top rim by at least 1 inch.
- Thread the extended flexible supply hoses through the single pre-drilled hole directly behind the raised basin.
- Slip the brass stabilizer ring over the hoses under the counter and tighten the long mounting collar with a basin wrench.
- Fasten the braided supply tubes to your angle stop valves, tightening each brass compression nut firmly.
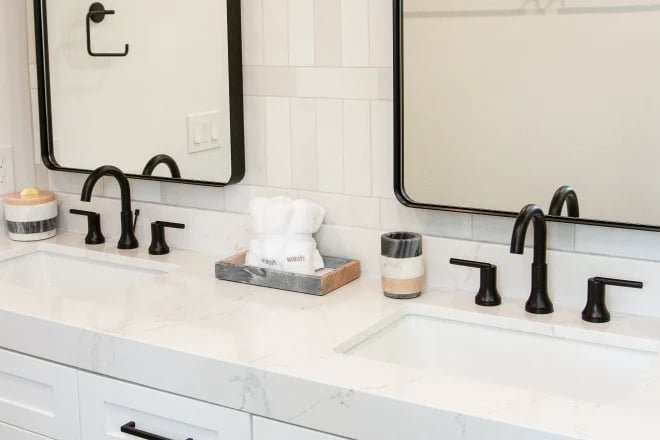
This option gives you the dramatic clearance of a wall fixture without forcing you to tear out existing wall tiles or move vent stacks. It works smoothly with thick stone countertops that only have a single pre-cut bore. The drawback is physical leverage; because the faucet body stands tall, bumping the spout hard can loosen the lower base seal over time. Wall-mounted commercial service sinks offer similar clearance using exposed utility pipes, but exposed industrial piping looks too harsh for residential spaces.
Which one should you use?
If you’re in a hurry, pick a standard deck mounted unit because it drops directly into your sink’s existing factory holes without drywall surgery.
If you want the best possible result whatever it takes, choose a wall mounted valve because clearing the counter surface creates an open, modern look that keeps dirt off your stone tops.
Your main trade-off sits between simple future maintenance and effortless daily cleaning. This varies by model — check the label on your rough-in kit before mounting.
The rules that apply whichever way you choose
Every bathroom fixture must comply with the water flow standards outlined by the EPA WaterSense program specifications, which set maximum flow rates to prevent excessive water waste.
Before touching any plumbing, locate and shut off your local water supply stops. Leaving them open can cause significant water damage to your home.
During the rough-in step, check your spout reach with a tape measure against your actual sink basin; a spout centered too far back will cause water to splash against the rear porcelain wall every time you run the tap.
At the end of installation, remove the aerator nozzle from the spout tip, turn the water on full for 60 seconds to flush manufacturing grit out of the cartridges, then screw the aerator back in. If you discover corroded galvanized pipes inside your wall framing, stop work immediately and consult a licensed contractor to avoid snapped supply fittings.
Frequently asked questions
Can you replace a deck mounted faucet with a wall mounted faucet?
Yes, but you must open the wall studs to reroute the plumbing lines upward. You also need to seal the existing holes in your countertop using custom granite plugs or replace the counter slab entirely.
How high should a wall mounted faucet be above the sink?
This measurement gives you room to wash your hands comfortably without splashing water over the counter edges.
Are wall mounted faucets more expensive to install?
Yes, they cost significantly more in labor because a plumber must open the drywall, solder supply pipes between studs, and align the rough-in valve with future tile thickness.
What happens if a wall mounted faucet leaks behind the wall?
Water damages your wood framing and wall insulation silently until stains show through the drywall. Finding and repairing that hidden leak requires cutting open the finished bathroom wall.
Can deck mounted faucets work with vessel sinks?
Yes, as long as you purchase an extended vessel-height faucet model. Standard deck faucets sit too low, causing the spout to hit the raised rim of the bowl.
Final Thoughts
Choosing the right fixture depends on how much work you’re willing to do behind your walls. If you aren’t planning a major renovation, stick with the easier counter installation. You’ll save plenty of time and money that way. Check your current plumbing layout today so you’re ready to pick the perfect style.
Related guides
- How to Remove Soap Scum From Shower Walls With Vinegar
- Space Saving Wall Shelves: How to Add Style and Storage
- How to Stop Condensation on Bathroom Walls: Simple Fixes






