
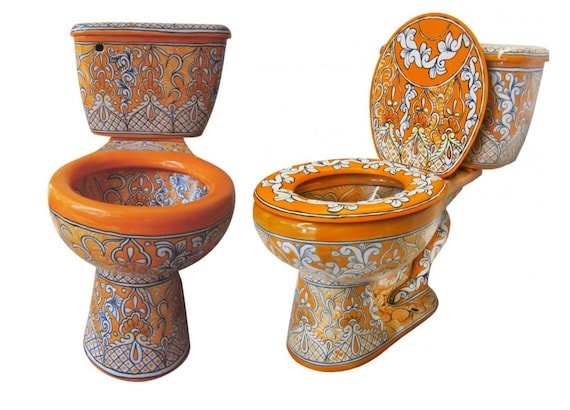
Independent western pottery toilet reviews show these fixtures deliver strong bulk waste clearing through simple gravity mechanics, using standard 1.28 or 1.6 gallons per flush. They fit rental units and tight budgets where low replacement cost matters more than quiet refilling or luxury finishes. This guide evaluates flush performance, installation pitfalls, plumbing compatibility, and physical durability across their main residential models.
Table of Contents
Understanding Western Pottery Fixtures
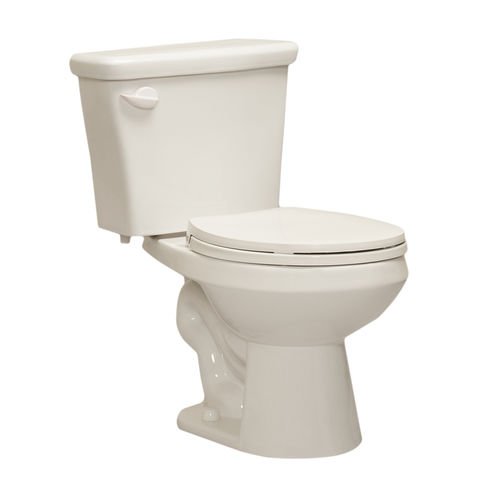
Western Pottery manufactures vitreous china toilets primarily for commercial housing, trade contractors, and property managers. These units rely on traditional siphonic action paired with widely available internal valves rather than proprietary electronic mechanisms. People often assume budget-brand china cracks easily under normal weight, but the vitrification process produces standard structural strength comparable to major consumer brands.
The primary trade-off is surface refinement. You get dependable bowl clearing at a low purchase price, but the porcelain glaze inside the trapway isn’t as uniformly slick as premium alternatives. This makes occasional mineral buildup more noticeable over time. This brand isn’t for homeowners seeking whisper-quiet refills, concealed trapway styling, or high-end designer aesthetics. It’s a utilitarian choice built to meet municipal water guidelines without costly specialized components.
The basic method
Installing or replacing one of these fixtures requires basic plumbing steps to prevent persistent base leaks or cracked porcelain.
- Turn off the water supply valve clockwise and flush the tank, holding the lever down until the reservoir is completely empty.
- Sponge out the remaining 2 to 3 cups of standing water from both the tank and the bottom of the bowl.
- Disconnect the 3/8-inch flexible supply line from the bottom of the fill valve using an adjustable wrench.
- Unscrew the tank-to-bowl brass bolts using a flathead screwdriver and wrench, then lift the tank straight off.
- Remove the floor bolt nuts, lift the old bowl vertically off the flange, and scrape the old wax ring clean from the floor flange with a putty knife.
- Place a new reinforced wax ring onto the floor flange, ensuring it’s centered over the drain opening.
- Lower the bowl straight down over the closet flange bolts, pressing down with your full body weight without twisting.
- Tighten the floor nuts alternately, half-turn by half-turn, stopping the moment the base rests firm without rocking.
- Mount the tank using the rubber gasket and bolts, tightening each side evenly until the rubber washers compress snugly.
The critical judgment call happens during floor bolt tightening. If you overtighten the floor nuts to compensate for an uneven subfloor, the porcelain around the bolt holes can crack. A cracked base can’t be repaired and forces a complete replacement of the bowl, costing the entire price of the unit. Use plastic shims underneath uneven spots instead of torquing the bolts.
Key numbers and settings at a glance
Western Pottery units use standard measurements, though exact tank dimensions vary by model—check the label inside the tank lid.
| Situation | What to use | How long | What to watch for |
|---|---|---|---|
| Standard rough-in | 12-inch rough-in bowl | 45 to 60 minutes to mount | Flange clearance from wall studs |
| Older home plumbing | 10-inch rough-in tank | 45 to 60 minutes to mount | Gap between tank back and drywall |
| High water efficiency | 1.28 GPF single-flush valve | 5 to 10 minutes to adjust | Flapper closing early before bowl clears |
| Rough tile floors | Hard plastic leveling shims | 10 minutes to fit | China flexing against uneven grout lines |
| Supply connection | 3/8-inch braided stainless hose | 5 minutes to thread | Cross-threading plastic fill valve threads |
What separates good results from bad ones
Flange Preparation and Leveling
Experienced plumbers never place the new china directly onto an uninspected flange. They scrape the mounting ring down to bare metal or ABS plastic, checking for fractures around the bolt slots. If the flange sits below the finished tile level, they install an extender ring rather than stacking two wax rings, which often blow out under pressure. They set the bare bowl dry first, checking for wobble against the floor before the wax ever touches the surface.
Component Alignment and Torque Control
Small errors during tank assembly lead directly to slow leaks behind the base. Experienced hands compress the thick sponge gasket between the tank and bowl by applying hand pressure from above while turning the nuts beneath. They tighten each side in small increments so the tank stays parallel to the bowl shelf. They leave the internal overflow tube untouched at the factory height, ensuring the water level sits roughly 1 inch below the rim of the tube.
Common problems and quick fixes
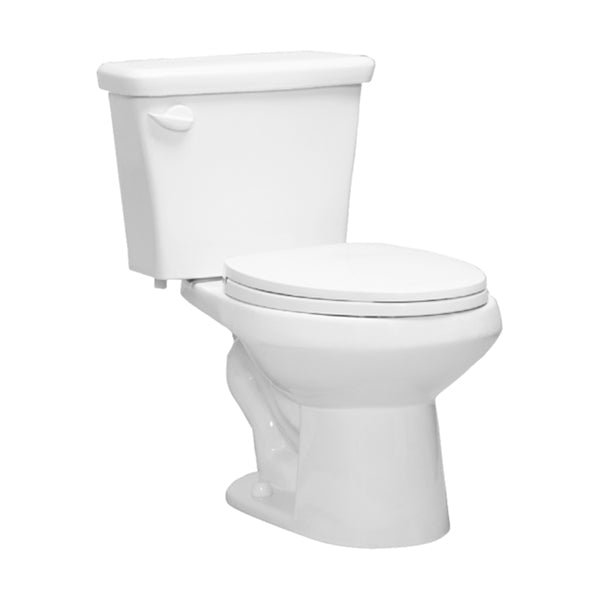
When issues arise, standard mechanical adjustments usually solve them quickly.
| What you notice | What it usually means | What to do first |
|---|---|---|
| Water running constantly into the bowl | Flapper isn’t sealing against the flush valve seat | Adjust chain slack or replace the flapper |
| Slow or weak bowl siphon | Water level inside the tank is set too low | Turn the fill valve adjustment screw clockwise |
| Small puddle around floor bolts | Wax seal failed or closet bolts loosened | Tighten nuts gently; if leaking persists, replace wax |
| Tank rocks on top of the bowl | Mounting bolts tightened unevenly | Loosen bolts slightly and re-tighten alternately |
| Whistling noise during tank refill | Fill valve diaphragm has debris or sediment | Shut off water and rinse the valve cap |
The rules that apply
Residential plumbing codes dictate the allowable water consumption for any newly installed fixture. The federal standard set by the Energy Policy Act limits residential toilet discharge to a maximum of 1.6 gallons per flush. Many regional jurisdictions enforce stricter conservation targets. To qualify for rebates and pass local building inspections in states like California, toilets must meet the 1.28 gallons per flush threshold outlined in the EPA WaterSense program guidelines. Western Pottery certifies specific high-efficiency models under these exact requirements. Modifying internal valves to use more water than the bowl’s rated volume can violate local plumbing ordinances. If your home has lead waste lines or damaged cast-iron drain stacks, stop do-it-yourself work immediately. Contact a licensed plumbing contractor to handle structural drain repairs safely.
Maintaining the porcelain and valves
Keep the porcelain surface clean using non-abrasive liquid detergents and a soft nylon brush. Never drop solid chlorine bleach tablets into the tank. These chemical pucks degrade the rubber flapper, tank-to-bowl washers, and fill valve seals within months, causing internal leaks. Inspect the flexible water supply line and the floor base regularly for moisture. If the flush lever starts catching or requires extra force, lubricate the handle arm nut with silicone spray or unhook the flapper chain to untangle it. Standard hardware store rebuild kits fit these units easily when internal gaskets show wear.
When to use a different approach
If the bathroom rough-in measures 14 inches from the bare wall, a standard Western Pottery 12-inch fixture leaves an awkward 2-inch gap behind the tank. Choose a dedicated 14-inch rough-in model from an alternative manufacturer instead. For users with limited mobility or joint stiffness, standard-height round bowls cause unnecessary knee strain; choose an ADA-compliant “comfort height” elongated bowl instead. If your primary goal is absolute silence in an en-suite bathroom adjacent to a bedroom, look toward premium pressure-assisted or insulated-tank units.
Frequently asked questions
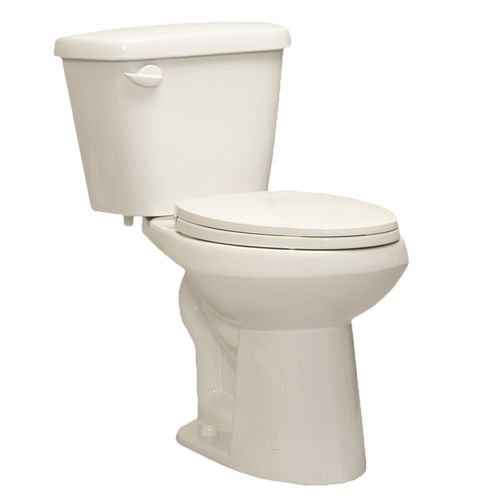
Can you use standard hardware store parts for Western Pottery toilets?
Yes. Western Pottery designs their tanks around universal plumbing components. You can replace the fill valve, flapper, tank bolts, and trip lever using off-the-shelf parts from brands like Fluidmaster or Korky without ordering directly from the manufacturer.
Why does my toilet need two flushes to clear?
The water level in your tank is likely set too low. If the water surface sits more than 1 inch below the overflow pipe, turn the fill valve screw clockwise to raise the resting water volume to the stamped fill line.
How long does a wax ring last on these toilets?
A wax ring provides a permanent seal as long as the toilet remains stable; however, the ring must be replaced every time the toilet is lifted from the floor. If the floor bolts loosen and the porcelain moves, the wax breaks seal immediately and requires prompt replacement.
Is it safe to use chemical drain cleaners in the bowl?
No. Caustic drain cleaners can damage the finish of the bowl and corrode metal plumbing components; use a plunger or auger instead. Use a standard flange plunger or a manual toilet auger to clear stubborn blockages instead.
What happens if the tank bolts are over-tightened?
The ceramic base of the tank will crack, causing water to flood the floor the moment the supply valve opens. Always tighten the nuts by hand first, then turn them gently with a wrench until the tank no longer wobbles.
Final Thoughts
Choosing the right fixture doesn’t have to be a headache. Since these models are built for reliability rather than fancy features, they’ll likely serve your space well for years. Before you head to the store, measure your bathroom’s rough-in distance carefully so you don’t run into any frustrating installation surprises.






