
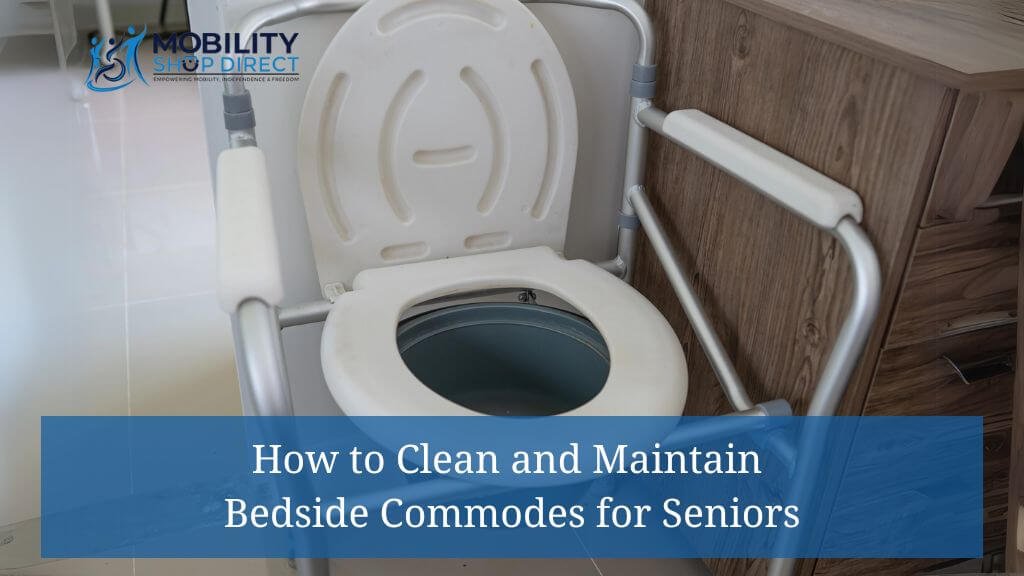
To clean and maintain a raised toilet seat for elderly safety, you need twenty minutes of basic work, mild dish soap, and a regular bolt check to keep the seat firm and sanitary. The job costs only pennies in household detergent, fits an easy skill level, and needs one dry microfiber cloth before you touch anything. For exact weight ratings, check the user manual or the underside stamp on the plastic body.
Table of Contents
Supplies for cleaning your raised toilet seat
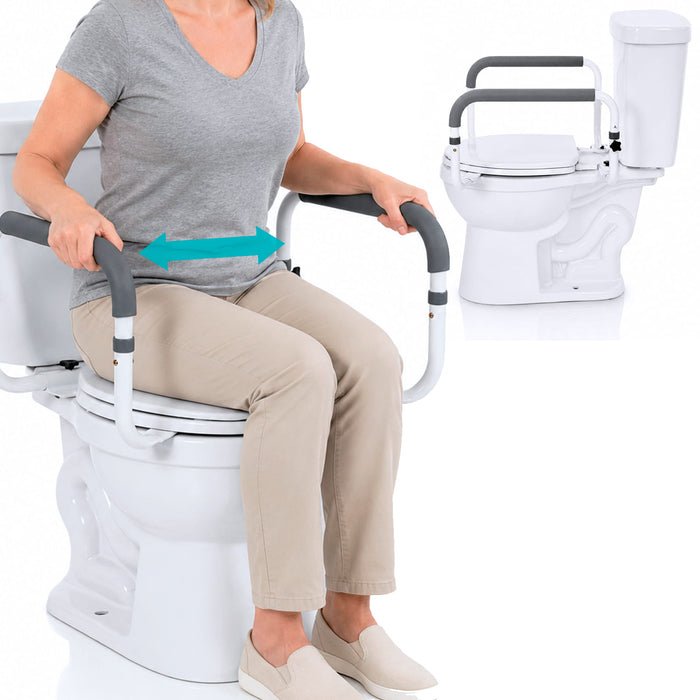
| Item | How much | Why it’s needed | A substitute |
|---|---|---|---|
| Mild liquid dish soap | 1 tablespoon | Breaks down grime without weakening plastic | Baby shampoo |
| Warm tap water | 1 gallon bucket | Dilutes soap to safe strength | none — don’t swap this |
| Soft microfiber cloths | 3 separate towels | Washing, wiping clean, and full drying | Cotton washcloths |
| Non-abrasive sponge | 1 standard pad | Lifts stuck dirt from grooves | Soft nylon mesh |
| Screwdriver or hex wrench | 1 matching tool | Tightens hardware to stop wobbling | none — don’t swap this |
| Nitrile cleaning gloves | 1 fresh pair | Protects hands from bathroom bacteria | Standard rubber gloves |
Before you start
- Put on clean rubber gloves and ventilate the bathroom by opening a window or running the exhaust fan.
- Clear away floor bath mats around the toilet base so you don’t trip while working.
- Tell the user not to enter the room until the entire job is done and dry.
- Skipping the total wipe-down of the porcelain bowl before reattaching the riser is the mistake people actually make, and it costs them a solid grip when the riser clamps slip against oily residue.
- Stop immediately if you see deep cracks in the plastic frame or bent metal brackets; replace the unit entirely because cracked supports can’t hold body weight safely.
Step by step
- Loosen the front locking knob or rear bowl bolts until the clamps release their grip. The riser lifts cleanly off the porcelain without dragging or scratching.
- Place the detached seat flat inside an empty bathtub or shower stall to contain all dirty runoff water. The seat rests firmly on the tub floor without tipping over.
- Mix 1 tablespoon of mild dish soap into 1 gallon of warm water in your bucket until suds form. The water turns lightly foamy and feels slippery between your fingers.
- Dip your soft sponge into the bucket and wash every plastic surface thoroughly. The soapy layer covers the top, the splash rim, and the bottom ribs thoroughly.
- Scrub around metal brackets, armrest joints, and screw channels using firm pressure. A visual check shows no yellow buildup or stubborn debris in the plastic crevices.
- Rinse all surfaces thoroughly with 1 gallon of clear, clean water poured slowly from a pitcher. The water runs completely clear off the plastic with zero leftover soap bubbles.
- Disinfect the seat to kill harmful pathogens; the CDC disinfection guidelines specify leaving approved disinfectants wet on surfaces for their required contact time to ensure proper sanitation. Wipe the plastic dry after that exact dwell time passes.
- Dry the entire seat with a clean microfiber cloth. A dry paper towel pressed against the underside returns with zero damp spots.
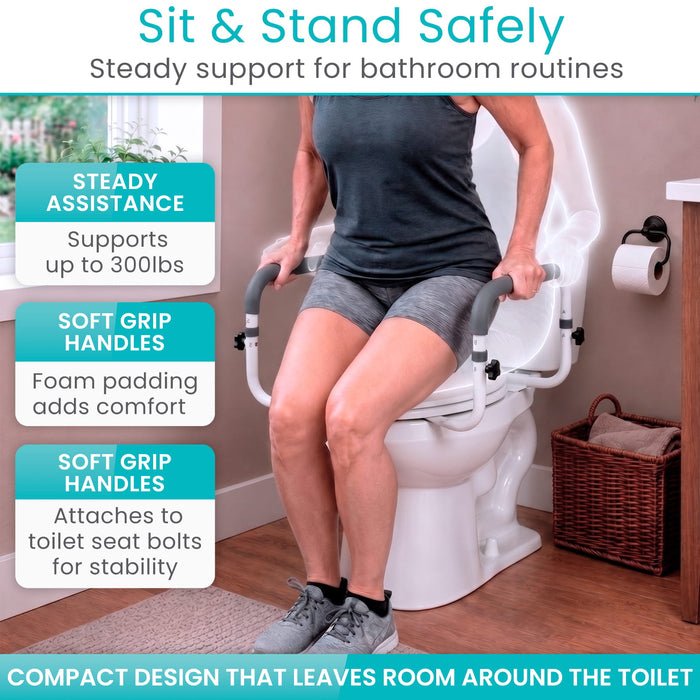
- Set the seat back onto the dry porcelain rim and tighten the bolts by turning them clockwise until snug. The clamp brackets press flat against the toilet bowl without bending the plastic ears.
How to know it worked
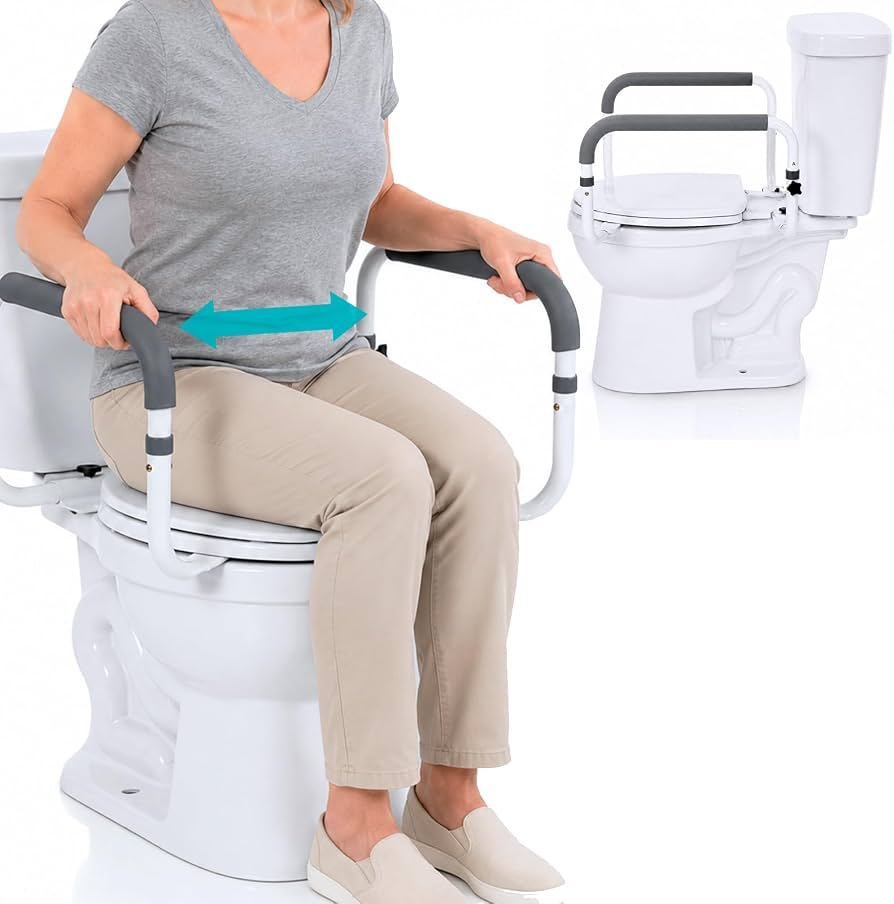
A successful job leaves the plastic bright, dry, and completely immobile. Push the front edge of the seat side to side with both hands using moderate force; it shouldn’t shift or creak against the porcelain rim. Look closely at the bracket channels under good lighting. You’ll see clean white plastic without dark rings of dirt around the washer plates. If the seat twists sideways by even a fraction of an inch, or if a wiped paper towel picks up moisture from the underside lip, the job isn’t finished. Loosen the hardware, dry the contact points again, and tighten the mount securely.
If something goes wrong
| What happened | Why | What to do |
|---|---|---|
| Seat slides sideways | Clamps are loose or wet | Dry the rim and retighten clamps |
| Plastic shows gray haze | Harsh cleaners damaged surface | Replace the seat immediately |
| Armrest rattles during use | Bracket bolts backed out | Tighten hardware with the hex wrench |
| Bracket won’t thread straight | Threads are cross-threaded | Back bolt out and restart straight |
| Bottom rim retains odors | Trapped moisture inside hollow base | Disassemble, air dry, and reseal |
How often to do this
Clean and inspect the raised seat regularly for a standard home setup. Two things change this frequency quickly: daily user incontinence and the total number of people sharing the same bathroom. If a user experiences frequent accidents, clean the seat immediately after each event to prevent skin infections. If multiple family members use the same toilet, complete this routine more often. You face a clear trade-off here: disassembling the seat frequently guarantees total sanitation, but excessive wrenching can slowly wear out plastic threads over time. This routine isn’t for wall-hung bariatric frames with permanent wall plumbing mounts.
Frequently asked questions
Can you use bleach on a raised toilet seat?
No, because chlorine bleach weakens molded polyethylene plastic and causes it to become brittle over time. Brittle plastic can crack under normal body weight, creating a fall risk. Stick to warm water and standard dish soap instead.
Why is my raised toilet seat wobbling?
Your seat is wobbling because the mounting brackets have loosened or the toilet rim has slick soap residue underneath. Remove the seat, clean the porcelain dry, re-center the riser, and tighten the mounting hardware until the base no longer shifts.
How long does a raised toilet seat last?
About two to three years under normal daily use, but this varies by model — check the label on your specific unit. Discard and replace the seat immediately if you discover fine surface cracks, stress lines, or warped brackets.
Is it safe to clean the seat without removing it?
Yes, for quick daily wipe-downs, but remove it periodically for safety checks. Surface wiping misses the underside lip where bacteria collect. Unbolting also lets you inspect the metal clamps for hidden rust or structural weakness.
What happens if I overtighten the plastic bolts?
You’ll strip the soft plastic threads or snap the mounting tabs clean off the frame. Turn the screws until they make firm contact against the bowl, then add a single half-turn to lock them securely in place.
Does boiling water sanitize the plastic frame?
No, boiling water warps the molded structure and ruins the exact alignment needed to grip the porcelain bowl. Extreme heat also weakens internal stress points. Use warm water mixed with mild soap to clean the material safely.
Final Thoughts
Keeping this equipment in top shape doesn’t just protect your loved ones; it also provides lasting peace of mind. Once you’ve finished, set a recurring reminder on your phone to inspect the hardware every few months. You’ll find that a little consistent care makes the bathroom a much safer place to be.
Related guides






