 Ear cleaning is an essential part of personal hygiene, but it’s important to do it safely to avoid causing any damage to your ears. Many people rely on cotton swabs or other methods that can actually push earwax deeper into the ear canal or even damage the eardrum. Cleaning your ears in the shower can be an effective and safe way to maintain ear health. In this article, we’ll provide a detailed, step-by-step guide on how to clean your ears safely while showering, along with important tips for ear care.
Table of Contents
What You Should Know Before Cleaning Your Ears
Before jumping into the cleaning process, it’s important to understand a few things about your ears:
The Anatomy of Your Ear
Your ear is divided into three sections:
-
Outer Ear: The part we see, including the ear canal, which is the tube that leads to the eardrum.
-
Middle Ear: The area behind the eardrum, which includes the tiny bones that transmit sound.
-
Inner Ear: Where sound signals are converted into electrical impulses sent to the brain.
When you clean your ears, it’s essential to focus only on the outer ear, as cleaning the middle or inner ear can lead to complications.
The Purpose of Earwax
Earwax, also known as cerumen, is a natural substance produced by glands in the ear canal. Its role is to protect the ear by trapping dirt, dust, and other debris, and it also helps lubricate the ear canal. While earwax buildup can be a problem for some people, it’s generally self-cleaning. As you chew and move your jaw, earwax naturally makes its way out of the ear canal.
However, issues arise when earwax accumulates excessively, hardens, or gets pushed deep into the ear canal, leading to blockages or discomfort. This is when gentle cleaning methods, like those in the shower, become necessary.
Risks of Improper Ear Cleaning
Using cotton swabs or other objects to clean inside the ear canal can cause serious damage. These include:
-
Pushing earwax deeper: This can create blockages or lead to infection.
-
Injury to the eardrum: Inserting objects too far can perforate the eardrum, causing pain and hearing loss.
-
Ear infections: Scratching the ear canal with foreign objects can lead to infections.
To avoid these risks, it’s important to follow safe cleaning methods.
Step-by-Step Guide to Cleaning Your Ears in the Shower
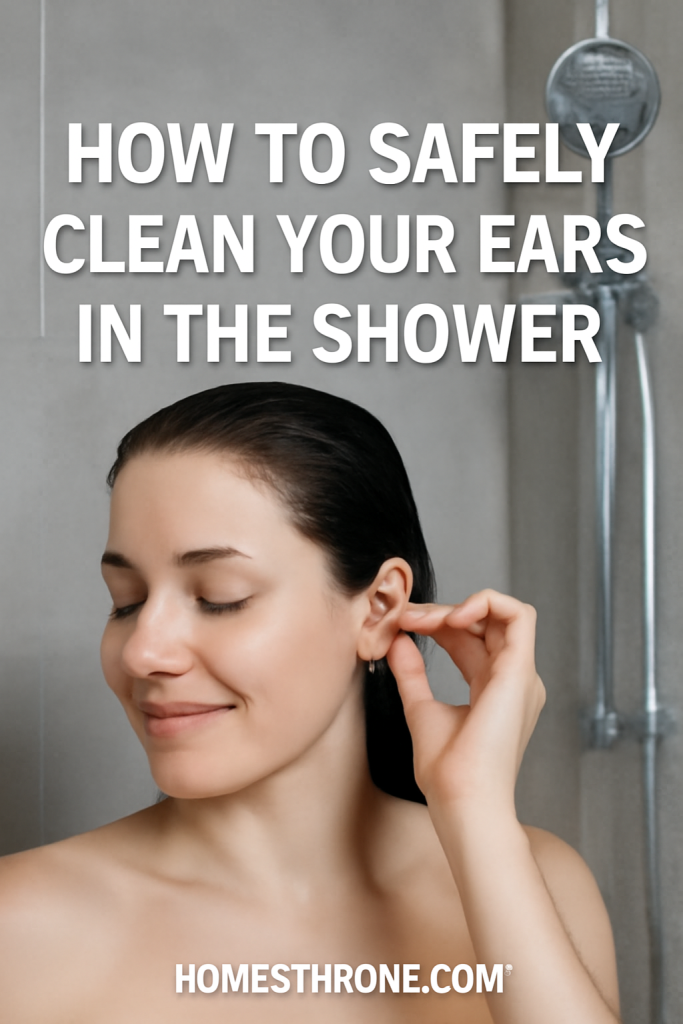
Cleaning your ears in the shower is a simple and safe process, as the warm water helps soften earwax and wash away surface debris. Here’s how to do it correctly:
1. Prepare for the Shower
Before you get started, make sure the shower temperature is warm—not too hot—so you don’t risk discomfort or potential damage to the ear. The warm water will help loosen the earwax and make it easier to clean. It’s also a good idea to gather any tools you may need, such as a soft cloth or ear drops if you plan to use them.
2. Use a Soft Cloth or Towel
Once you’re in the shower, avoid inserting anything into your ear canal. Instead, gently clean the outer ear using a soft cloth or towel. Here’s how:
-
Gently wipe the outer ear: Use a clean, soft cloth or towel to wipe around the outer ear and the opening of the ear canal. Do not push the cloth into the ear canal, as this can lead to injury.
-
Clean the area behind the ear: Make sure to clean behind the ear as well to remove any accumulated dirt or oil.
This step will help remove any excess wax that has reached the outer part of your ear without causing harm.
3. Let Warm Water Flow Into the Ear
After gently wiping the outer ear, allow warm water from the shower to flow into your ear. This will help soften any wax buildup inside the ear canal, making it easier to remove. Here’s what you should do:
-
Tilt your head to the side: Turn your head so that one ear is facing the water stream.
-
Let the water run into your ear: Allow the warm water to flow gently into the ear canal for a few seconds. Don’t force the water into your ear, as this can cause discomfort or injury.
-
Let it drain out naturally: Tilt your head the other way to allow the water to drain out, taking any softened wax or debris with it.
4. Optional: Use Ear Drops
If you have a lot of earwax buildup or you’re prone to blockages, you may want to use over-the-counter ear drops. These drops help soften the earwax before you shower, making the cleaning process more effective. Here’s how to use them:
-
Apply the ear drops: Follow the instructions on the package for the correct amount of ear drops. Typically, you’ll tilt your head to one side, apply the drops, and wait for a few minutes.
-
Let them work while you shower: The ear drops will soften the wax, making it easier to remove with the warm water during your shower.
-
Rinse your ear afterward: After the drops have had time to soften the wax, rinse your ear gently with warm water as described in the previous step.
5. Dry Your Ears Properly
After your shower, it’s important to dry your ears properly to avoid any moisture buildup, which can lead to infections. Here’s how:
-
Use a clean, soft towel: Gently pat the outer part of your ear with a towel to absorb excess moisture.
-
Avoid inserting anything into the ear canal: Never use a cotton swab or any other object inside the ear to dry it. This can cause injury or push wax further into the ear.
Tips for Safe Ear Cleaning in the Shower
-
Don’t use cotton swabs: Cotton swabs are one of the biggest culprits in pushing wax deeper into the ear canal. Avoid using them to clean inside your ears.
-
Check for excessive buildup: If you notice that earwax is consistently blocking your ear canal or causing discomfort, it may be time to consult a healthcare professional.
-
Be gentle with water pressure: Avoid using a high-pressure showerhead directly on your ears. This could cause discomfort or even damage.
-
Avoid hot water: Always use warm water for ear cleaning. Hot water can irritate the skin inside your ears.
When to Seek Professional Help
If you experience any of the following symptoms, it’s important to seek professional help rather than attempting to clean your ears yourself:
-
Pain or discomfort in the ear: This could indicate an infection or injury.
-
Excessive earwax buildup that doesn’t go away with gentle cleaning.
-
Hearing loss or muffled hearing due to wax buildup.
-
Fluid drainage: If you notice any fluid draining from your ears, it could be a sign of an ear infection.
A doctor or audiologist can safely remove excess wax and check for other issues.
Conclusion
Cleaning your ears in the shower can be a safe and effective way to maintain good ear hygiene, but it’s important to follow the proper steps to avoid damage. By gently wiping the outer ear, letting warm water flow into the ear canal, and avoiding inserting anything into your ears, you can keep your ears clean without risk. Remember, your ears are self-cleaning, and regular gentle cleaning is all that’s needed unless you’re experiencing excessive wax buildup. If in doubt, always consult a healthcare professional for advice on ear care.


