
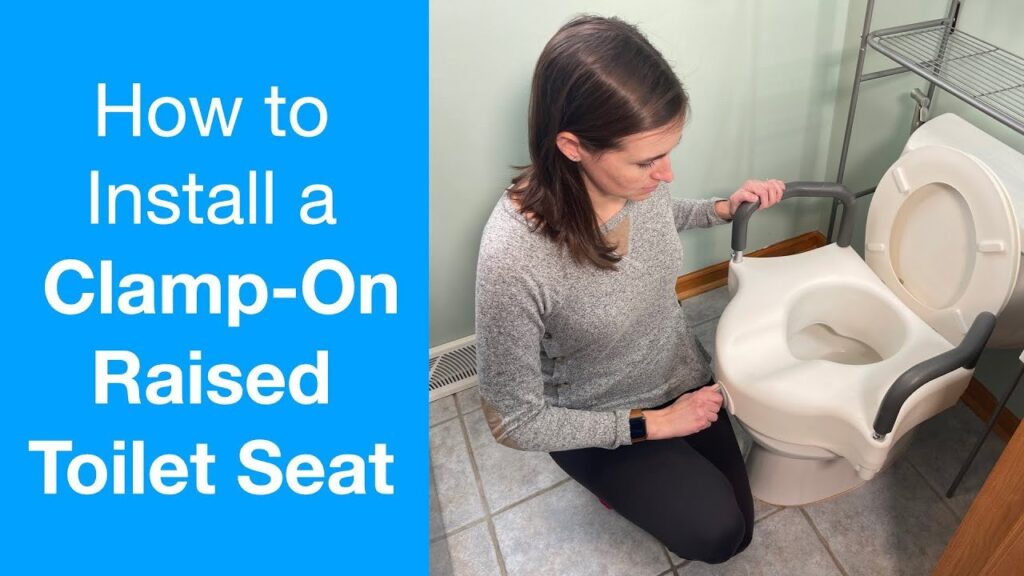
Installing a toilet seat riser with handles takes about 15 to 20 minutes using a basic screwdriver and the riser’s included hardware. You bolt the bracket between the porcelain bowl and your regular seat, or clamp the riser directly onto the rim. This project suits anyone recovering from hip surgery or living with stiff knees.
Table of Contents
Tools for installing your toilet seat riser
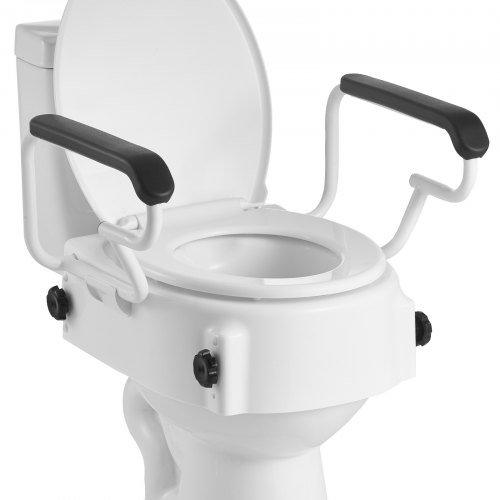
- A toilet seat riser with side handles matching your bowl shape (round or elongated)
- Two long metal bolts, plastic washers, and wing nuts (these come inside the riser box)
- A standard flathead screwdriver (a wide 5/16-inch tip works best to avoid stripping plastic screw heads)
- An adjustable wrench or slip-joint pliers (needed only if old nuts are metal and corroded)
- Disinfectant bathroom spray and paper towels
- A pair of disposable rubber gloves
A socket wrench works well if space under the bowl is tight, but using a power drill to tighten bolts can easily crack the porcelain. If your toilet bowl is cracked or the floor bolts are loose, contact a licensed plumber before you mount any medical support hardware.
Step-by-step
- Measure your bowl from the two bolt holes to the front edge; a round bowl measures about 16.5 inches, while an elongated bowl measures about 18.5 inches.
- Put on gloves and spray the entire porcelain surface, then wipe it clean so the bracket sits on dry, bare china.
- Pop open the plastic hinge caps on your existing toilet seat with a flathead screwdriver to expose the bolt heads.
- Unscrew the nuts underneath the back of the bowl by hand or with your wrench, then lift off the existing seat and lid.
- Set the riser base plate flat over the two empty mounting holes on the porcelain rim.
- Place your original toilet seat directly on top of the riser plate if your model uses a hinged bracket design. * Tip: If your model is a boltless clamp type, leave the original seat raised, slide the unit into the rim, and turn the front adjustment knob clockwise until tight.
- Push the extra-long replacement bolts through the seat hinges, through the riser plate, and down into the bowl holes.
- Thread the plastic washers and nuts from underneath, then turn them clockwise until snug. * Careful: Tighten each side evenly with your screwdriver, but stop once firm; overtightening metal bolts against ceramic will shatter the toilet bowl.
- Click the two padded side handles into their lateral receiver tubes until the brass push-pins pop fully out of the adjustment holes.
Adjusting for different toilet setups
The setup work changes depending on how your bathroom is built.
If your space is tight, choose a narrower riser first rather than forcing a wide model against the wall.
How to tell you did it right
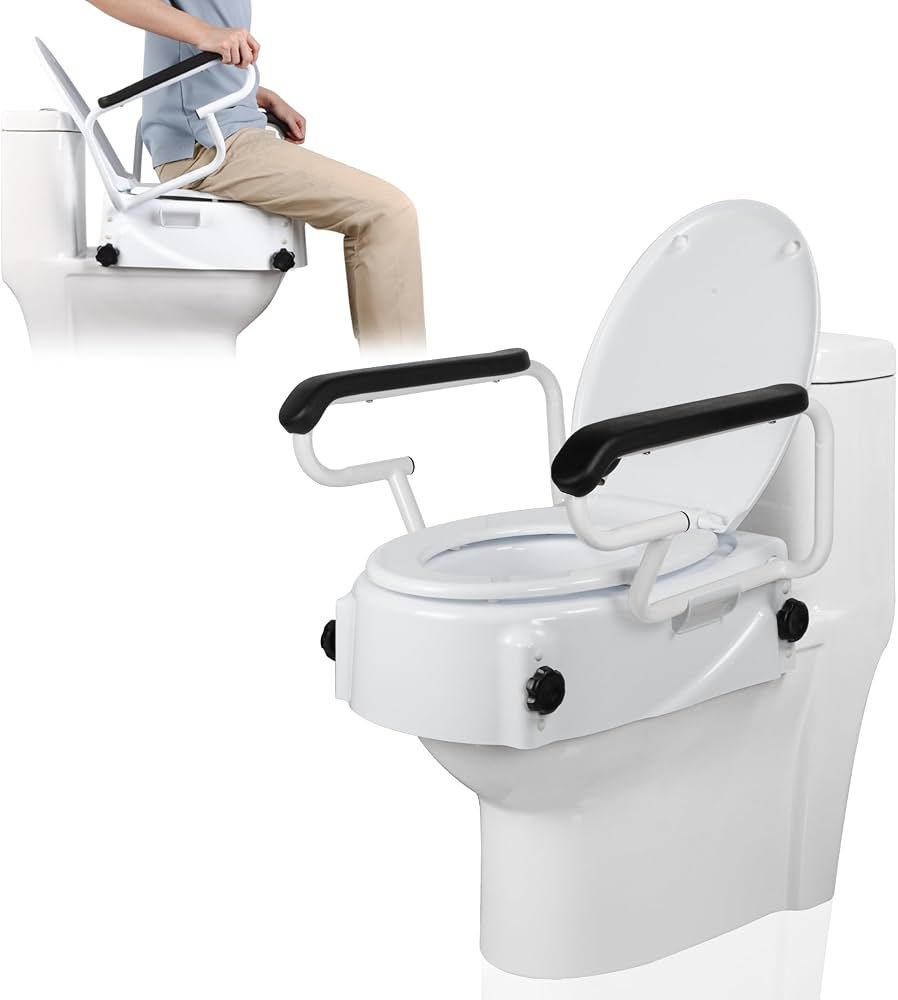
A correct installation sits completely flat without shifting when you push down on either side. Grab both armrests and push side-to-side with moderate force. The riser shouldn’t slide, tip, or squeak against the china. A poor installation wobbles or leaves a gap under the base. This sideways wobble happens because the bottom nuts worked loose during the first few seatings. You can stop this issue by checking the bolts after 24 hours of use and adding rubber friction washers between the riser plate and the porcelain rim. If the unit still shifts, verify that your model matches the bowl shape.
Bathroom safety rules and cleanup
The Americans with Disabilities Act standards for accessible design require a finished toilet seat height between 17 and 19 inches from the floor to support safe transfers. Store your original factory seat bolts in a labeled plastic bag inside your bathroom vanity so you don’t lose them. Wipe the handles down daily with mild soap and warm water; harsh bleach cleaners can make the plastic brittle over time. A riser unit lasts through years of regular use, but you should check bolt tightness regularly. If the user weighs more than 300 pounds, inspect the product label’s static load limit before letting anyone sit.
Other bathroom support options
Free-standing toilet safety frame
This system uses legs that rest on your floor and surround the toilet. You keep your original seat height, but the frame gives you two steady arms for pushing up without clamping onto the porcelain.
Clamp-on raised toilet seat
This model has no long bolts and clips straight to the inner rim using a front screw dial. It sets up in two minutes and packs into a travel bag easily, though it lacks attached metal armrests.
Tall ADA-compliant toilet replacement
You replace the entire porcelain fixture with an ADA-height bowl. This trade-off costs more money and needs a plumber, but it removes extra brackets and cleans just like a standard fixture.
Frequently asked questions

Can you install a riser on an elongated toilet?
Yes, as long as you buy an elongated riser model. A round riser on an elongated toilet leaves exposed porcelain at the front rim, which reduces seat support and causes the bracket to shift during use.
Who is this equipment not suitable for?
This equipment isn’t suitable for users who require slide-board transfers from a wheelchair. The fixed armrests block sideways entry, so these users need swing-away arms or wall-mounted drop-down grab bars instead.
Why does my toilet seat riser keep sliding?
Your toilet seat riser slides because the mounting bolts are loose or grease is coating the porcelain rim. Clean the bowl deck with rubbing alcohol and install rubber washers underneath the mounting plate to stop movement.
Do you have to remove the original toilet seat?
No, it depends on your riser style. Bracket-style risers sit directly underneath your existing seat and lid, while one-piece molded risers require you to remove the factory seat entirely before clamping the unit to the bare rim.
What happens if you overtighten the mounting bolts?
Cracking the toilet porcelain is the main risk if you overtighten the mounting bolts. Vitreous china can’t flex under pressure, so excess force breaks the bolt holes and causes water leaks that ruin the bathroom floor.
Final Thoughts
Once everything is secure, give the handles a firm shake to make sure they don’t wiggle. You’ll feel much more confident during your daily routine now. If you’re still worried about stability, consider adding a grab bar nearby for extra support. It’s a smart way to keep your bathroom safe and comfortable.






