
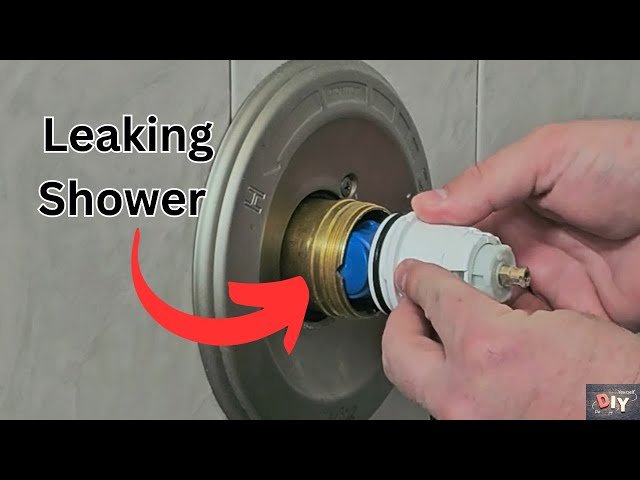
Replacing a shower cartridge resolves annoying leaks, restores hot water mixing, and takes roughly 45 to 60 minutes for a standard single-handle valve. The job costs only the price of the replacement part, rating as a medium-difficulty task that needs care around brass fittings. You must have the water main shut off completely before pulling the old stem free.
Table of Contents
Tools to replace your shower cartridge

| Item | How much | Why it’s needed | A substitute |
|---|---|---|---|
| Replacement cartridge | 1 matching unit | Restores water flow and seal | none — don’t swap this |
| Hex key set | 1 set | Loosens handle set screw | Small flathead screwdriver |
| Phillips screwdriver | 1 tool | Removes faceplate screws | none — don’t swap this |
| Needle-nose pliers | 1 pair | Pulls cartridge retaining clip | Channel lock pliers |
| Plumber’s silicone grease | 1 small tube | Lubricates rubber O-rings | none — don’t swap this |
| Cartridge puller tool | 1 tool | Extracts stuck brass stems | Locking pliers with care |
Before you start
- Shut off the main water valve to the house, or close the local isolation shutoffs behind the shower wall.
- Open the shower handle to bleed residual water pressure after the water supply is shut off.
- Lay an old towel flat across the shower floor to cover the drain opening completely. Dropping a small screw down the open drain pipe forces you to take apart the P-trap below, costing extra hours and plumbing fees.
- Stop immediately if you find heavily corroded copper pipe joints behind the wall plate, and contact a licensed plumber before applying heavy force.
Step by step
- Pry off the decorative handle cap using a thin flathead screwdriver to expose the hidden mounting screw inside. The cap pops loose with light pressure, leaving the screw head visible.
- Loosen the set screw inside the handle using a hex key or screwdriver by turning counterclockwise 3 to 4 turns. Pull the handle straight out off the cartridge stem.
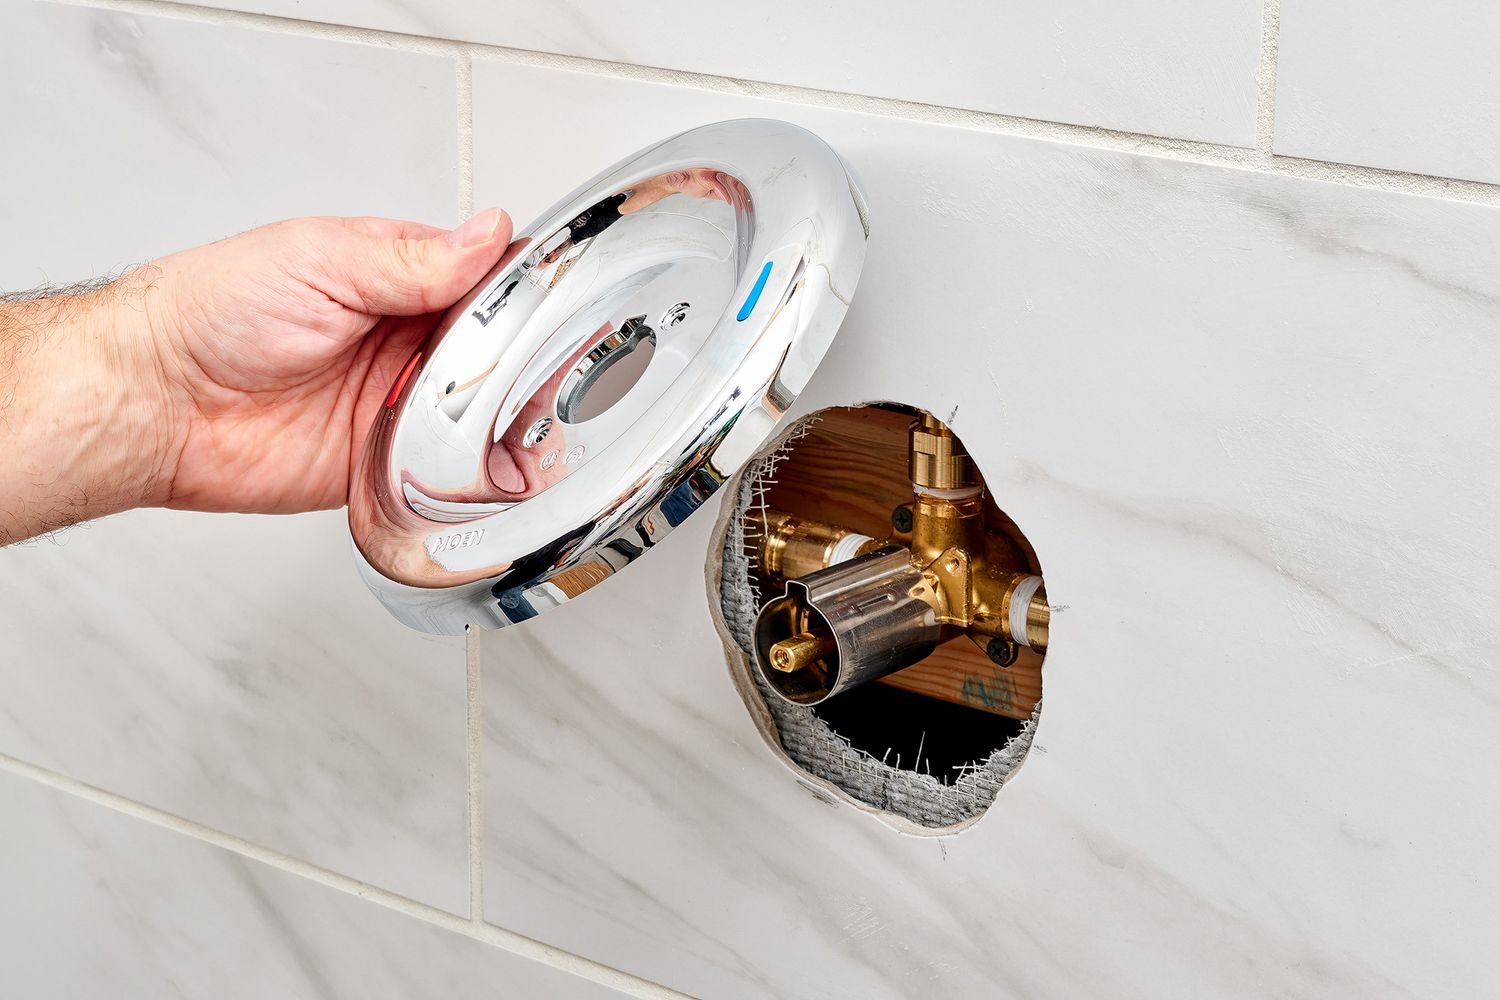
- Unscrew the two faceplate screws with a Phillips screwdriver, turning counterclockwise until free. Pull the metal trim plate away from the wall without tearing the perimeter silicone seal.
- Slide off the metal stop tube sleeve covering the valve body by pulling it straight forward by hand. The brass valve body and the cartridge retaining clip are now exposed.
- Pull the U-shaped brass retaining clip straight up using needle-nose pliers, working slowly to avoid bending the metal. Set the clip aside on a clean cloth once it clears the valve slot.
- Grip the stem of the old cartridge with pliers or an official cartridge puller tool. Pull straight out firmly along the valve axis until the entire plastic or brass assembly slides out of the wall.
- Wipe the inside of the brass valve housing with a clean microfiber rag to clear out old mineral grit and loose debris. The housing walls must feel smooth when checked with an index finger.
- Coat the rubber O-rings of the new replacement unit with a thin layer of plumber’s silicone grease. Align the raised plastic tabs on the sides with the matching notches inside the brass housing.
- Push the new cartridge into the valve housing firmly until it seats flush against the internal metal stops. The retaining clip slot on top must sit completely clear and unobstructed.
- Slide the brass retaining clip straight down into the valve body slot until it clicks securely into place. The cartridge won’t slide outward once the clip sits fully engaged.
How to know it worked
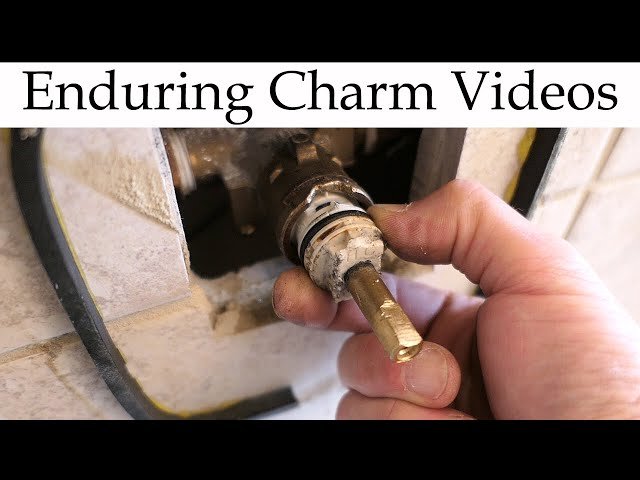
Turn on your water supply slowly to inspect the finished seal. An immediate sign of success is zero dripping from around the cartridge stem while the valve remains closed. Turn the shower handle to the hot position: warm water should flow within 15 seconds without cross-leaking into the cold feed.
If water continues to drip from the tub spout or handle neck after tightening everything, shut the water off again. Check the cartridge depth; an incompletely seated cartridge prevents the internal rubber seals from mating properly against the water ports. You can find guidance on household fixture leaks directly through the EPA WaterSense fix a leak program page.
If something goes wrong
| What happened | Why | What to do |
|---|---|---|
| Hot and cold reversed | Cartridge installed upside down | Turn stem 180 degrees |
| Spout still drips | Inner valve body scratched | Polish housing with cloth |
| Stem won’t budge | Mineral scale seized brass | Use designated puller tool |
| Retaining clip jams | Cartridge not fully seated | Push cartridge deeper inside |
| Low water volume | Loose debris blocks ports | Flush out valve housing |
How often to do this
A shower cartridge typically lasts for several years before the rubber seals crack or plastic ports warp. This lifespan varies widely by model and depends heavily on two specific water conditions in your area. High mineral levels from hard water accelerate calcium buildup, seizing internal sliders within a few years. Secondly, excessive household water pressure above 80 pounds per square inch causes early friction tears along the rubber O-rings. If you don’t know your home’s water pressure, attach a simple pressure gauge to an outdoor hose bib to read the static pressure.
Frequently asked questions
Can I replace just the O-rings instead?
Yes, if the plastic stem body isn’t cracked or warped from age. New rubber seals solve basic leaks, but buying a complete replacement unit saves substantial time. Finding the exact matching thickness for older O-rings is difficult, and worn plastic internals often leak again within a few months anyway.
Why won’t the old cartridge come out?
Hard water minerals form rigid scale that cements the cartridge walls to the outer valve body. Don’t yank sideways, or you’ll snap the brass plumbing joints inside the wall. Spray white vinegar or penetrating oil into the housing, wait 15 minutes, and use an exact-fit cartridge puller tool.
What happens if I forget the clip?
The cartridge will blow out of the wall valve instantly when you turn on the main water. Household water pressure pushes the plastic body forward like a piston, spraying heavy water directly behind the drywall. Always verify the retaining clip sits deep inside both side slots before opening valves.
Is it safe to use WD-40 on the valve?
No, petroleum chemicals damage synthetic rubber and degrade internal seals rapidly. Standard spray lubricants dry out and wash away into your shower stream, contaminating the water. Use only pure, waterproof silicone plumber’s grease specifically formulated for drinking water systems on all internal valve components and rubber gaskets.
How long does the swap take?
About 45 minutes for a standard replacement when the old part pulls out cleanly. If heavy limescale glues the valve shut, extra cleaning and careful extraction stretch the job to 90 minutes. Taking your old cartridge to the hardware store to find an exact match adds extra travel time.
Does it matter which way the cartridge faces?
Yes, installing it upside down reverses the hot and cold water supplies at the shower trim. Most brands stamp “HOT” or mold a small notch on the top edge of the cartridge face. If your shower delivers freezing water on the hot setting, the cartridge must be removed and reinstalled in the correct orientation.
Final Thoughts
Once the handle is back in place, turn your water supply on slowly to check for any hidden drips. If everything stays dry, you’re all set to enjoy a perfect, steady stream again. It’s a great feeling to fix a nagging issue yourself, so keep an eye on the seal for a few days.
Related guides
- How to Remove Soap Scum From Shower Walls With Vinegar
- Clean Shower Curtain Mold With Vinegar: A Simple Guide
- Bath Fitter Shower Prices: Cost and Value Comparison Guide






