
Using a complete shower pan installation kit your ultimate guide to easy setup requires leveling your subfloor, setting a 1-inch to 2-inch mortar base, and connecting a solvent-weld drain assembly within 3 to 5 hours. A complete kit packages the pre-sloped receptor tray, matched drain assembly, waterproofing gaskets, and flashing materials into one system. This walkthrough details the exact mortar mixing ratios, curing wait times, and drain alignment checks needed to build a leak-free shower base on your first try.
Table of Contents
Your ultimate guide to shower installation kits
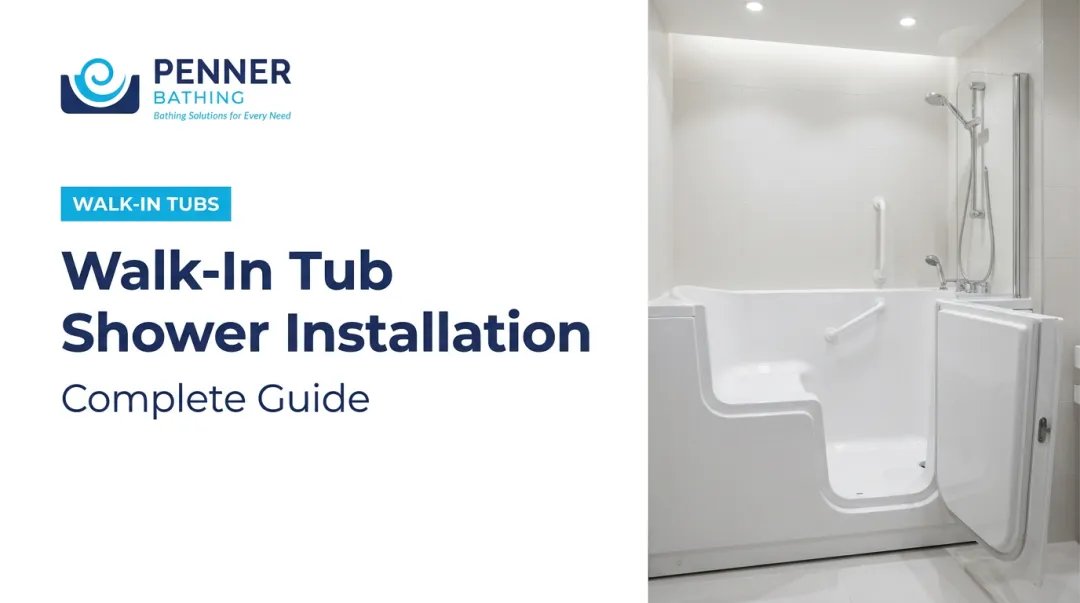
A prefabricated receptor bundle supplies a pre-sloped base, an integrated drain flange, and matching curb seals designed to stop bathroom water damage. Homeowners use these systems during bathroom remodels to bypass the complex masonry work of hand-shaping sloped mud beds.
A frequent mistake involves assuming a factory-made base is rigid enough to sit flat directly on bare subfloor plywood. It isn’t. Acrylic, fiberglass, and composite trays flex under normal body weight unless supported from underneath. To bridge the tiny gaps between the subfloor and the ribs beneath the pan, structural mortar fills the void. Water stays above the waterproof pan surface and flows smoothly toward the pre-set drain throat without pooling.
The basic method
- Clear the subfloor down to bare wood or concrete, sweep away all debris, and cut a hole through the floor sized according to the specific drain assembly manufacturer’s instructions.
- Dry-fit the base tray completely over the drain stub without mortar to verify that your edges sit flush, plumb, and level against the bare wall framing studs.
- Remove the base, apply a silicone-safe plumber’s sealant under the upper drain flange, and bolt the kit’s drain assembly directly into the shower pan using the supplied friction gaskets.
- Mix one 50-pound bag of sand-mix or structural mortar with the amount of water specified by the manufacturer to achieve a stiff, ‘dry-pack’ consistency.
- Spread the mixed mortar across the subfloor to create a uniform bed, leaving a clear area around the drain assembly.
- Press the shower pan down firmly into the wet mortar bed, using your hands to step or rock it until the bottom ribs make solid contact with the subfloor.
- Set a 4-foot level across both the length and width of the pan rim, adjust until perfectly horizontal, and allow the mortar bed to cure undisturbed for 24 hours.
Your primary judgement call comes down to checking level at the pan rim versus the pan floor: always level the outer top rim, never the floor, because the floor has an intentional slope built into it. If your rough plumbing lines require moving structural floor joists or venting re-routes, stop immediately and hire a licensed plumber to prevent structural collapses or local plumbing code violations.
Key numbers and settings at a glance
Every home features different floor framing, which directly dictates how you mix your base and attach the plumbing connections.
| Situation | What to use | How long | What to watch for |
|---|---|---|---|
| Wood subfloor framing | Sand-mix mortar over roofing felt | 24 hours curing | Squeaking sounds or subfloor wood rot |
| Concrete slab foundation | Type S mortar bed over clean slab | 24 to 48 hours curing | Rapid moisture loss drying out the mortar |
| Acrylic shower base | Mortar bed plus 100% silicone sealant | 24 hours curing | Over-tightening drain screws cracking the plastic |
| Composite stone receptor | Factory-matched adhesive or dry mortar | 12 to 24 hours curing | Brittle corners snapping during dry-fit tests |
| 2-inch PVC waste line | PVC primer and heavy-duty solvent cement | 15 minutes setting | Trapped pipe fumes; improper drain riser height |
What separates good results from bad ones
Dry testing and substrate stability
Experienced installers always test the installation twice before touching a single drop of mortar or glue. Lay a 4-foot level on your bare subfloor first; if your subfloor slopes more than 1/4 inch across a 4-foot span, use self-leveling underlayment before setting the pan. Skipping this prep work forces you to build dangerously thick mortar piles that slump and leave air pockets under your shower floor.
The sequence of mechanical connections
Securing parts out of order leads to stripped plastic threads and hidden leaks behind the drywall. If you glue the drain body to the PVC waste pipe before the pan sits level in the mortar, you risk locking the entire assembly into a crooked angle. The trade-off is clear: dry-fitting the plumbing takes an extra hour of slow, careful measuring, but rushing the glue stage risks tearing out the entire pan later when it fails to align.
Common problems and quick fixes
Catching mistakes before your mortar hardens prevents costly demolition work inside your bathroom.
| What you notice | What it usually means | What to do first |
|---|---|---|
| Pan flexes or squeaks underfoot | Empty voids inside the dried mortar bed | Inject expanding low-pressure foam or reset |
| Water collects in pan corners | Pan rim wasn’t installed level | Tap rim down while mortar is still wet |
| Water drips beneath the drain | Gasket shifted or threads crossed | Disassemble, replace gasket, and reseal |
| Base rocks against wall studs | Wall framing is bowed or out of square | Shim studs to create flat, square backing |
The rules that apply
Plumbing rules require strict compliance with the International Plumbing Code (IPC) to protect homes against sewage gases and structural rot. The IPC requires standard residential shower pans to have a finished interior area of at least 900 square inches and a minimum dimension of 30 inches.
The waste pipe outlet must measure at least 2 inches in diameter, and the drain receptor must connect via an approved mechanical compression joint or solvent weld. A frequent mistake people make is using standard 1.5-inch tub drain lines for a new shower setup; correcting this plumbing oversight after laying tile can easily cost thousands of dollars in emergency plumber repairs. If you must cut into floor joists to run this 2-inch pipe, an engineer or master plumber must evaluate the cut to keep your floor framing safe.
Keeping it working afterwards
Protect your installation right after the mortar cures by inspecting the perimeter joint where the shower flange meets the wall board. Check your silicone joints every 6 to 12 months for small tears, shrinkage, or mildew growth.
Avoid harsh cleaning pads, abrasive powders, or bleach mixtures that strip the protective finish off acrylic or gel-coat composite pans. If you notice any water dripping around your drain assembly, disassemble the connection to inspect the gasket and reseal according to manufacturer instructions. This varies by model — check the label on your drain fitting for torque limits to keep from cracking the plastic receptor sleeve.
When to use a different approach
This installation kit method isn’t for custom-tiled walk-in showers that require a barrier-free, zero-threshold entry for wheelchair access.
If your shower layout features non-standard angles, odd widths, or curved glass walls, an off-the-shelf kit won’t fit your space. For custom shapes, build a traditional site-poured mud bed over an approved chlorosulfonated polyethylene or PVC pan liner. If you’re updating an old cast-iron home where the original 1.5-inch plumbing can’t be upgraded to a 2-inch waste pipe, install a standard soaking tub instead of a shower base.
Frequently asked questions
Can you install a shower pan without a mortar bed?
No, you shouldn’t install a flexible base without mortar unless the manufacturer specifically designs it with a pre-molded structural foam base. Hollow pans without mortar flex beneath your feet, which eventually breaks the waterproof seal around the drain flange and causes leaks.
How long does shower pan mortar take to dry?
Standard sand-mix mortar requires 24 hours of curing time at room temperature before you can walk on the shower pan or run water. If your bathroom stays below 60 degrees Fahrenheit, keep foot traffic off the receptor base for 48 hours to prevent cracking the mortar.
What happens if the shower pan isn’t completely level?
Puddled water will stand permanently in the corners of your shower pan instead of rolling toward the central drain strainer. Over time, standing water stains your receptor floor, produces persistent black mold, and damages the joint sealant along your lower row of shower wall tiles.
Is plumber’s putty safe for acrylic shower pans?
Plumber’s putty isn’t safe for acrylic or plastic shower pans because the oils in the putty can degrade and discolor the plastic surface. Use 100% silicone sealant or the manufacturer’s provided rubber friction washers beneath the drain flange to create a watertight, chemical-safe seal.
Why does my new shower pan make a creaking sound?
Creaking sounds happen when the bottom ribs of the shower pan rub against empty pockets in an uneven or thin mortar bed. This friction indicates that your mortar didn’t spread evenly under the high-stress foot zones, leaving loose plastic rubbing against bare subfloor wood.
Final Thoughts
Once your base is secure and fully cured, you’re ready to move on to installing your wall backer boards. Take your time with the waterproofing membrane, as it’s the most important layer for preventing future leaks. You’ll be enjoying your new shower before you know it, so keep up the great work!
Related guides