
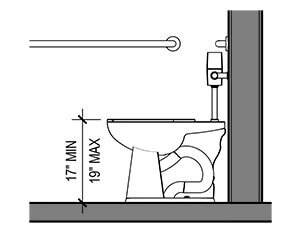
The height of a handicap toilet is between 17 and 19 inches from the finished floor to the top of the seat. Standard household models sit lower, usually between 14 and 15 inches. This higher range lets people sit down and stand up with much less knee strain.
Federal accessibility standards define this measurement clearly. The key factor is measuring all the way to the top of the toilet seat, not just the bare porcelain bowl. A thick or thin seat changes the total height by nearly an inch.
Failing to account for finished flooring causes major setup errors. If you install the bowl over bare subfloor and add thick floor tile later, your total seat height drops below the legal range.
Table of Contents
Setting the correct handicap toilet height

- Measure 12 inches out from the finished drywall to locate the center of the floor flange. This assumes standard 12-inch rough-in plumbing; if your wall uses an older 10-inch or 14-inch layout, you must buy a matching bowl.
- Press a new wax ring firmly onto the bottom outlet of the toilet bowl. Tip: If the floor flange sits lower than the tile, stack two rings or use an extra-thick wax seal to prevent leaks.
- Lower the bowl straight down over the two floor closet bolts. Apply firm, even body weight directly downward until the base rests flat against the finished floor surface.
- Tighten the brass nuts onto the closet bolts with an adjustable wrench using light hand pressure. If you over-tighten the nuts, the porcelain cracks immediately, which costs you the entire bowl.
- Bolt the tank to the bowl using the supplied rubber washers and brass bolts, tightening each side evenly until the rubber gasket compresses. If the water supply valve has stuck threads or corroded pipes, hire a licensed plumber to replace it safely.
- Attach the toilet seat and measure the vertical rise from the floor to the top of the lid cover ring.
How long it takes
Swapping out an existing fixture takes half an hour for simple setups, while rough plumbing changes take longer.
| Situation | How long | What changes it | What to watch for |
|---|---|---|---|
| Direct replacement on finished tile | 45 to 60 minutes | Bolt alignment and floor leveling | Warped subfloor rocking under bowl |
| Adding raised seat to existing bowl | 10 to 15 minutes | Bolt style and hinge mounts | Clamps slipping off porcelain lip |
| New bathroom rough-in | 2 to 4 hours | Pipe access and drain venting | Flange height relative to tile level |
If your project takes far longer than the table shows, stop and verify that the waste pipe beneath the floor is clear of blockages.
How to tell when it’s done
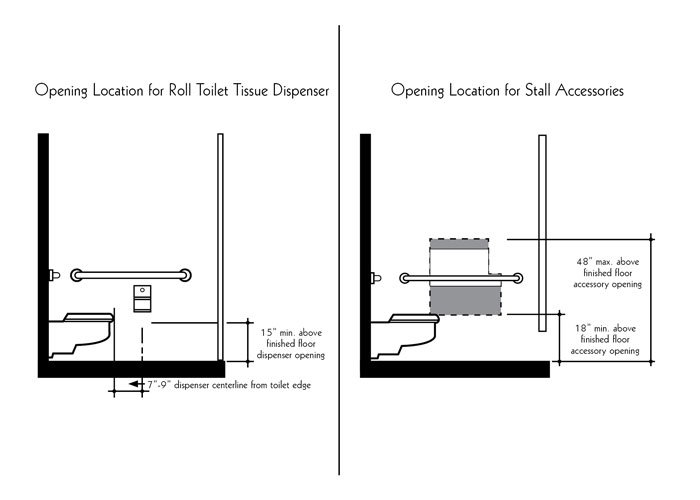
A finished installation leaves the seat flat, stable, and between 17 and 19 inches high. To confirm this, place a level across the closed seat, hook a tape measure to the floor, and read the height at the front edge. Federal rules under the ADA Standards for Accessible Design enforce this exact 17-to-19-inch seat range for public restrooms. If the measurement reads 16.5 inches, it fails inspection. A higher seat offers easier transfers for adults, but the trade-off is that smaller family members might find their feet dangling off the ground.
Mistakes that ruin it
- Measuring the bare porcelain rim: The seat adds up to an inch, which pushes an unmeasured tall bowl above the 19-inch ceiling. Always take final readings with the seat bolted down.
- Ignoring the thickness of new floor tiles: Laying fresh ceramic tile after setting the flange drops the toilet’s relative height. Set the flange flush with or on top of the finished surface instead.
- Over-tightening the floor mounting bolts: Excess torque snaps the brittle ceramic base and ruins the fixture completely. Turn the nuts until snug, then stop.
- Choosing tall toilets for young children: This design isn’t for toddlers or people under five feet tall, as high seats cut off leg circulation. Use standard 15-inch models with separate support rails in homes with small children.
Frequently asked questions
Can you make a regular toilet handicap height without replacing it?
Yes, you can add an elevated toilet seat or install a raised base underneath the fixture. Seat risers add 2 to 4 inches of height instantly and bolt directly into standard hinge holes. This avoids removing the bowl or touching the existing wax seal.
Why are handicap toilets higher than regular ones?
Handicap toilets sit higher to decrease the bend angle at the user’s hips and knees. This reduced angle requires less lower-body muscle strength when rising to a standing position. It also matches standard wheelchair heights, making side transfers safer and more level.
Is comfort height the same as handicap height?
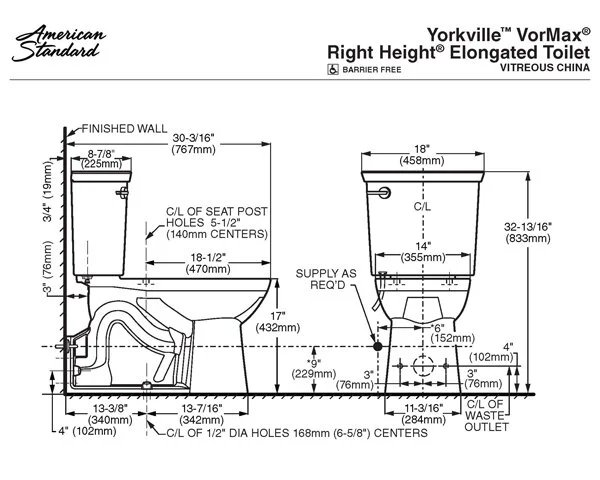
Yes, comfort height fixtures match handicap height specifications. Manufacturers use terms like comfort height, chair height, or right height for residential sales. These residential models measure 17 to 19 inches to the top of the seat, matching commercial accessibility guidelines.
What happens if a handicap toilet is too high?
A toilet that exceeds 19 inches leaves shorter users with their feet hanging in the air. This dangling position puts pressure behind the thighs, reduces blood flow, and makes bowel movements physically difficult. Commercial buildings can also fail local building code inspections.
How much wall clearance does an accessible toilet need?
An accessible toilet requires a minimum clearance of 60 inches wide and 56 inches deep on the floor around it. This open space allows wheelchair users to pull alongside the bowl, lock their wheels, and slide directly onto the seat without hitting side walls or vanity cabinets.
Final Thoughts
Choosing the right fixture makes a world of difference for your daily comfort and independence. If you’re planning a bathroom renovation, it’s a good idea to visit a local showroom to test a few different models in person. You’ll find that sitting down to try them out really helps you decide what feels best.






